How to Use the InstallShield MSI Installer
- 1 Minute to read
- Print
- DarkLight
- PDF
How to Use the InstallShield MSI Installer
- 1 Minute to read
- Print
- DarkLight
- PDF
Article Summary
Share feedback
Thanks for sharing your feedback!
Using InstallShield MSI lets you control when the Spotlight Add-In is upgraded. After you install it for the first time, for future releases, you must uninstall the previous release before installing the latest release.
There are three flavors of InstallShield MSI:
InstallShield MSI 64-bit and 32-bit for SpotlightXL: provides Spotlight functionality only in Excel.
InstallShield MSI 64-bit for Spotlight for Office: provides Spotlight functionality in Excel, Word, and PowerPoint.
Note:
You must exit the Office applications before installing, uninstalling, or reinstalling SpotlightXL or Spotlight for Office.
These steps apply to either MSI 64-bit or MSI 32-bit:
These steps apply to either MSI 64-bit or MSI 32-bit:
Download one of the following files from the Where to Download and Version Information table.
SpotlightXL_MSI.EXE (64-bit version)
SpotlightXL_MSI_32.EXE (32-bit version)
SpotlightOffice_MSI.EXE (64-bit version)
- You should install the Spotlight version (64-bit or 32-bit) that matches your Microsoft Windows version.
Locate the file you downloaded on your computer (likely in the Downloads folder), then double-click the file to run it.
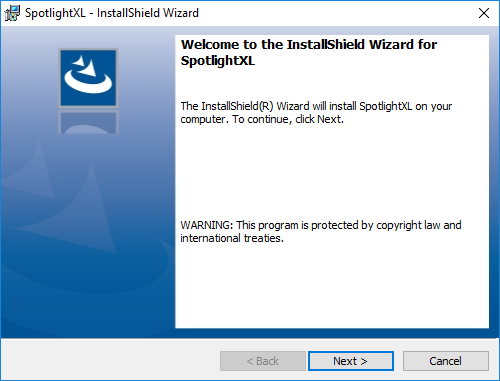
Click Next and follow the prompts to install SpotlightXL or Spotlight for Office. When installation is complete, click Finish.

If you try to run the file you downloaded a second time, the installer looks to see if you already have SpotlightXL installed, and if so, gives you choices to Modify, Repair, or Remove the installation. Click Cancel.
When a newer release of SpotlightXL or Spotlight for Office is available, you must uninstall the existing Spotlight Add-In and then install the new. See Upgrading SpotlightXL and Spotlight for Office below.
See also InstallShield MSI Best Practices.
Was this article helpful?