Workforce Planning from Planning Control Panel
- 2 Minutes to read
- Print
- DarkLight
- PDF
Workforce Planning from Planning Control Panel
- 2 Minutes to read
- Print
- DarkLight
- PDF
Article summary
Did you find this summary helpful?
Thank you for your feedback
Once the Workforce Planning setup is complete and the HR - Workforce Planning template is appropriately mapped to budget entities and scenarios, you can access it via the Planning Control Panel. Click here to more about Planning Control Panel. You access the specific scenario and designated budget entity to access the workforce planning template. From there, you can enter your values using input mode. But ensure that you have the following:
- Scenario Access: Allows selection of scenarios from the Planning Control Panel drop-down.
- Approval Role: Dictates user permissions within templates, including viewing, inputting, marking complete, or marking not complete.
- Approval Role Setup: Grants access to entities. Users are assigned approval roles in the Approval Role Setup page to provide access to specific levels within the budget hierarchy.
- Navigation Access: Provides access to specific navigation paths, enabling entry into application pages and associated functionality.
What to expect after getting the access?
The Planning Control Panel is where you perform budgeting workflow tasks, organize budget entities in a hierarchy, select templates for input or viewing, and run reports. Here, you will select the Workforce Planning template. So once you access, follow these steps:
- Navigate to Structured Planning to open the Planning Control Panel
- Select the required Scenario and Budget Entity.
- Select the HR - Workforce Planning template.
- Click Input. The Employee page appears.
Employees Page
The Employees page is where the employee details will show for all employees in a specific scenario and entity. Individual budget owners open a workforce template in the Input mode and update employee information.
Options on the Employees Page
The following is the sequence of the options on the Employees page:
- Advanced Search
- Settings
- Reports
- View
- More : This menu has the three categories:
- Entity Workflow
- Template Workflow
- Others
- Process
- Add
- Select Template
Unique Options for the Employees Page
While all of the functionalities are explained in the Employees article, below are the options that are available only for the Employee page:
View
The View option on this page allows you to choose how you want to see information about employees.

You can switch between two options:
- List View: This view displays all employee details in a list and is the default option.
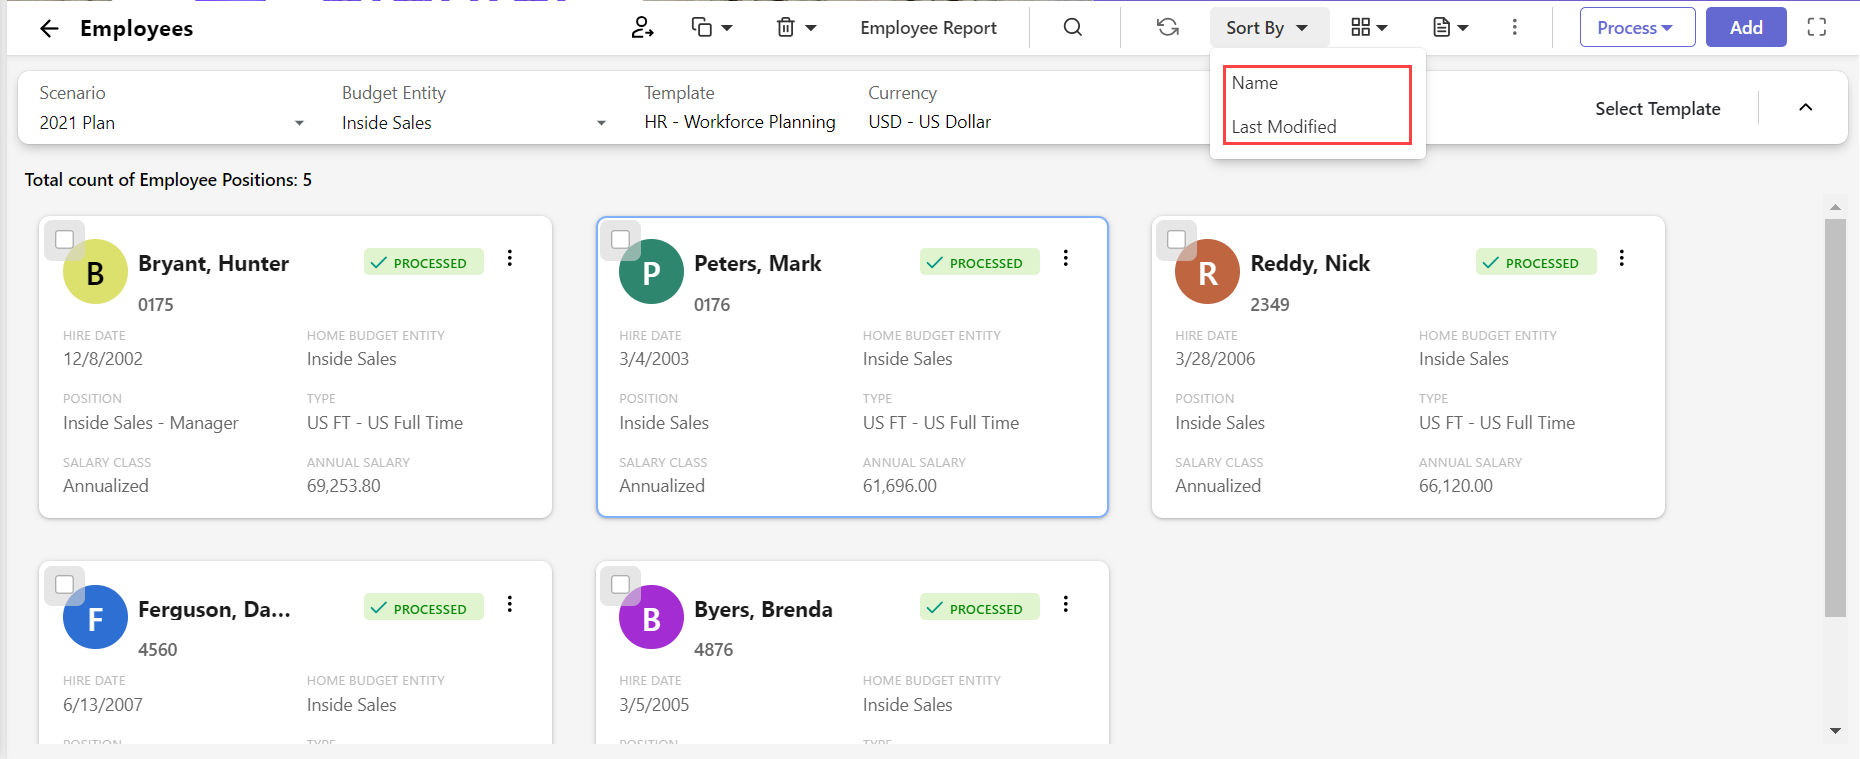
- Card View:This option allows you to view the employee position as a card and helps you to easily select options and update information in the cards.Note:The card view layout is only available for only on the Employees page.
To change the list view to the card view, do the following:
- Click the Card view icon.
- You can view information related to the following fields in a card format:
- Employee Name
- Employee Number
- Position
- Hire Date
- Salary Class
- Annual Salary
- Hourly Salary
- Hours/Period
- Home Budget Entity
- Type
- Status
- Profile Picture
- Click the More icon to perform the following actions from an employee’s card view:
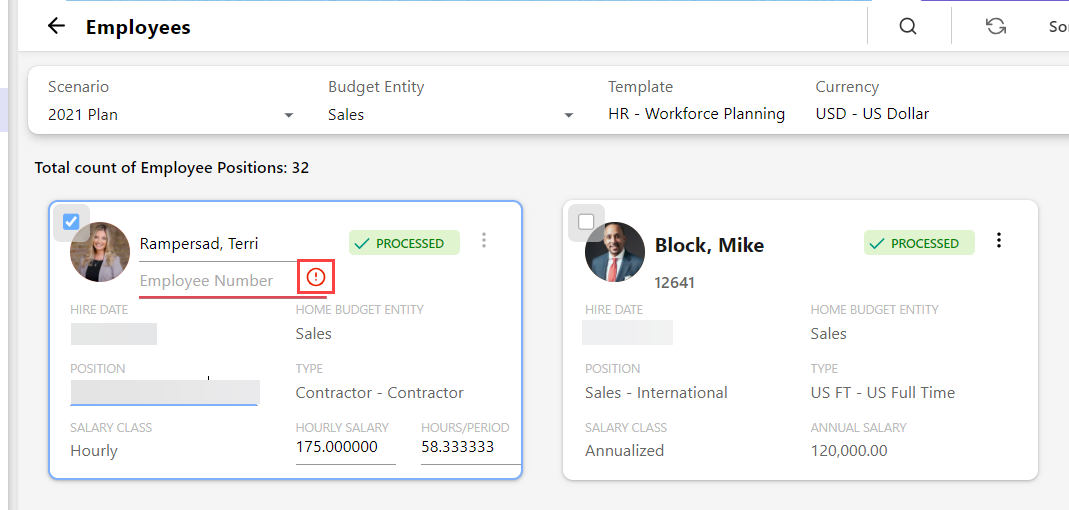
- Edit: This option allows you to modify these details of an employee: Employee Number, Employee Name, Position, and Annual Salary.
- Duplicate: This option allows you to create a copy of the employee’s card.
- Delete: This option allows you to delete the employee’s card.

- To go to the Employee Edit page, click Employee Name. You can select multiple cards simultaneously to update information for multiple employee positions by using the Mass Update option.Note:The Employee Name, Employee Number, Position, Hourly Salary, Hours/Period, and Annual Salary fields are mandatory. Consequently, a red exclamation mark will be displayed next to the field name if you do not enter any data in any of these fields.
- You can sort the cards by using the Name and Last Modified criteria.


Select Template
Click Select Template to open a different template type. You can select a different scenario, budget entity, template, and an option to open the template in read-only and click Apply.

Entity Workflow and Template Workflow
These options are under the More icon and depends on the approval role that has been assigned. Click here to learn more about Template and Entity Workflows.
Was this article helpful?