Add Template
- 3 Minutes to read
- Print
- DarkLight
- PDF
Add Template
- 3 Minutes to read
- Print
- DarkLight
- PDF
Article summary
Did you find this summary helpful?
Thank you for your feedback
The template type and underlying functionality of the template are first established. In this first phase of setting up a template, the basics of the template, such as the name of the template and the type of template to be built, are selected.
This phase then goes on to set up how data will be entered into the template, what data will be brought into the template via attributes or summary columns, as well as what data from each dimension will or will not be enabled to be mapped within the template during the design phase. Please see below for a detailed discussion of each field in the template setup phase.
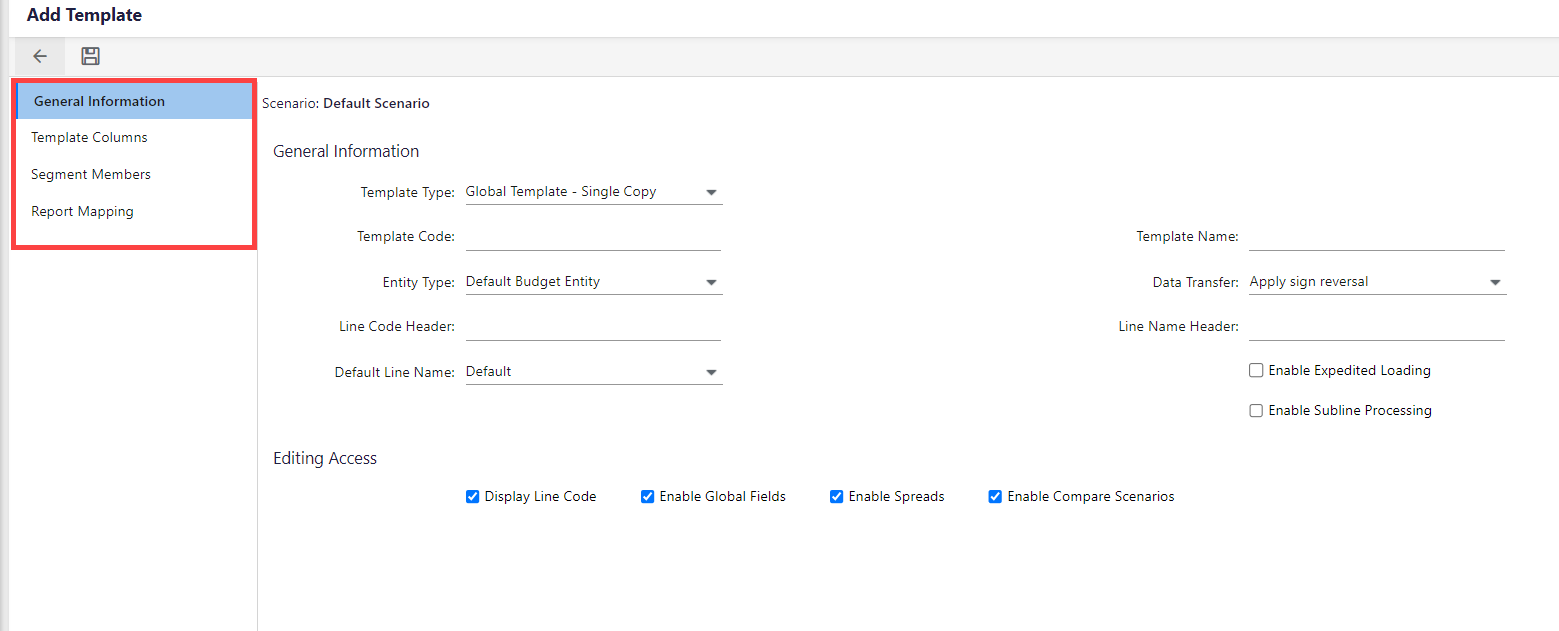
The following are the options under this tab:
- Template Type: The type of template to be created based on the planning needs. Click here to learn more about the template types.
- Data Transfer: Works with the debit/credit field in the natural account segment. Select Apply Sign Reversal for the system to apply the appropriate sign to credit accounts when stored. Select No Sign Reversal to display and enter balances as they should be stored in the database.
- Line Code Header: The title of the line code column in the template. The line code is the intersection of dimension in the cube for each line in the template.
- Line Name Header: The title of the template line name column. The line name is the leaf level dimension member for the intersection of dimensions per the line code.
- Default Line Name: Allows for customization of the line name.
- Enable Expedited Loading: Enhances template performance. Data input lines are immediately available for input while reference, history, and closed period data are being downloaded from the cloud. The template cannot be saved until the loading is complete.
- Enable Sub line processing: Ensures sublines associated with the template are processed along with the template.
- Display Line Code: Displays a separate column in the template for line codes.
- Enable Global Fields: Allows global fields in the template setup in a separate tab.
- Enable Spreads: Enables forecast methods within the template.
- Enable Compare Scenarios: Enables scenarios associated with the template to be compared against another scenario.
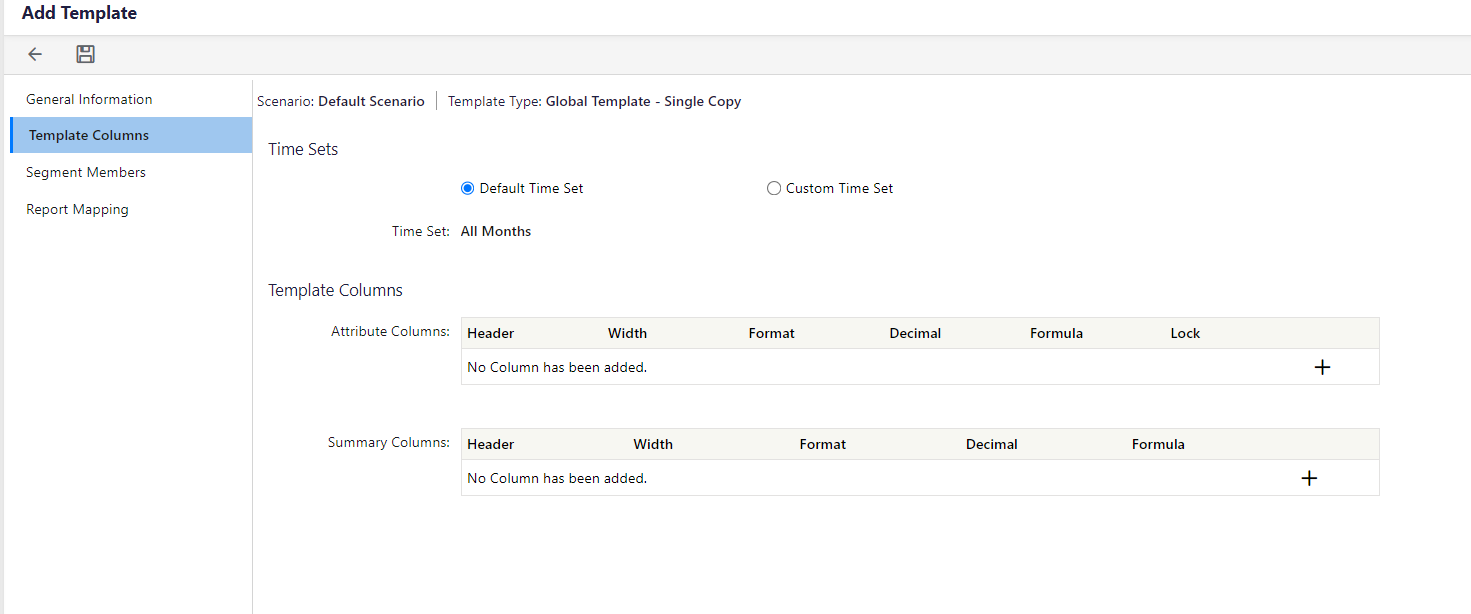
The following are the options under this tab:
- Time Sets: Allow input at a selected time period frequency in a template for each budget input year, allowing for accurate operational plans and providing a means for long-term strategic planning. Time period frequencies include Year, Quarter, and Month. Click here to learn more about Time Sets.
- Template Columns: Both attribute columns and summary columns are commonly used in templates. Formatting such as text color and background color can be applied at the individual cell level for these columns. Global fields may be mapped under the attribute columns for specific template lines.
- Attribute Columns: Used to input information related to the account/line and are located in front of spread code columns. Administrators can lock/unlock the columns, and they can be added at any phase of the template life cycle. Click here to learn more about how to add attribute columns.
- Summary Columns: Used to add totals, averages, and variance calculations for variance template lines. These columns appear to the far right of the template after the monthly detailed budget input columns and may be added at any phase of the template life cycle. There is a maximum of five summary columns per template and are all in a lock state.
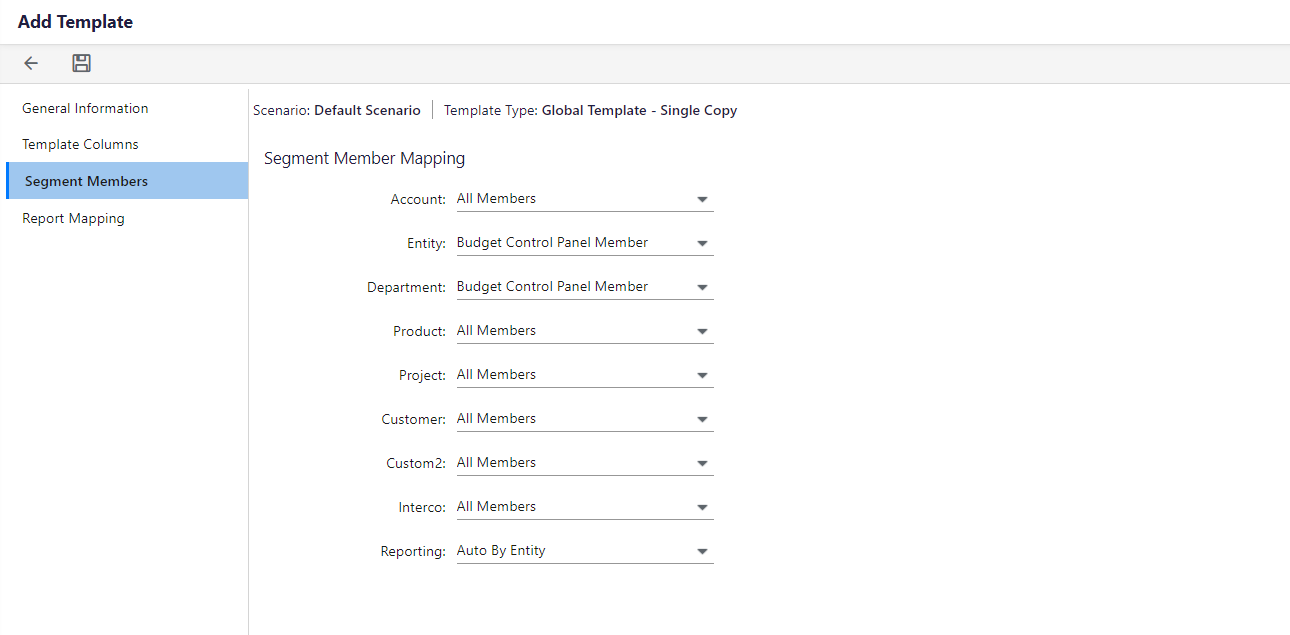
Within Template Setup, the Segment Members section will determine how flexible the template can be. Template rows are then mapped to dimensions at the leaf level members through template parameters. All dimensions must be accounted for when setting the parameters for the template.
Source options within Segment Members include:
- All Members in the dimension are available to be defined in the rows.
- Fixed Segment Members are a single member selection.
- Filtered Segment Members allows the user to define multiple members.
- Budget Control Panel Member is controlled by the budget entity.
- Allow Destination Account Setup enables a row with the flexibility to override the destination account mappings of the dimensions in the budget entity.
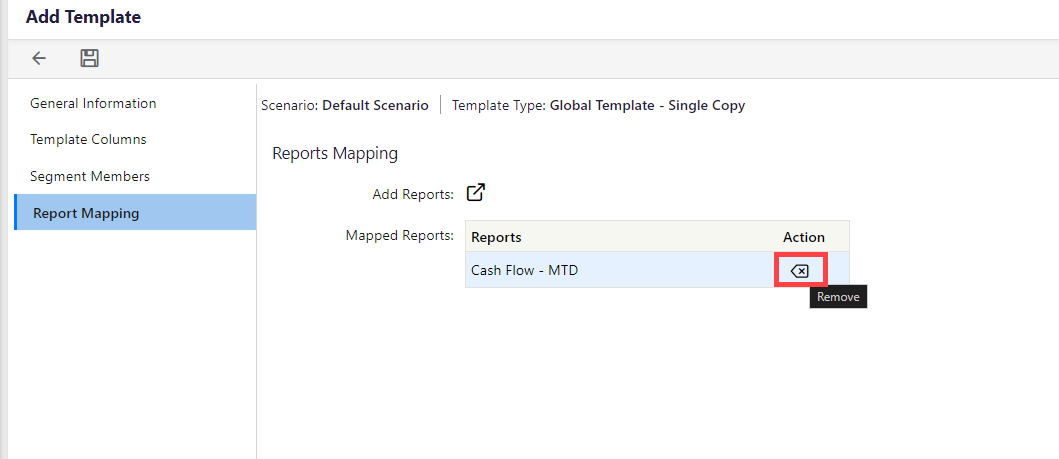
This option allows a report if you have access, any Dynamic or Standard report to be attached to the template. As soon as you click on the Add Reports icon, the Select-Dynamic Report pop-up appears as shown below. Select any of the reports and click Add Selected.
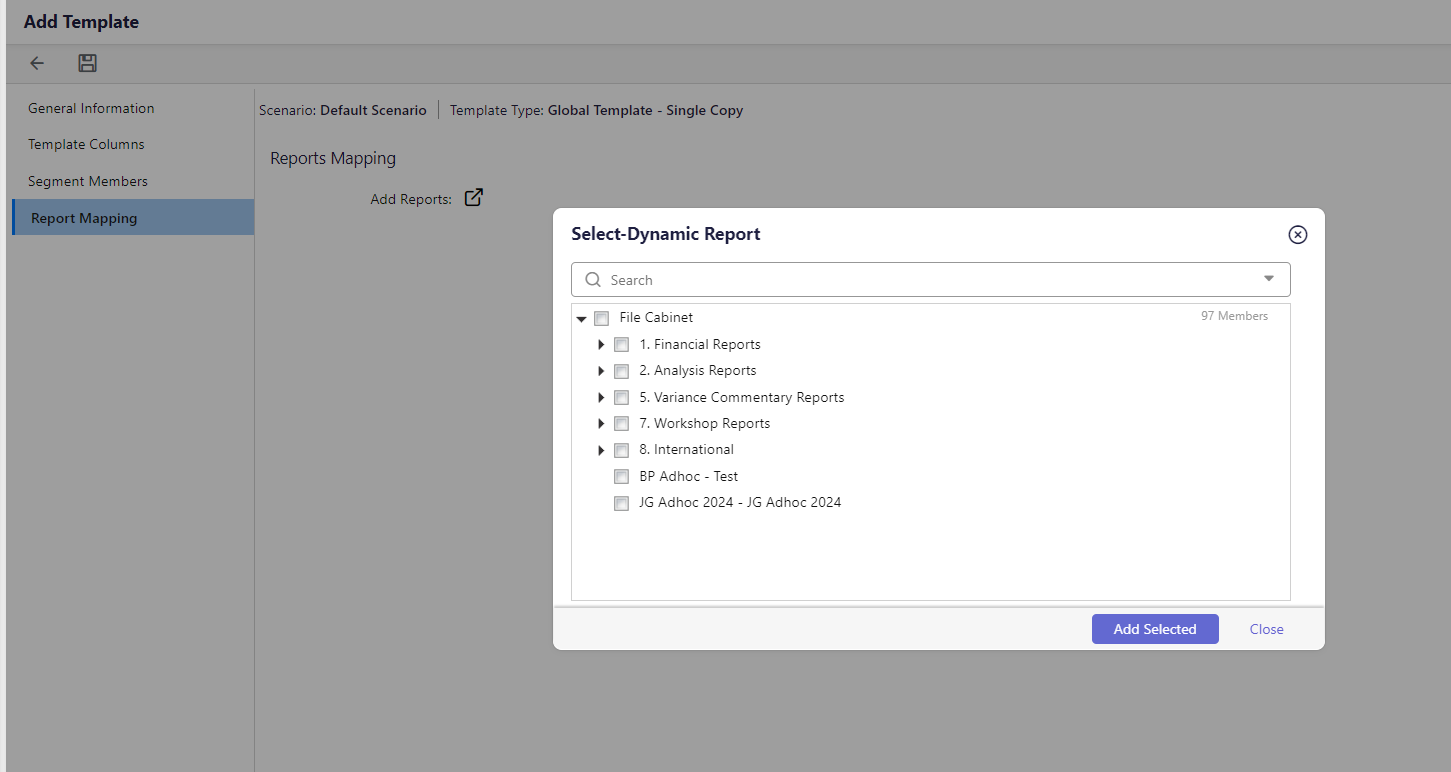
You can see the report added. To remove the report, click the arrow.
Was this article helpful?