Adding Attribute Columns
- 1 Minute to read
- Print
- DarkLight
- PDF
Adding Attribute Columns
- 1 Minute to read
- Print
- DarkLight
- PDF
Article summary
Did you find this summary helpful?
Thank you for your feedback
Attribute columns are commonly used in budget templates to input the information related to the account/line. These values can be used in the template calculations.
To add attribute columns to new/existing templates, follow the steps below:
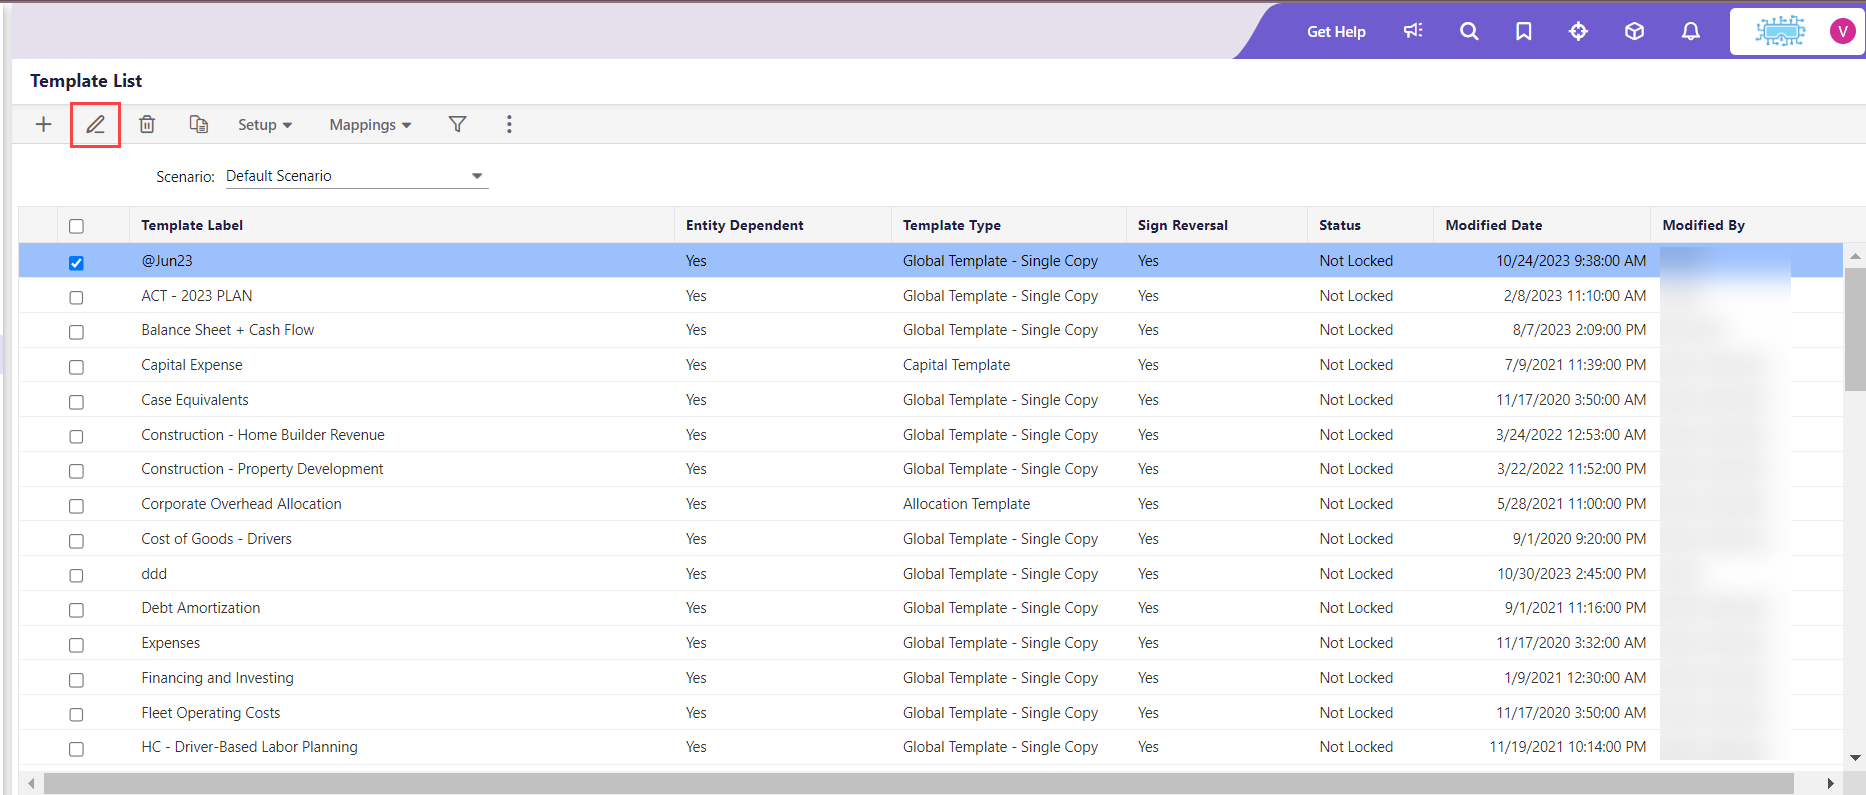
- Navigate Maintenance > Template Setup. The Template List page appears.
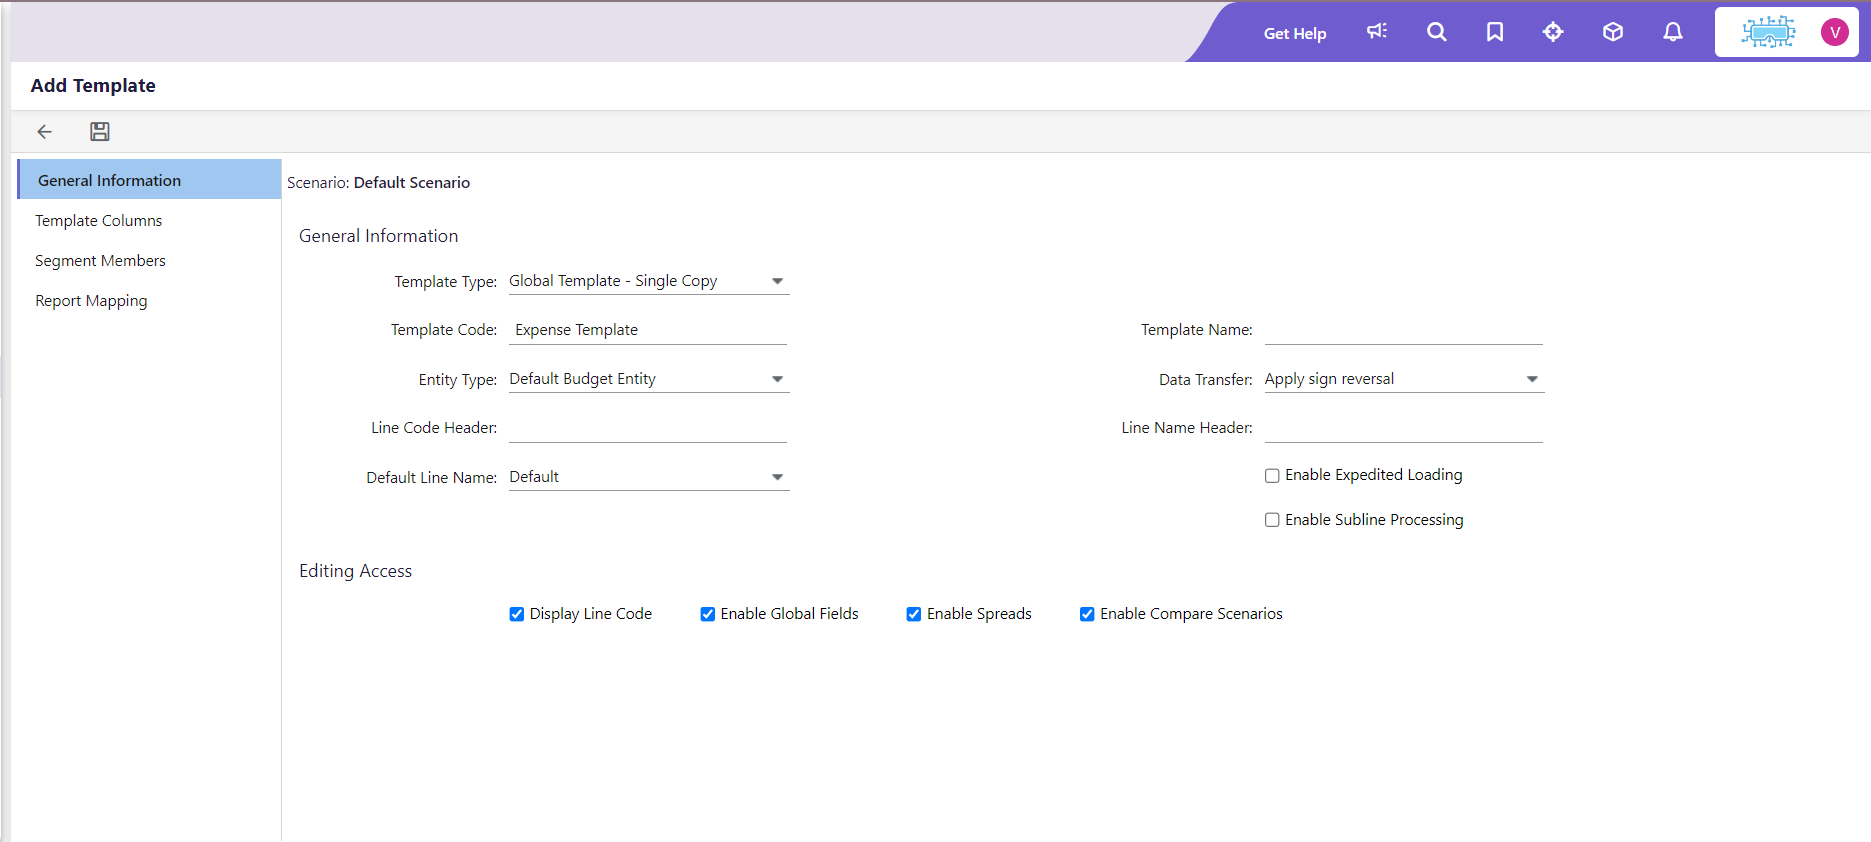
- Click the Add icon if you are adding to the new template. Enter the Template Code and choose the required information in the General Information tab of the Add Template page.

If you are adding to the existing template, select the desired template. Click the Edit icon.
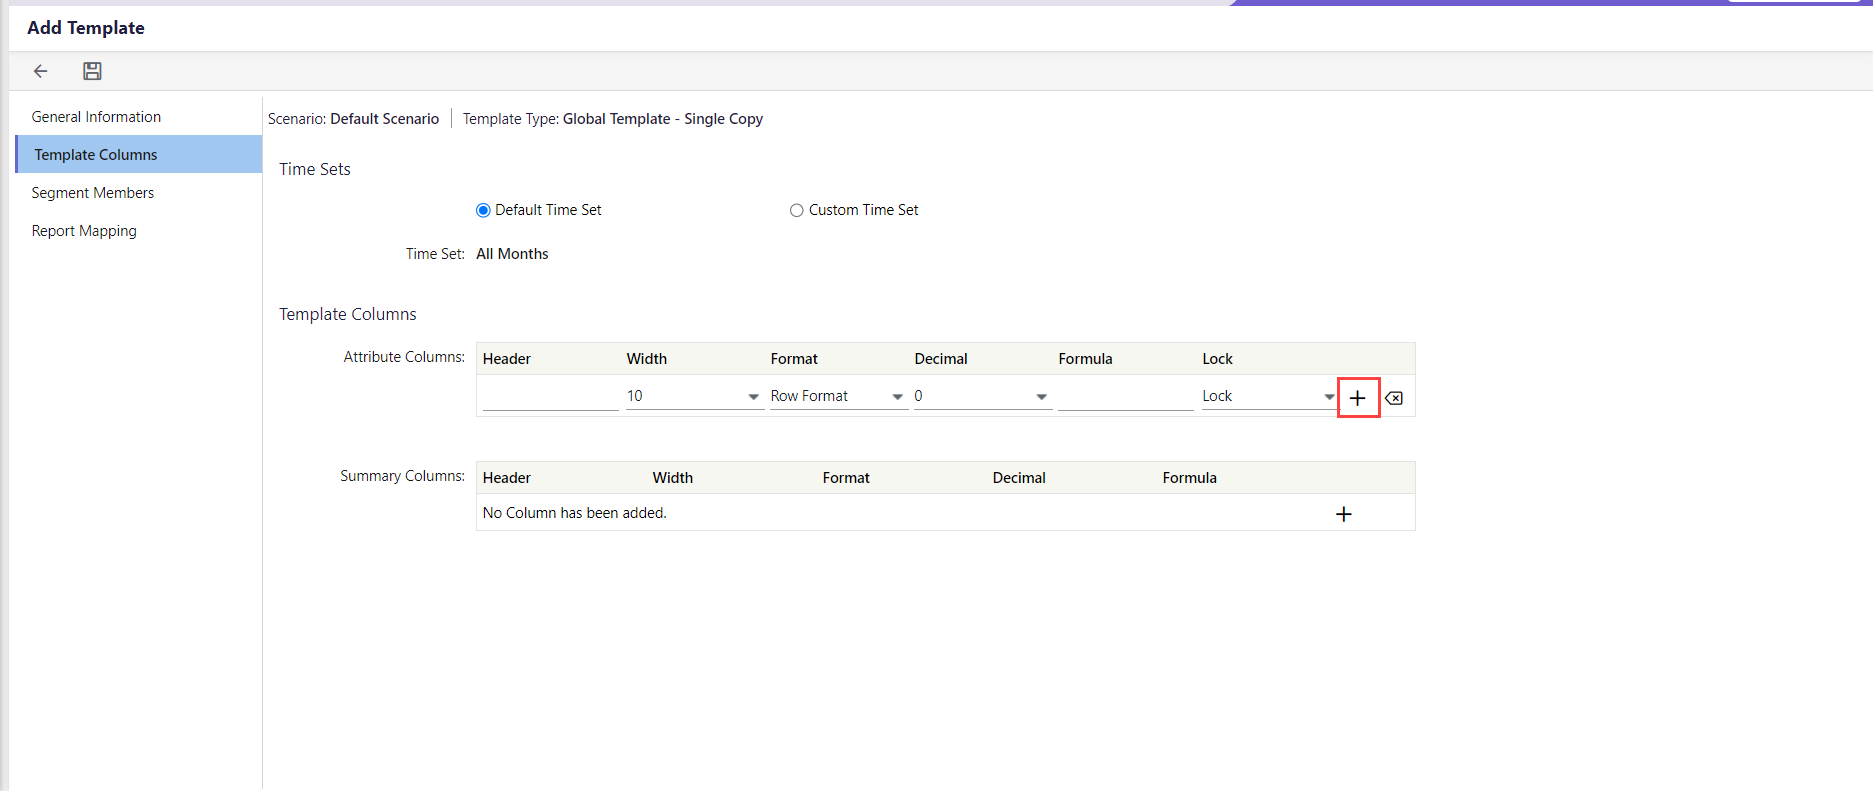
- Once you are on the Add/Edit Template page, go to the Template Columns tab.
- Click the add icon within the Template Columns section.

- Enter the required details.Note:You can add up to a maximum of 10 attribute columns.
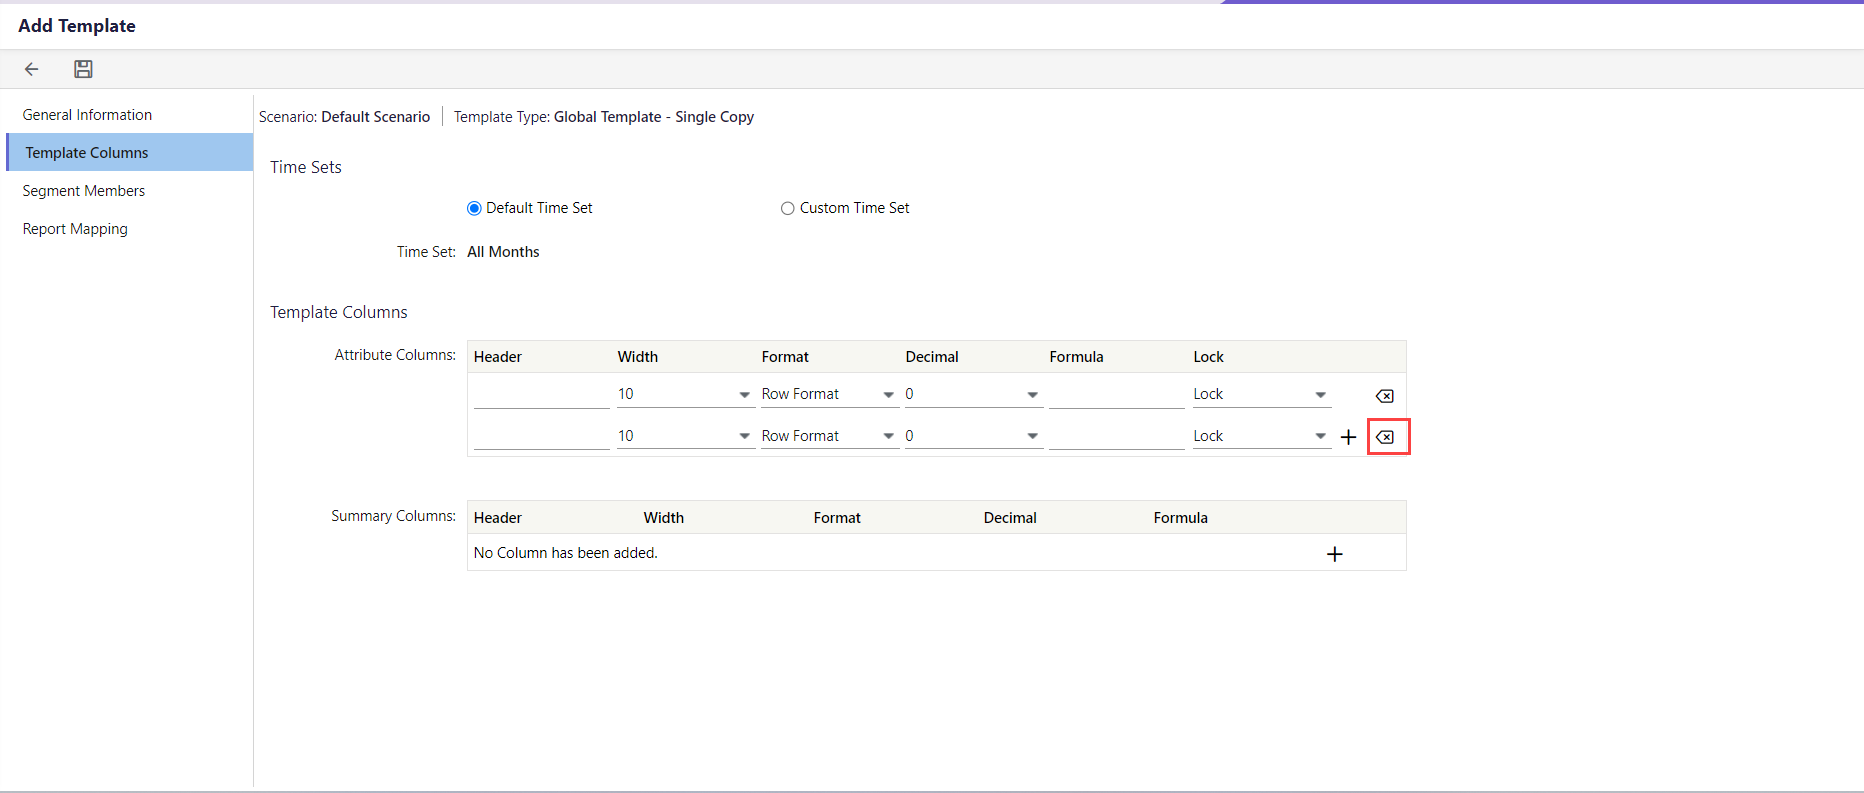
- Click the Remove icon to delete the columns, if you wish to delete any. Click here to learn more about deleting the attribute columns.Note:You cannot delete the attribute column, once you leave the Add/Edit Template page.
- Click Save to save your changes.
If you're working with an existing template that already has attribute columns, you won't be able to delete them directly. However, you can delete an attribute column before you leave the add/edit page. Here’s what you can do to delete an attribute column:
- Navigate Maintenance > Template Setup. The Template List page appears.
- Select the scenario.
- Access the Add/Edit Template page, and go to the Template Columns tab.
- To delete the attribute column you've added, select the recently added attribute column you want to remove and click the remove icon associated with it.
 Note:You won't be able to delete it if you leave the Add/Edit Template page. Therefore, ensure that you complete the deletion process while you are still on the Add/Edit Template page.
 - Click Save to save your changes.
Was this article helpful?

