How to Use Entry Actions on Standard Journals
- 5 Minutes to read
- Print
- DarkLight
- PDF
How to Use Entry Actions on Standard Journals
- 5 Minutes to read
- Print
- DarkLight
- PDF
Article summary
Did you find this summary helpful?
Thank you for your feedback
Multiple entry actions for Standard Journals are available, such as Forward, Send Back, Approve, Reject, Return, Post, and Unpost. Each entry action serves a unique purpose in the lifecycle of a Standard Journal entry.
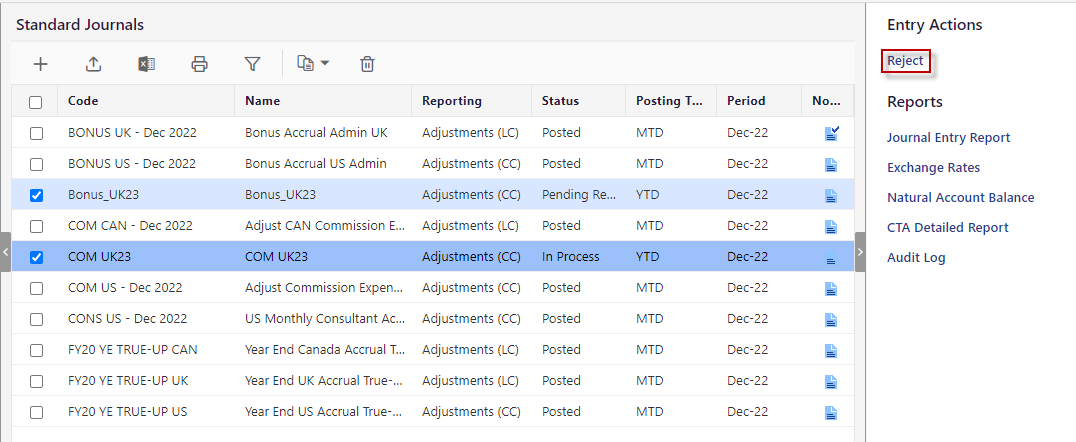
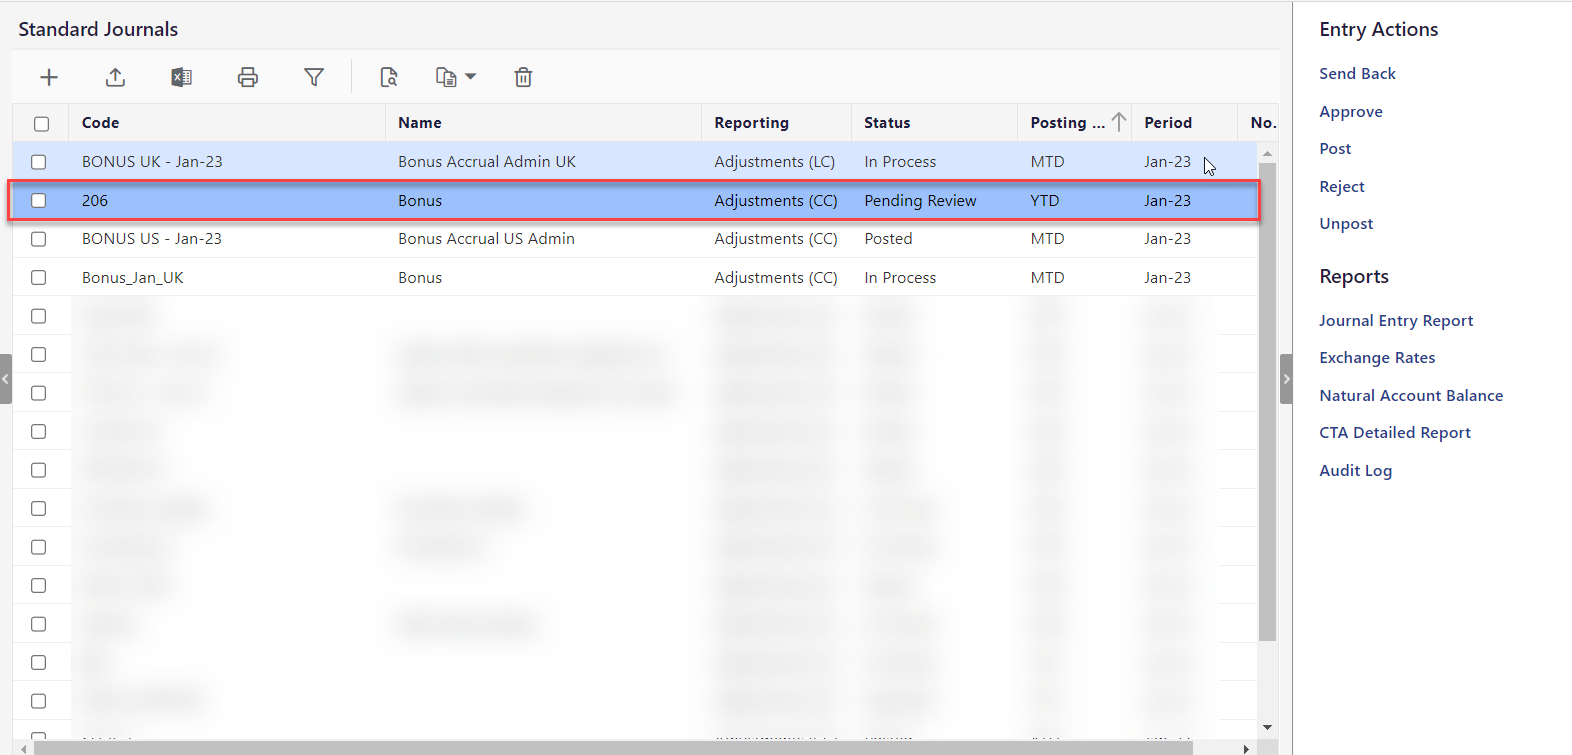
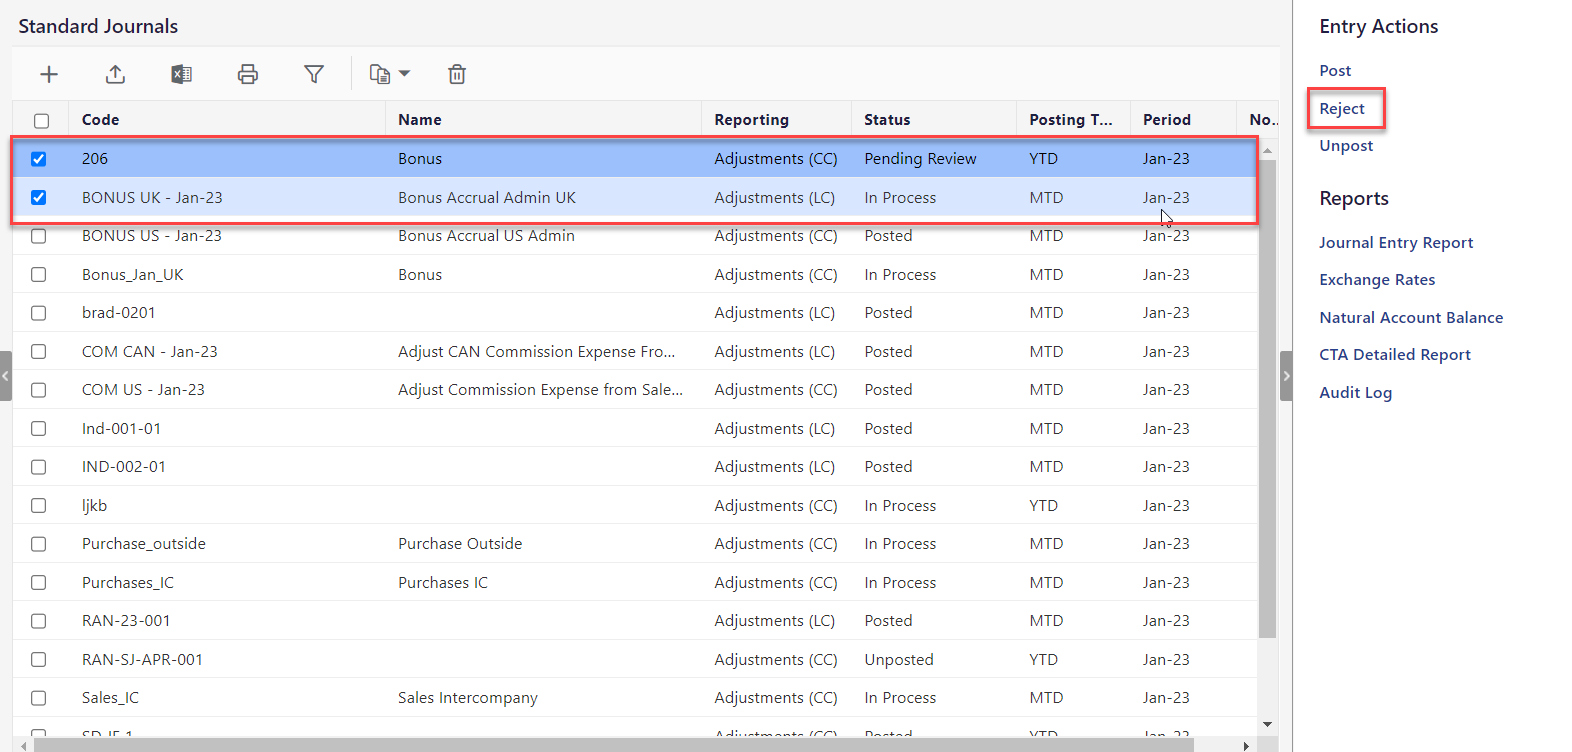
You can select multiple journal entries and perform entry actions if the selected entries have the same status. However, if you select entries that have a different status (for example, one is “in process” when the other is “pending review”) then only the common action available for both entries is enabled. In the example below, one of the selected standard journal entries is in Pending Review while the other one is In Process. Here the only common entry action is Reject.
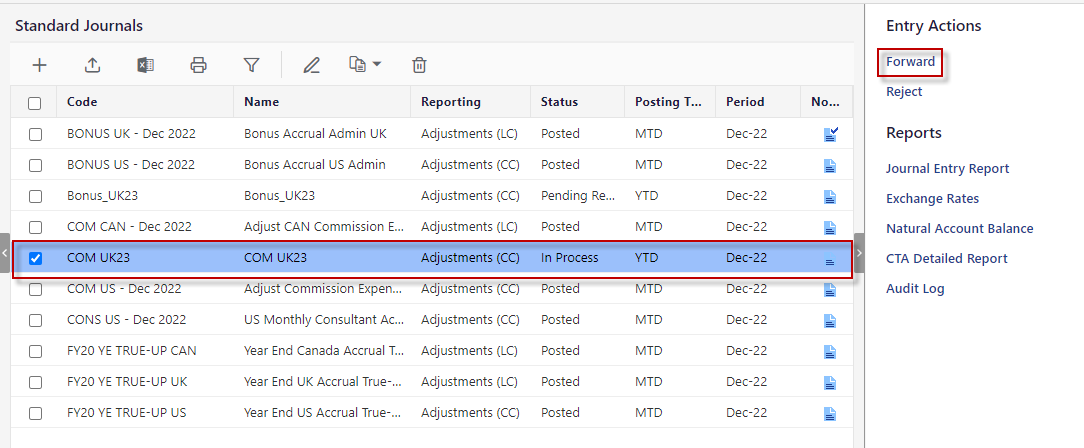
Select an entry to see all actions available for the single entry. In the example below, an entry is selected and the additional action (Forward) is available.
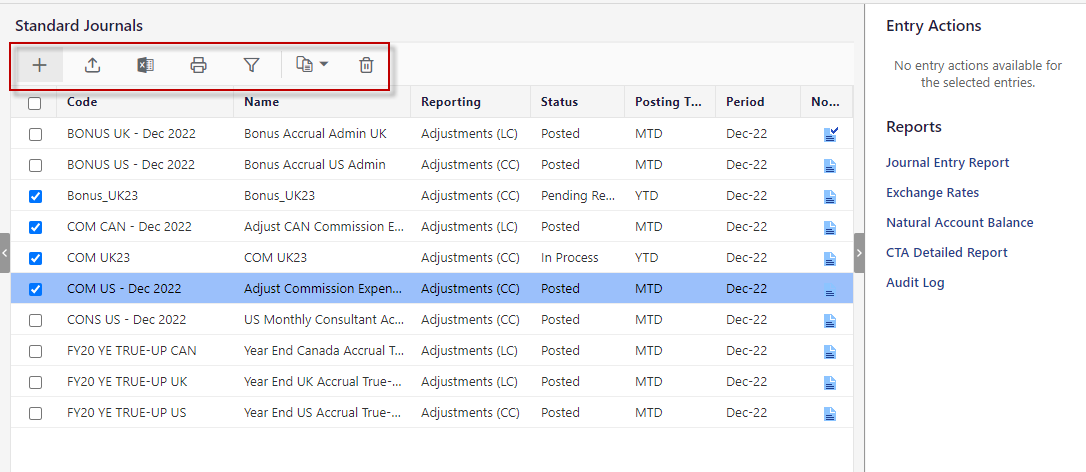
When you select multiple entries, some buttons will not be displayed.
How to Forward a Standard Journal?
You can forward or carry over a standard journal entry to the next period (month, quarter, or year) to ensure financial accuracy. For example, an expense is incurred in Jan 2025, but the payment is due in Feb 2025. In such a case you can forward the expense from Jan 2025 to Feb 2025 and maintain financial accuracy.
To forward a Standard Journal entry, do the following:
Navigate to the Consolidation > Consolidation Control Panel > Processes tab.
Select values for Scenario, Period, and Entity.
Under Processes, click Standard Journals.
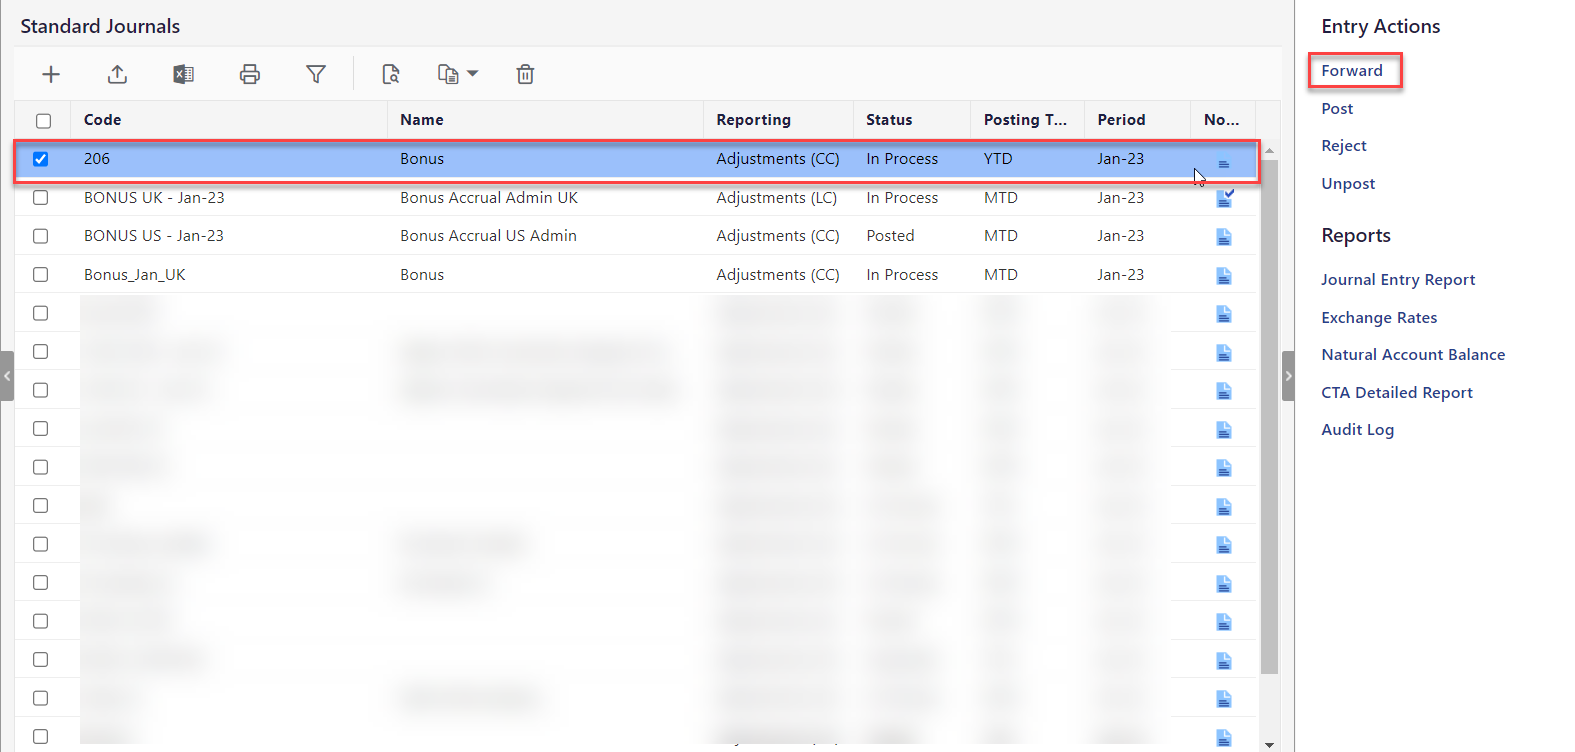
Select the journal with an In Process status.
Under Entry Actions, click Forward.
Click OK.

The journal enters the Pending Review status. You will receive a notification about the review action for the assigned journal entry.
How to Send Back a Standard Journal?
To send back a Standard Journal entry to the In Process status, do the following:
Navigate to the Consolidation > Consolidation Control Panel > Processes tab.
Select values for Scenario, Period, and Entity.
Under Processes, click Standard Journals.
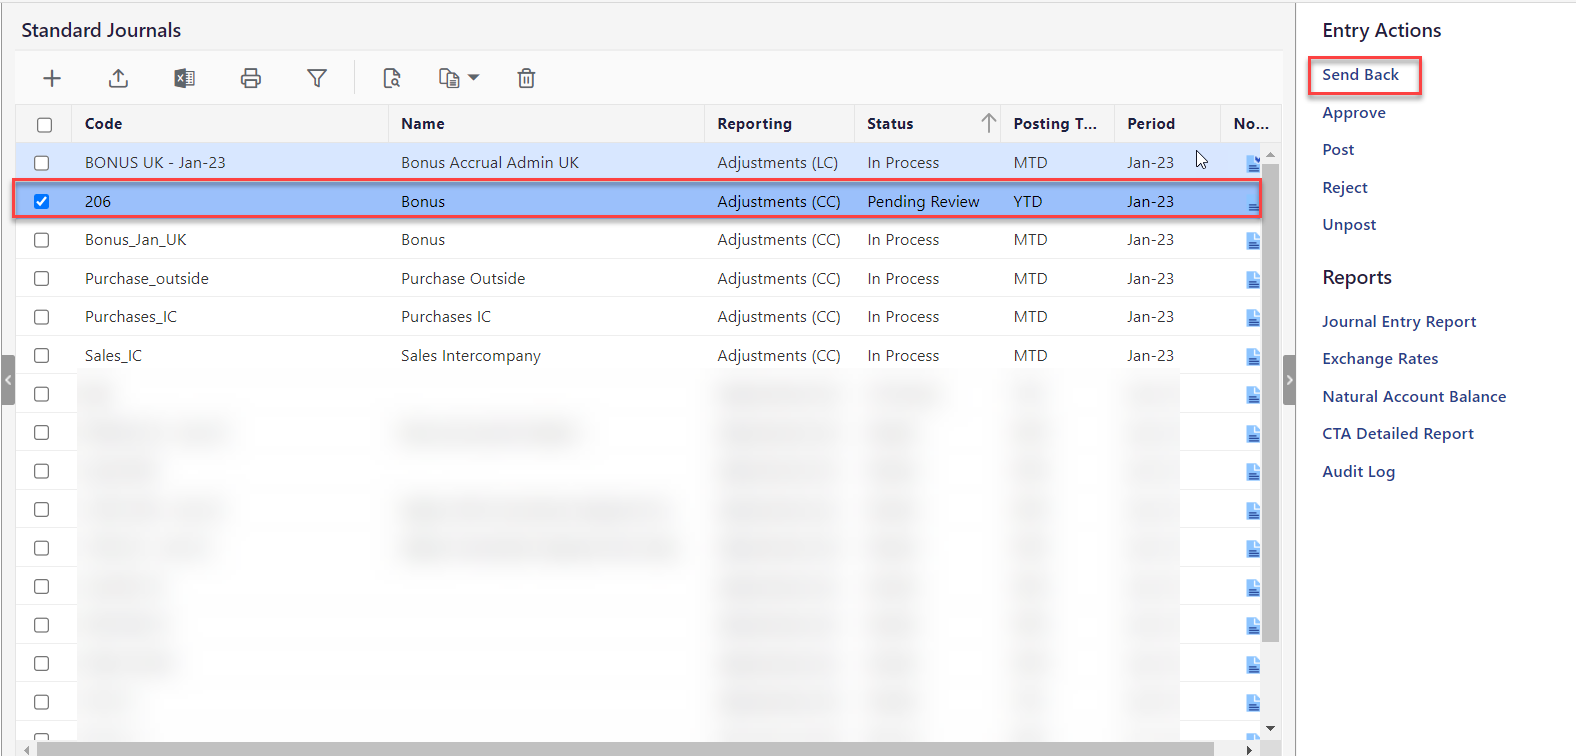
Select the journal with a Pending Review status.
Under Entry Actions, click Send Back.
Click OK.
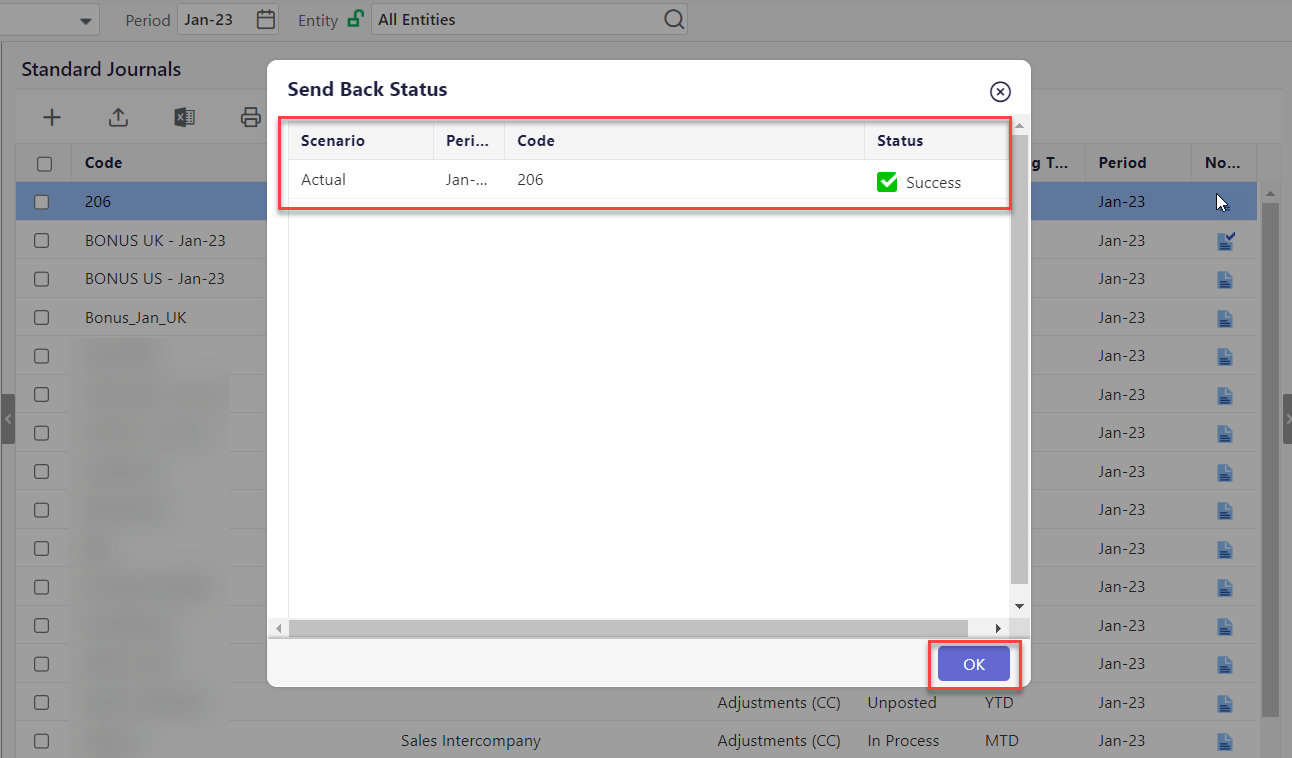
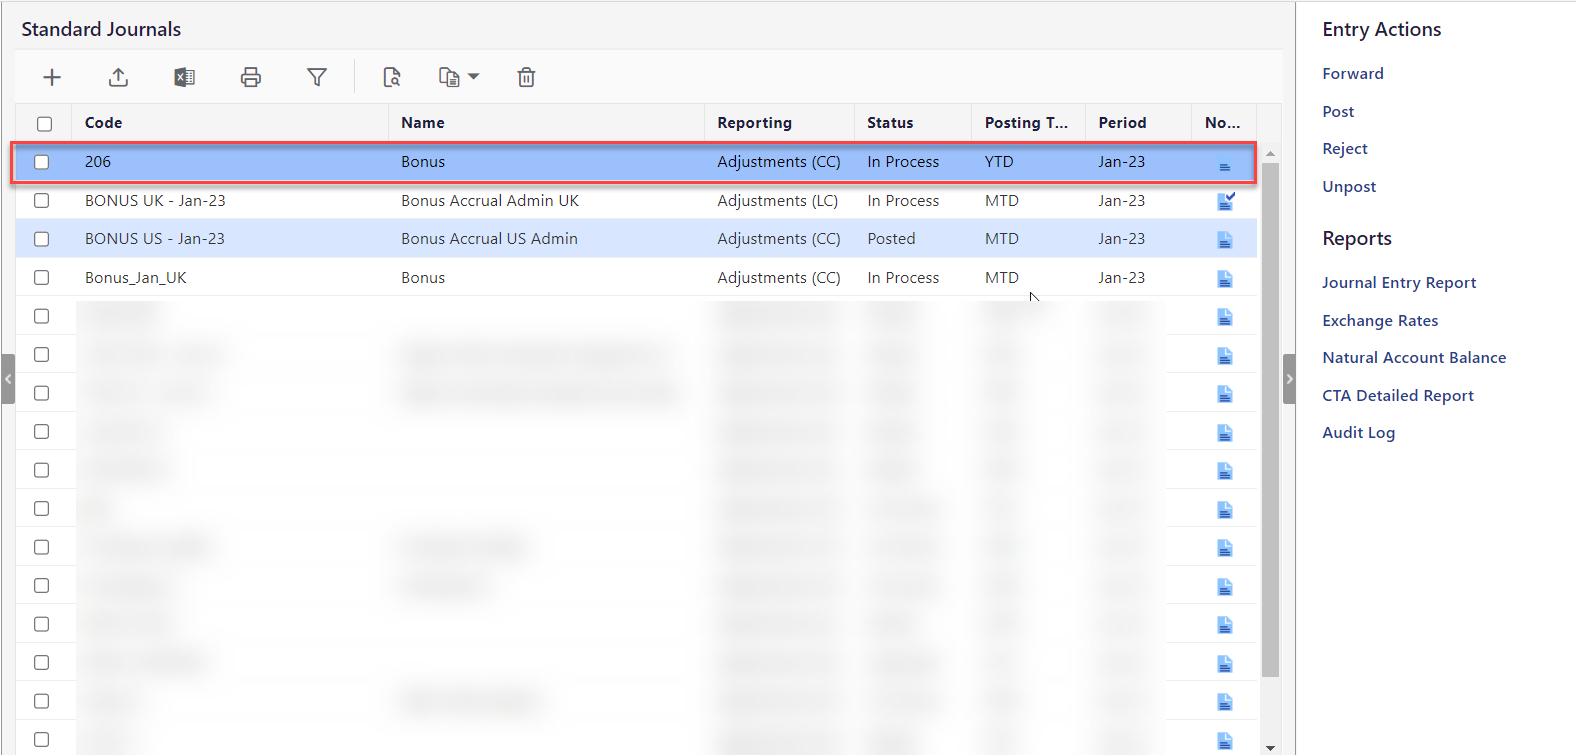
The standard journal is back to the In Process state.
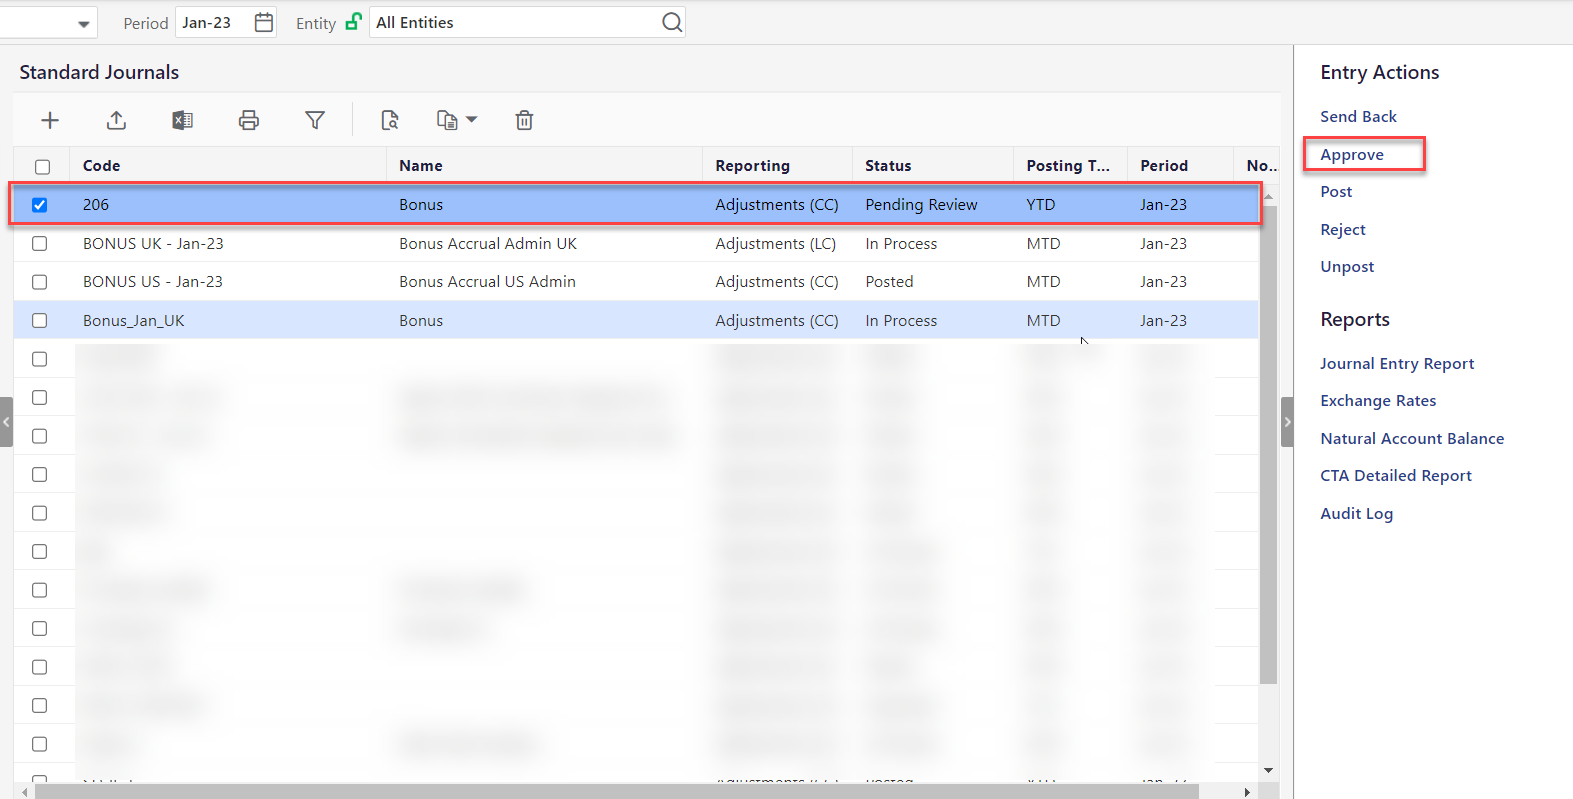
How to Approve a Standard Journal?
Approve journal entries that are correct and complete. This action is available for journals with a Pending Review status only. An approved journal entry is ready for posting.
To approve a standard journal, do the following:
Navigate to the Consolidation > Consolidation Control Panel > Processes tab.
Select values for Scenario, Period, and Entity.
Under Processes, click Standard Journals.
Select the journal with a Pending Review status.
Under Entry Actions, click Approve.
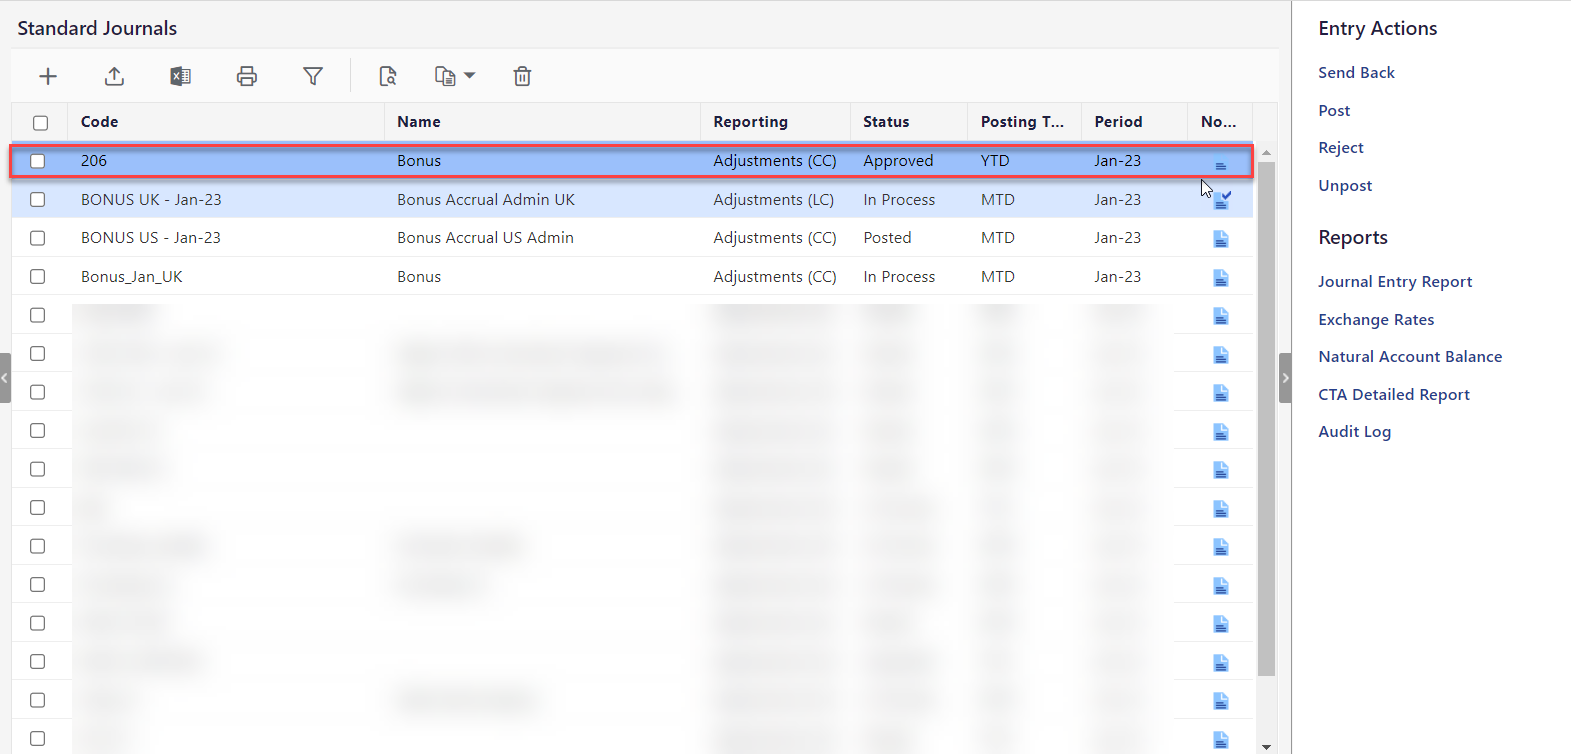
Click OK.

The journal enters the Approved status.
How to Reject a Standard Journal?
You can reject standard journals and skip posting them before they are approved.
To reject a standard journal, do the following:
Navigate to the Consolidation > Consolidation Control Panel > Processes tab.
Select values for Scenario, Period, and Entity.
Under Processes, click Standard Journals.
Select the journal with a Pending Review or In Process status.
Under Entry Actions, click Reject.
Click OK.
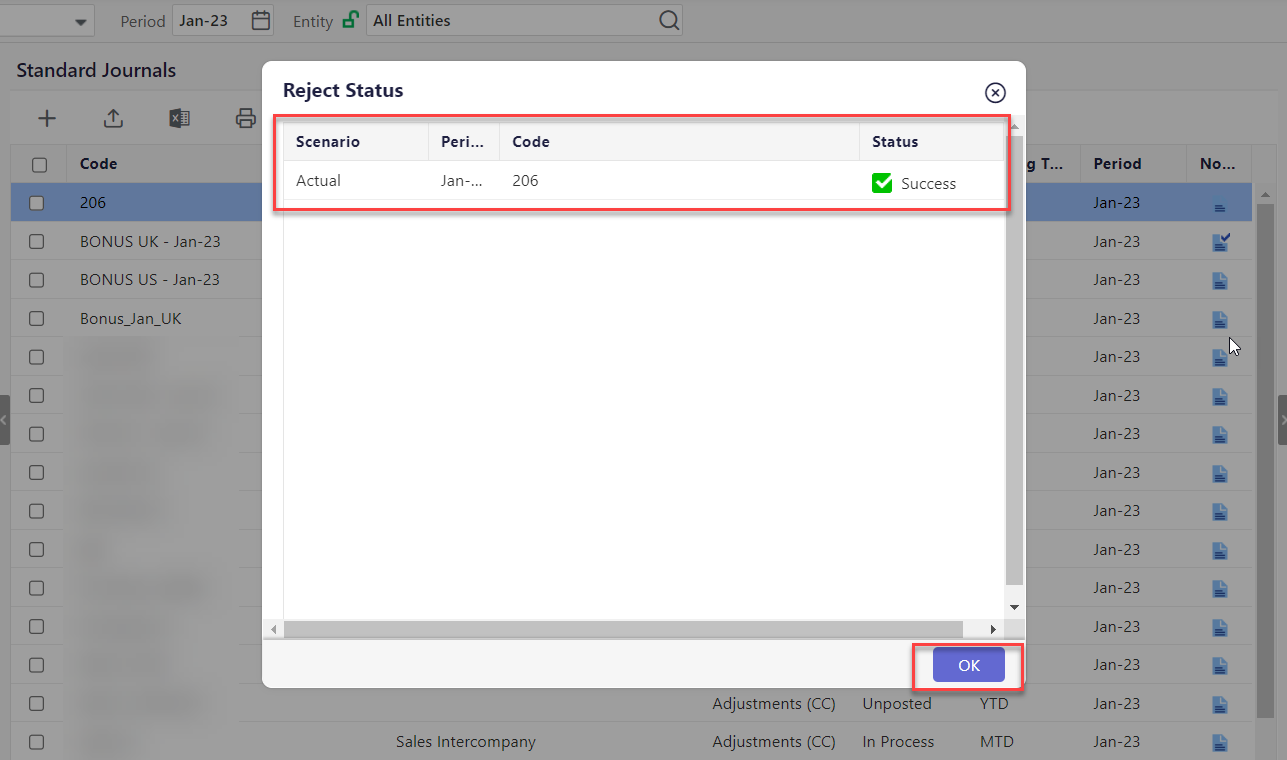
The journal entry enters the Rejected status.
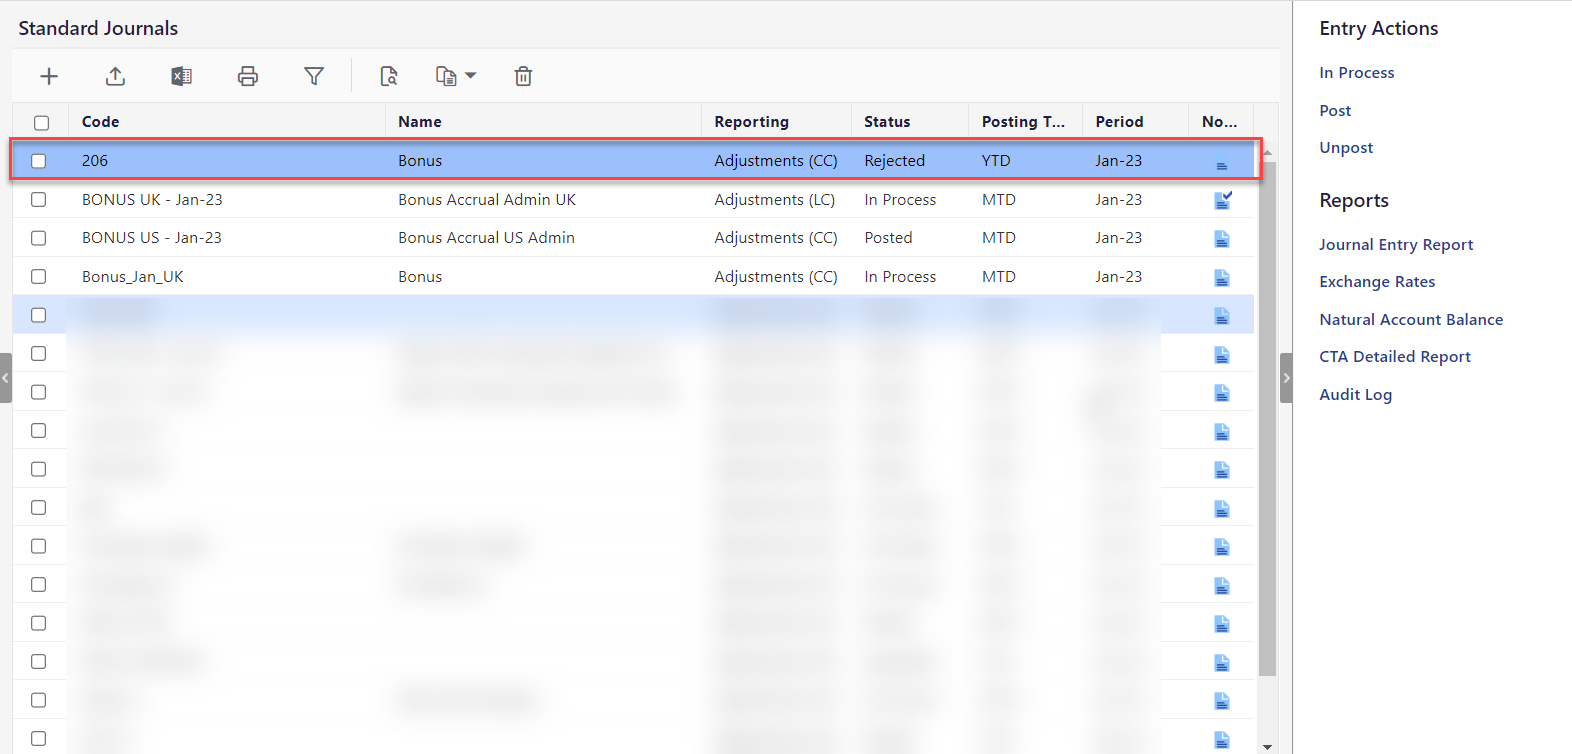
How to Return a Rejected Journal to an In Process State?
A rejected standard journal may need to complete the full lifecycle to ensure audit ability. You can edit rejected journals, return them to an In Process state, and have them approved. To learn how to edit a standard journal, click on the Edit tab.
Follow the steps below to return a rejected Standard Journal to the In Process state.
Navigate to the Consolidation > Consolidation Control Panel > Processes tab.
Select values for Scenario, Period, and Entity.
Under Processes, click Standard Journals.
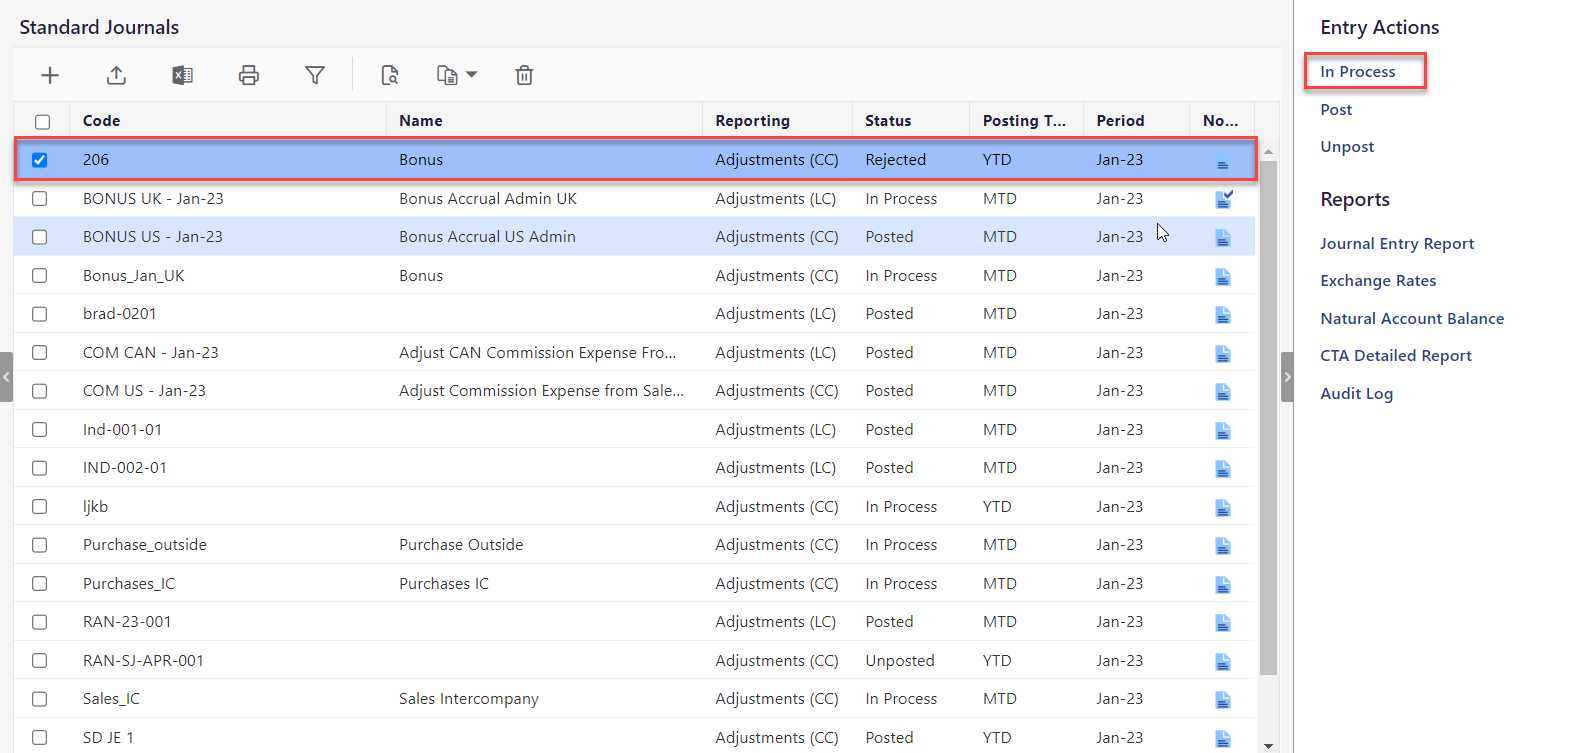
Select the Rejected Standard Journal you want to return to an In Process state.
Click the In Process action under Entry Actions.
Click OK.
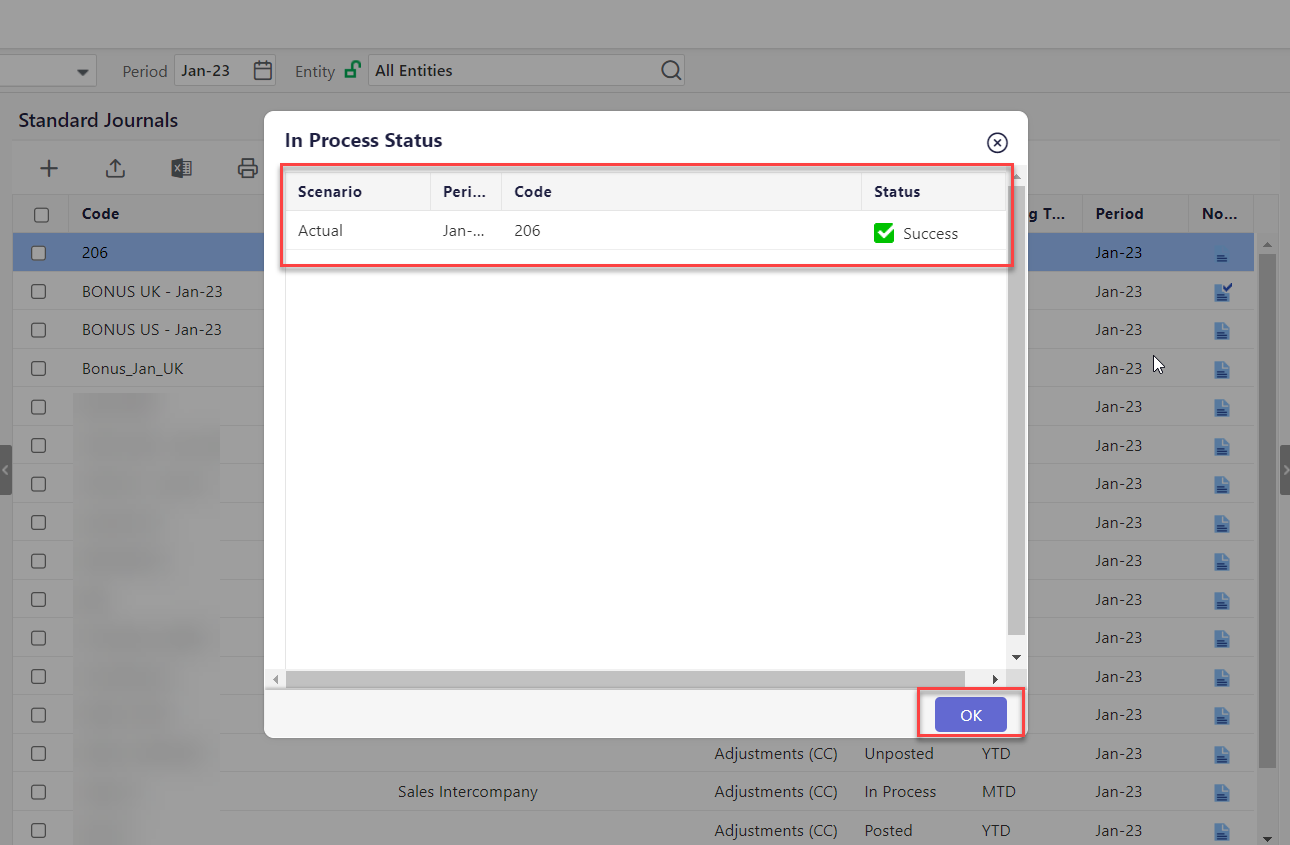
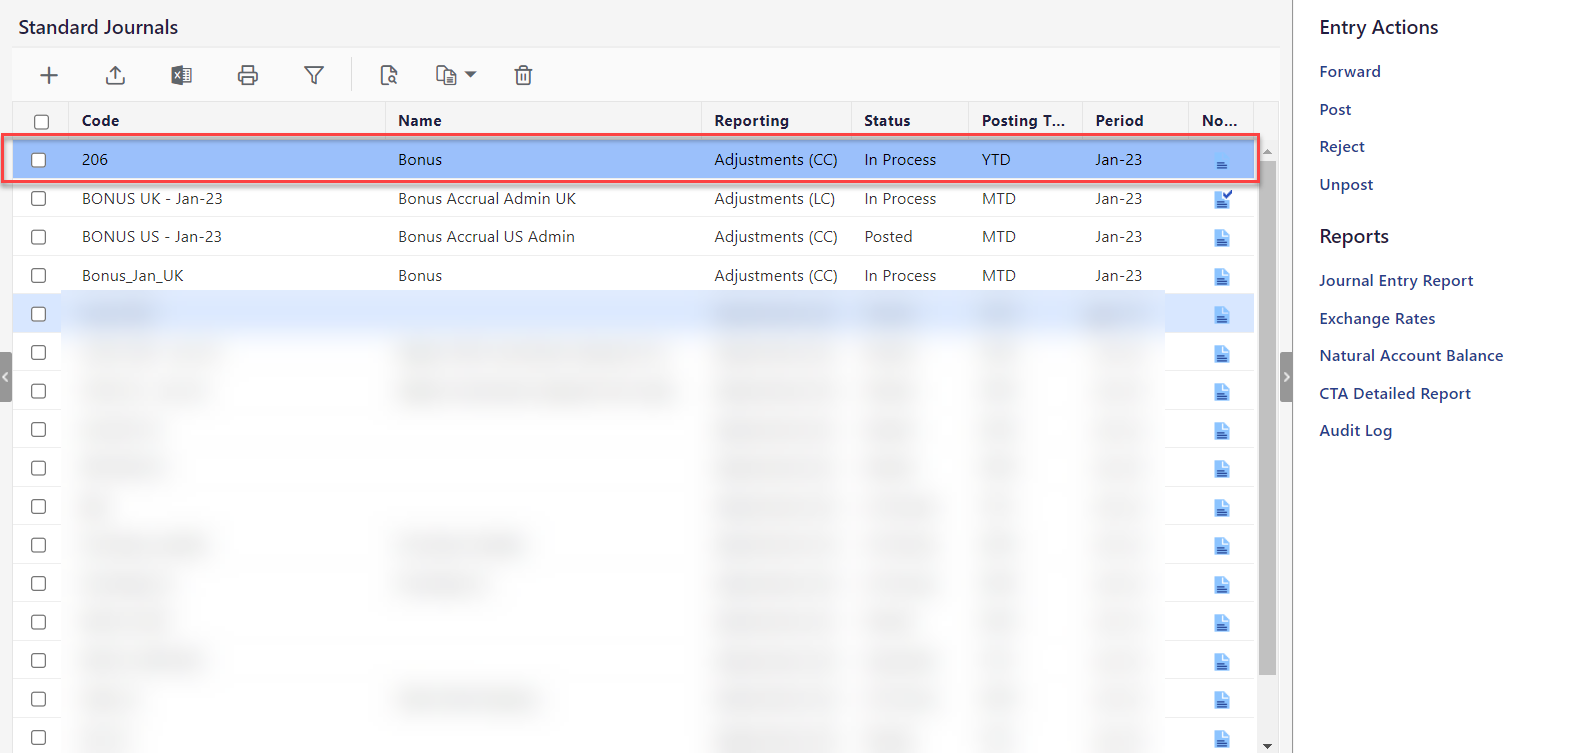
The journal enters In Process status.
How to Post a Standard Journal?
Once you post all the journal entries successfully, the Entry Actions pane will no longer have any available actions. Perform the below steps to post a standard journal:
Navigate to the Consolidation > Consolidation Control Panel > Processes tab.
Select values for Scenario, Period, and Entity.
Under Processes, click Standard Journals.
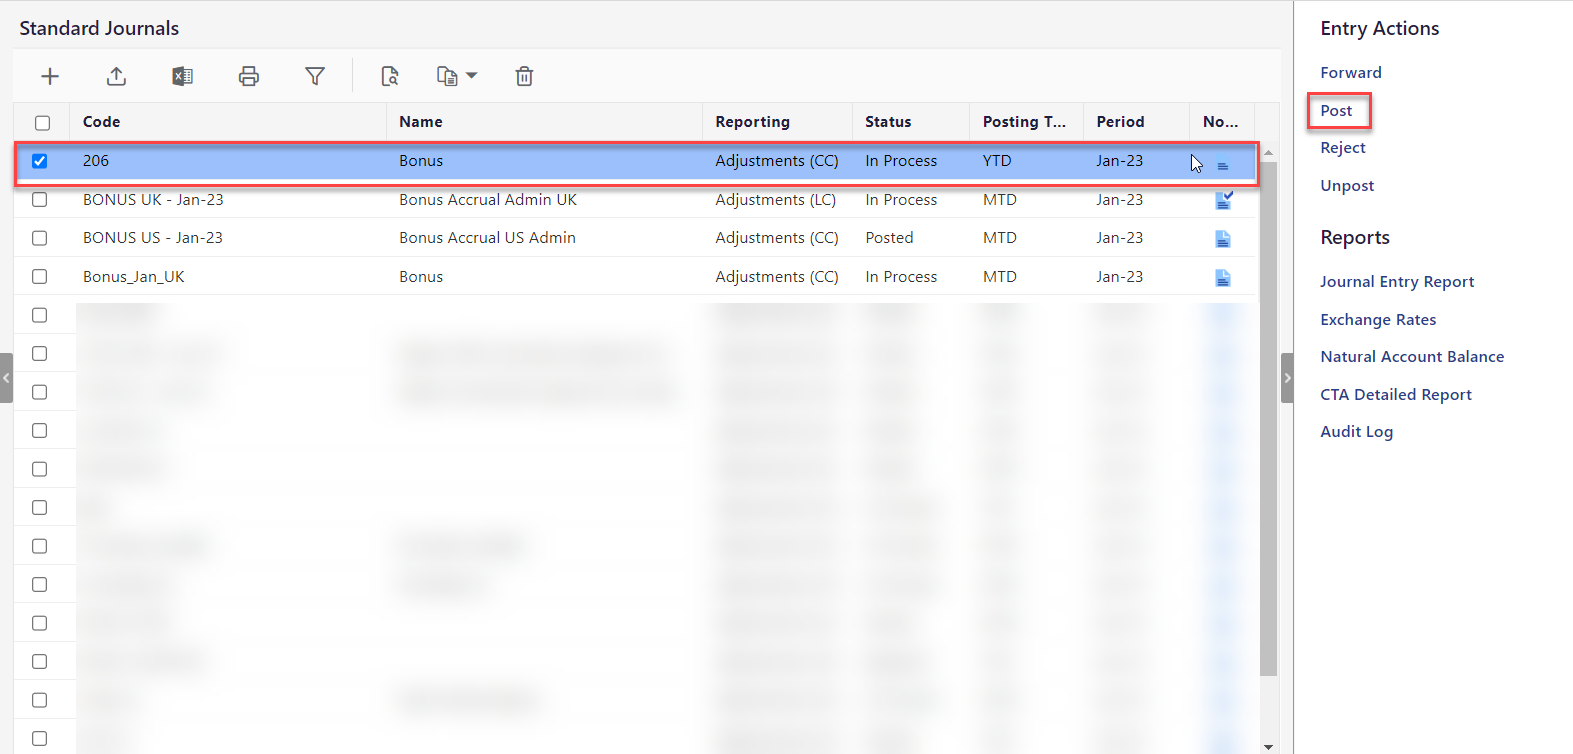
Select a journal with a status other than Posted.
Under Entry Actions, click Post.
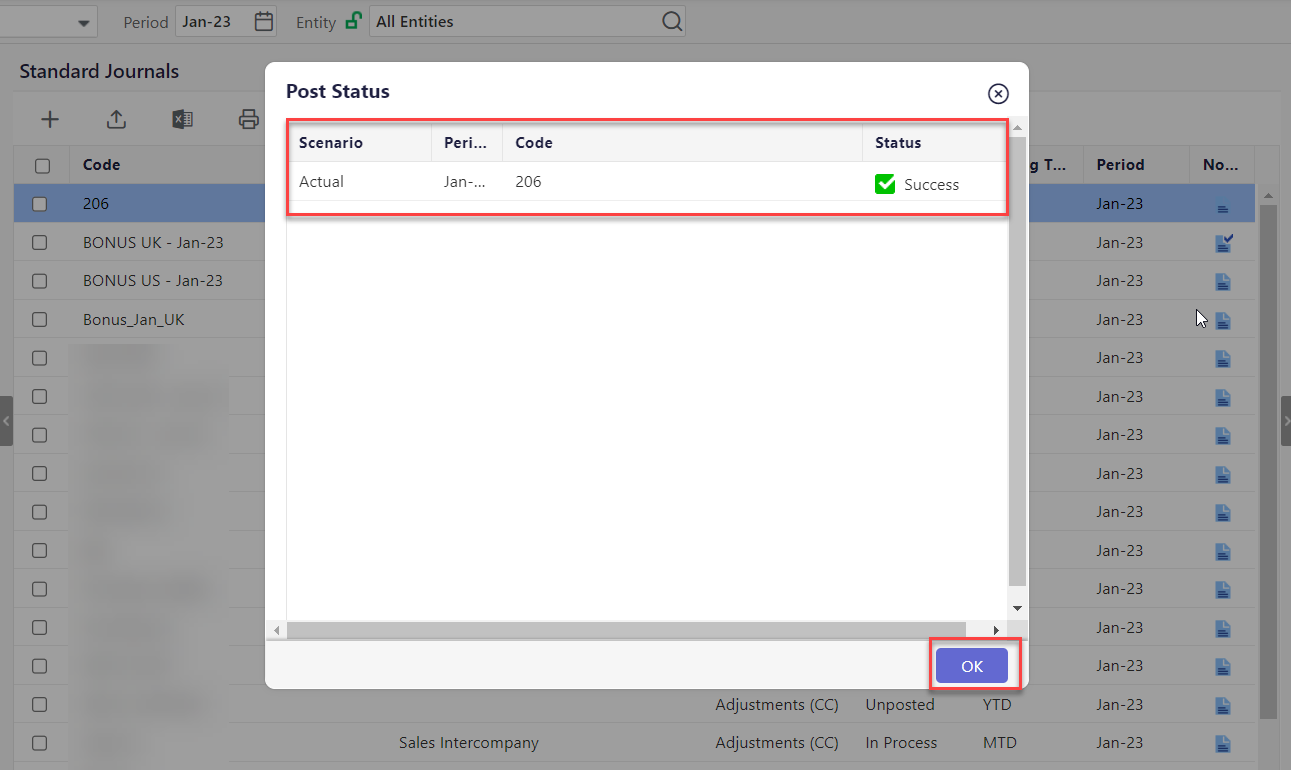
The Status column displays Success if the journal entry is posted successfully. Otherwise, the Status column displays Failure. Click OK.
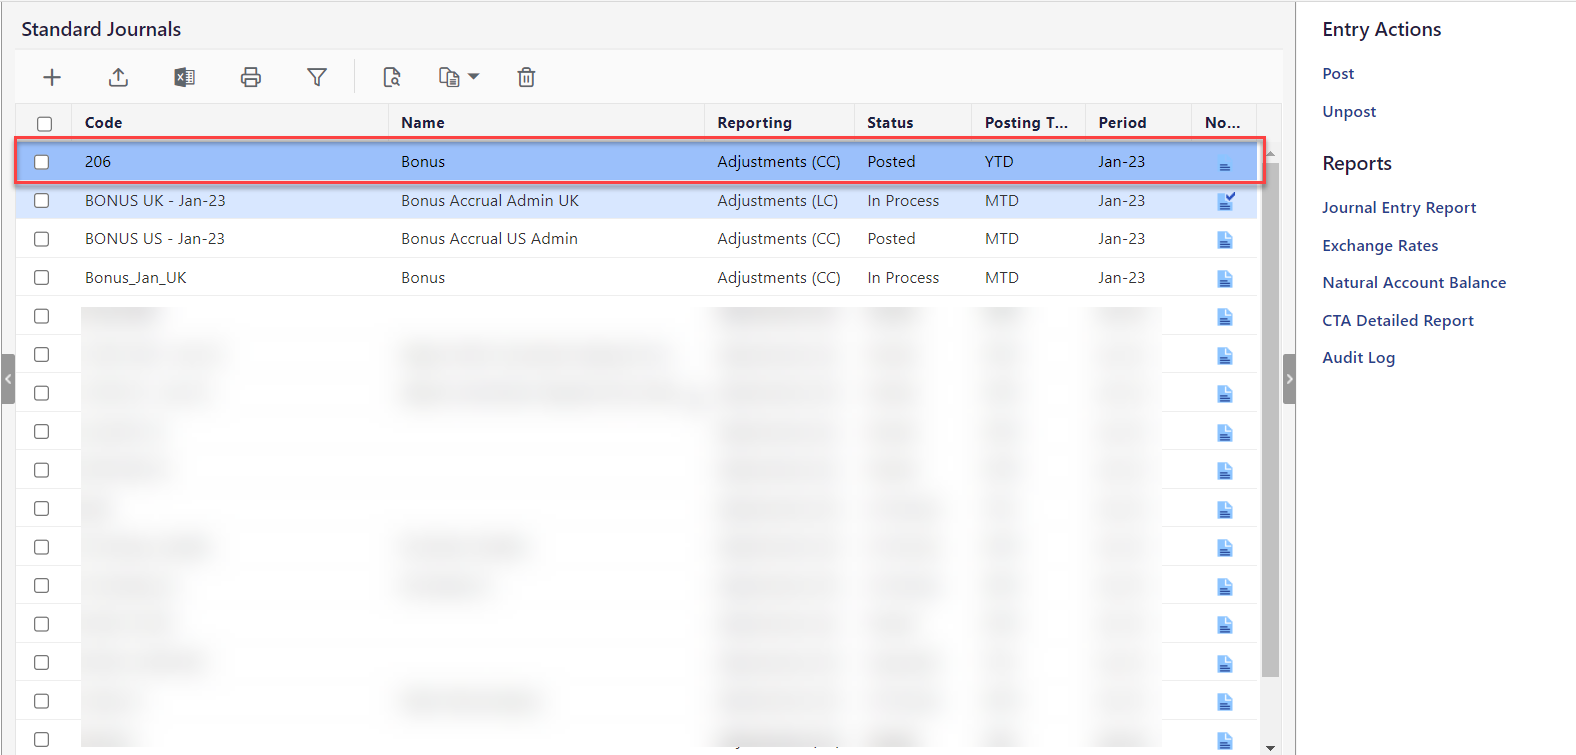
The journal will be Posted.
What Happens When I Post an Auto-Reversing Journal?
When adding a Standard Journal, if you select the Auto-Reversing option for an originating entry, the Post process creates an Auto-Reversing entry in the Approved state.
If the posting of an originating entry fails, the Auto-Reversing entry will not be created in the subsequent period.
When posting a journal with the Auto-Reversing option, the Post Status dialog indicates whether the Auto-Reversing entry is successfully created.
If the originating entry is posted for the last period, you cannot create the Auto-Reversing entry until you extend all your application periods. You can extend the application period from the Define Fiscal Year settings available on the Configuration Tasks List page. You can navigate to this page from Maintenance > Administration > Configuration Tasks. This creates a new partition in the following year where the auto-reversing entry is posted
If you post the originating entry for the last fiscal period of a year, you will receive an alert indicating that you are about to create an auto-reversing entry in the next fiscal year.
If an Auto-Reversing Journal entry fails to post properly, it remains in an Approved state until you resolve the issue and perform the Post action again.
How to Unpost a Standard Journal?
You can change the status of journals that belong to current or prior periods from Posted to Unposted. When a journal entry is unposted, a message appears indicating whether the unpost was successful. If a journal entry unpost fails, hover over the Failure Status to determine the reason for the error. A journal entry that has been unposted successfully will enter the Unposted status, and the In Process action will be available inside the Entry Actions pane. You can rework on the unposted journal entries by clicking the In Process action and forwarding them after making the necessary changes.
Note:
You must unlock a locked period prior to unposting a journal. You can unpost one prior period at a time. If you unlock a period and unpost an entry, you may have to reconsolidate the prior period and all subsequent periods up to the current period to ensure accurate financial results.
Perform the below steps to unpost a standard journal:
Navigate to the Consolidation > Consolidation Control Panel > Processes tab.
Select values for Scenario, Period, and Entity.
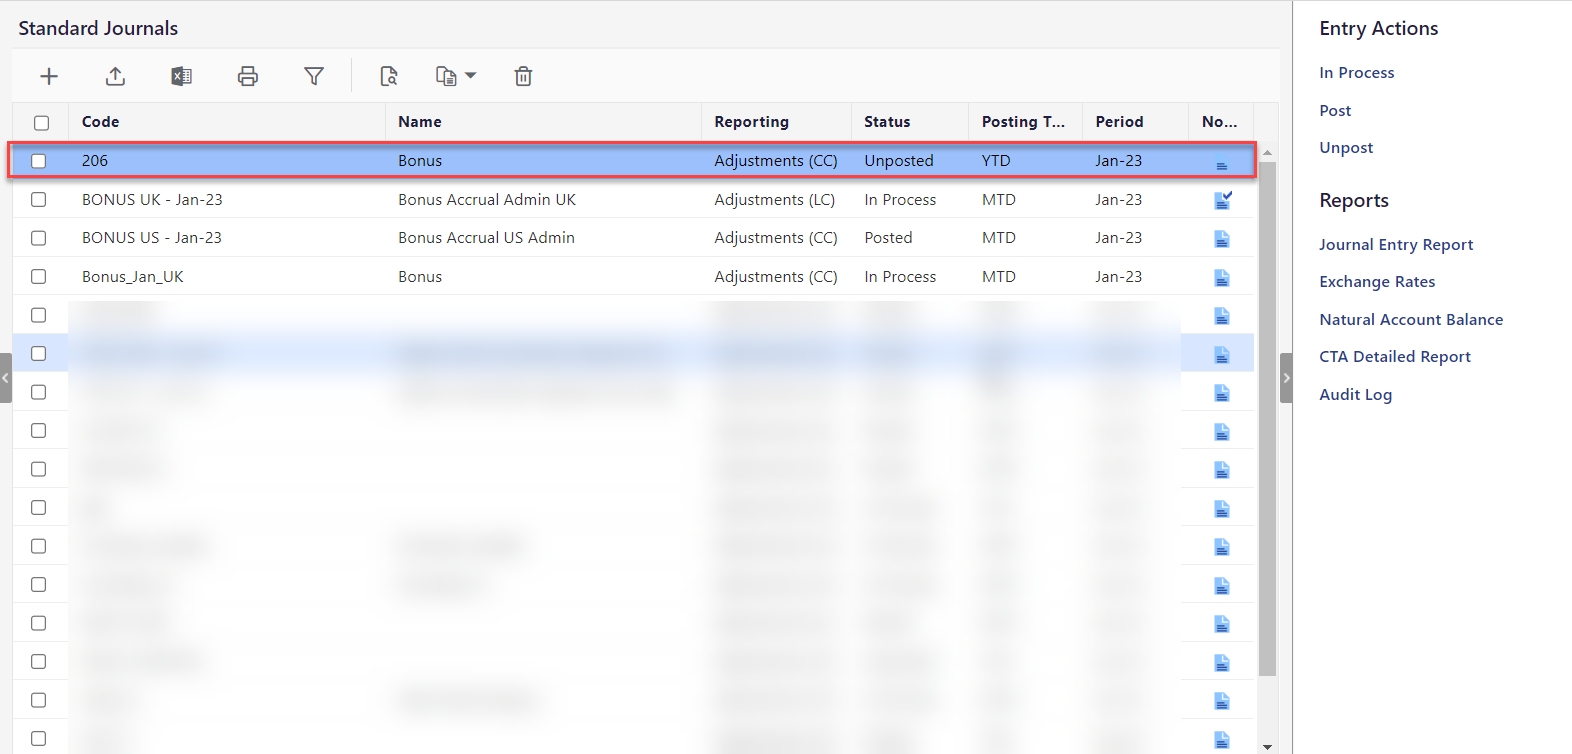
Under Processes, click Standard Journals. The Standard Journals grid appears.
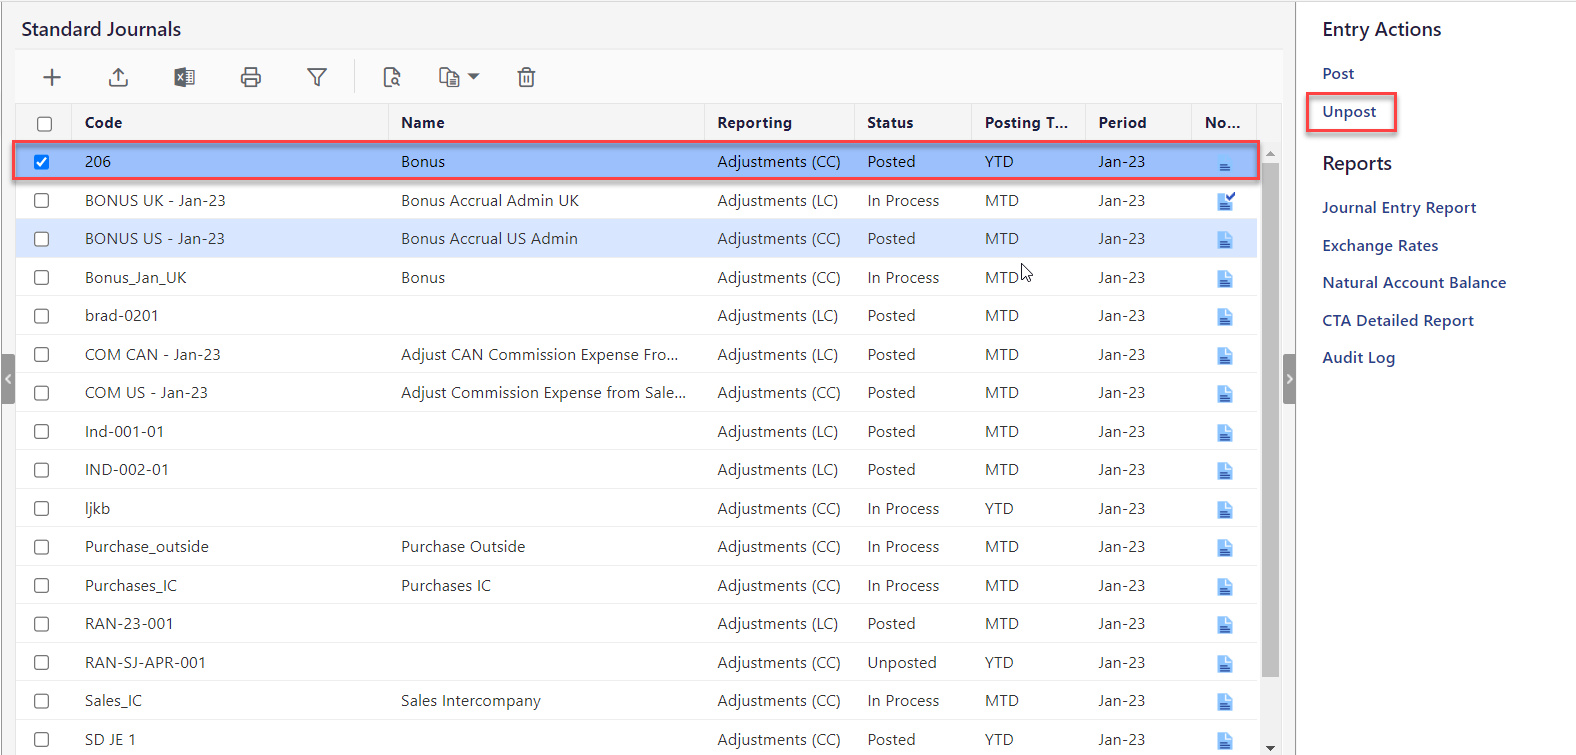
Select the posted Standard Journal, under Entry Actions, and click Unpost.
The Unpost Status dialog appears. The Status column displays the unpost result for the Standard Journal. The Success status is shown if the journal entry is unposted successfully.
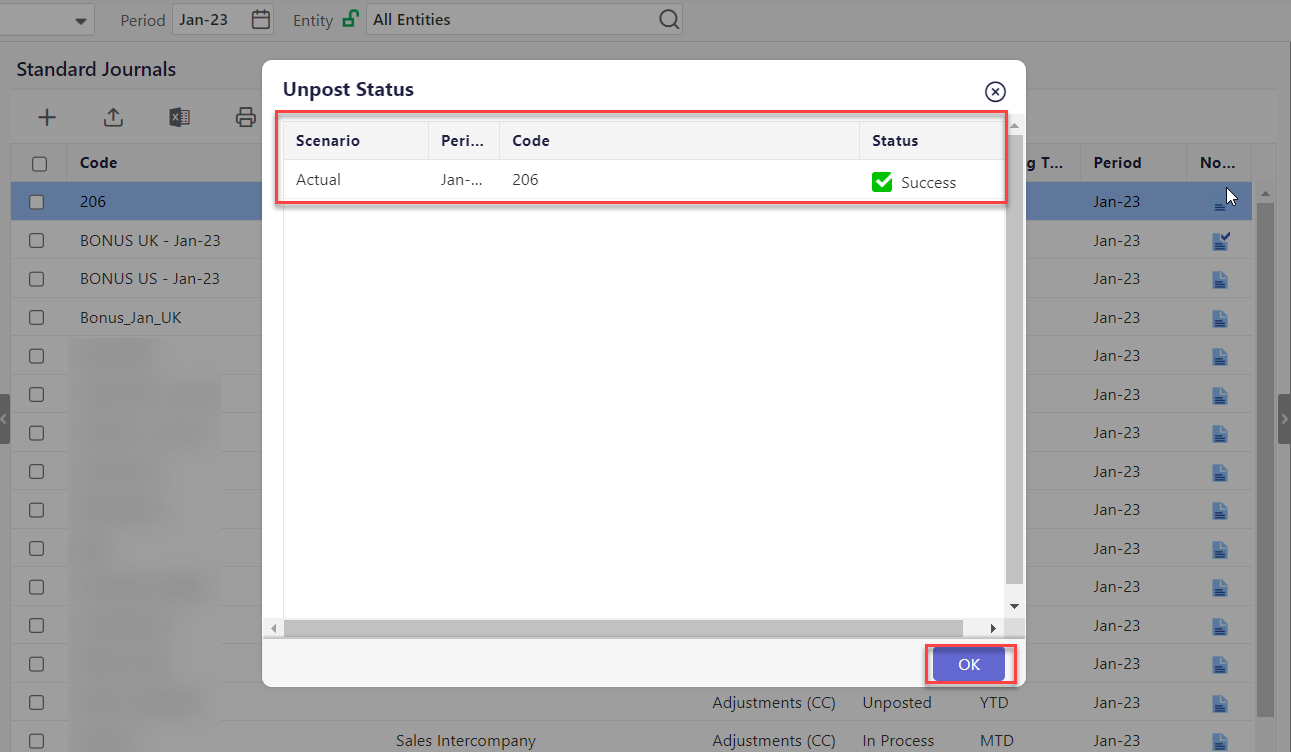
The journal is Unposted.
Unpost an Auto-Reversing Journal
Posted originating Auto-Reversing Standard Journals can be unposted. When unposting a journal with the Auto-Reversing option, the Auto-Reversing entry is unposted and deleted. The procedure to unpost an Auto-Reversing entry is the same as an originating entry.
Was this article helpful?