How to Lock Dimension Members
- 1 Minute to read
- Print
- DarkLight
- PDF
How to Lock Dimension Members
- 1 Minute to read
- Print
- DarkLight
- PDF
Article summary
Did you find this summary helpful?
Thank you for your feedback
This task is for Contributors and Power Users.
You can lock specific members or combinations of members in a model to prevent modification. This is useful when you want to allow data input for a specific segment of data only. For example, lock Actual data from modification, but allow input for all Budget data.
Data Locking is a two-step process:
- Set up the data-locking definitions.
- Turn on or off all data locking in the application on the Manage, Application Administration, Application Settings page. This step must be done by a Power User.
Data Locking Setup
- Select the Model task and the Model Administration, Data Locking subtask.
- Select the model that you want to lock. You will see the dimensions listed as column headings.
- Use the drop-down under each dimension column to select the member(s) that you want to lock. If you select a parent-level member, all leaf level members under that parent will be locked, but the parent-level members will not be locked.
- Click Save.
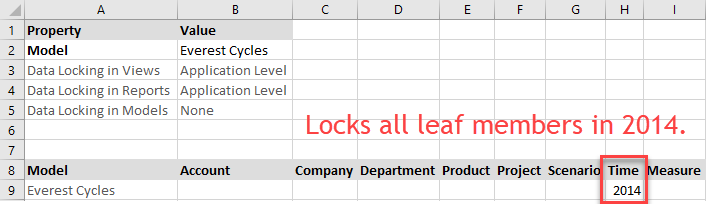
The following example locks all data in member combinations that include any leaf members in the 2014 hierarchy in the Time dimension.
The following example locks all data in member combinations that include any leaf members in the 2014 hierarchy in the Time dimension and locks all data in member combinations that include Actual in the Scenario dimension.

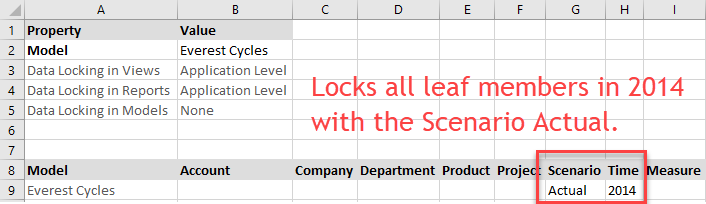
The following example locks all data in member combinations that include any leaf members in the 2014 hierarchy in the Time dimension and Actual in the Scenario dimension.
Turn Data Locking On or Off
- Select the Manage task and the Model Administration, Application Settings subtask.
- Under the View Properties section, select Application Level or None for Dimension Based 'Locked' for Views.
- Under the Report Properties section, select Application Level or None for Dimension Based 'Locked' for Reports.
- Under the Model Properties section, select Application Level or None for Dimension Based 'Locked' for Models.
- Click Save.
Note:
Data Locking in Models is an opt-in feature. You must call Planful Support if you want to use Model Data Locking. Model Data Locking prevents any map, formula, calculation, data load, or API call from modifying the data that is locked.
You must logoff and login again for the settings to take effect.
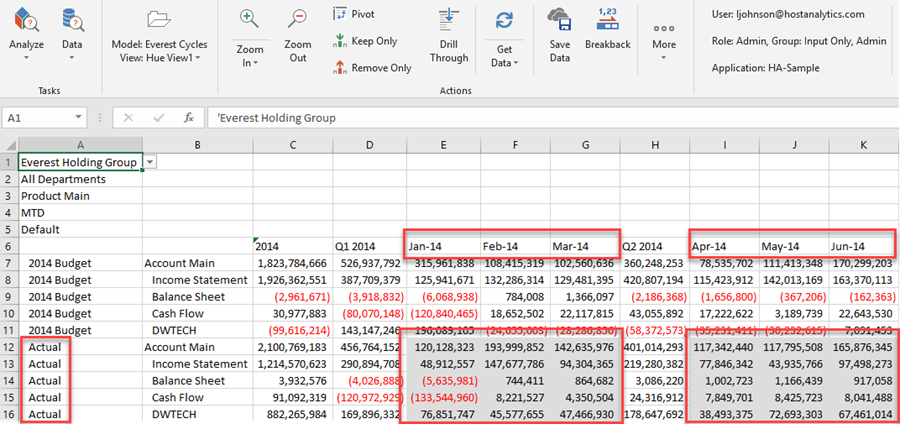
Data that is locked appears with a gray background in views and reports.
Was this article helpful?