How to Schedule a Template Snapshot in Cloud Scheduler
- 1 Minute to read
- Print
- DarkLight
- PDF
How to Schedule a Template Snapshot in Cloud Scheduler
- 1 Minute to read
- Print
- DarkLight
- PDF
Article summary
Did you find this summary helpful?
Thank you for your feedback
Article Summary
This help article provides a step-by-step guide to schedule recurring template snapshots using Cloud Scheduler. This automates backups, preserves version history, and supports template recovery. Includes steps for task setup, scheduling, and monitoring via Job Manager.
The Template Snapshot feature allows users to create a recurring schedule for the template snapshot creation. Once scheduled, the Cloud Scheduler will automatically create snapshots. This ensures the template is consistently backed up at the roll-up level without continuous user intervention. It also maintains the history of template versions, providing easy comparison, analysis, and recovery.
Note:
A maximum of 20 snapshots is allowed per template. When this limit is reached, the oldest snapshot is deleted automatically when a new one is created.
To schedule a template snapshot in the cloud scheduler:
Navigate to Maintenance > Administration > Cloud Scheduler.
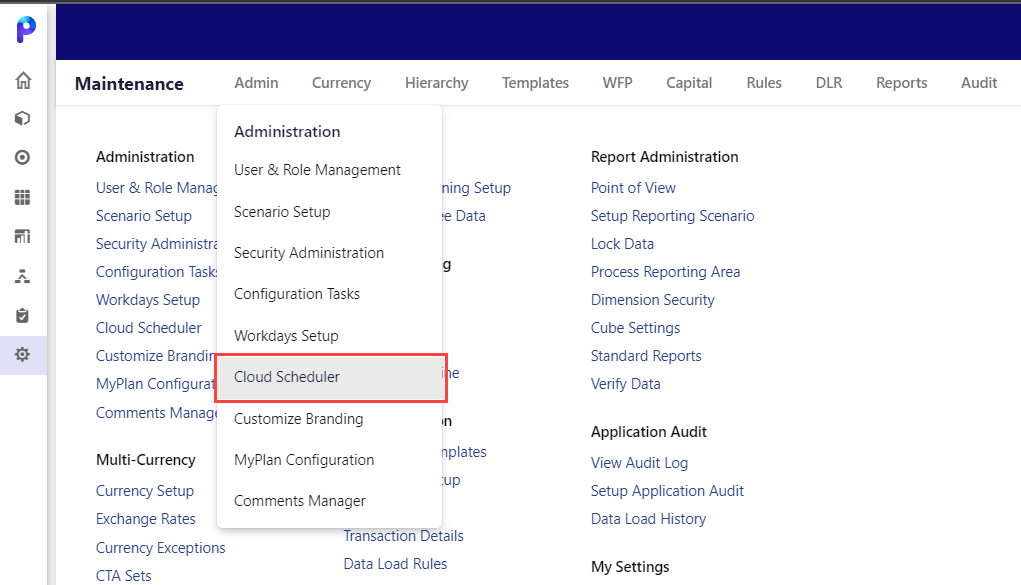
Or Access the Cloud Scheduler directly from the Planning Control Panel when creating a snapshot at the leaf level.
Note:
Access to Cloud Scheduler is restricted to users with the inappropriate permissions. If access is disabled, contact your administrator for assistance in enabling access to Cloud Scheduler.
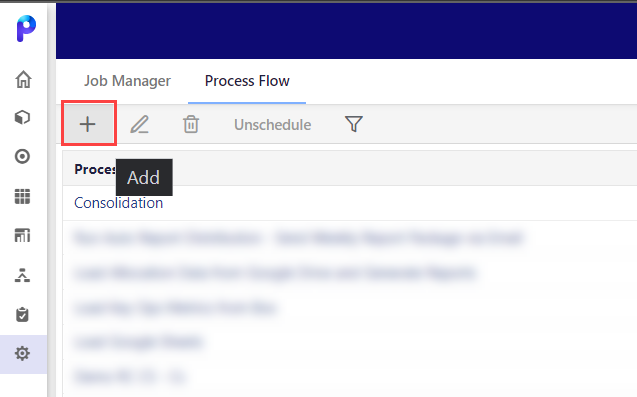
Click Add from the Process Flow page.
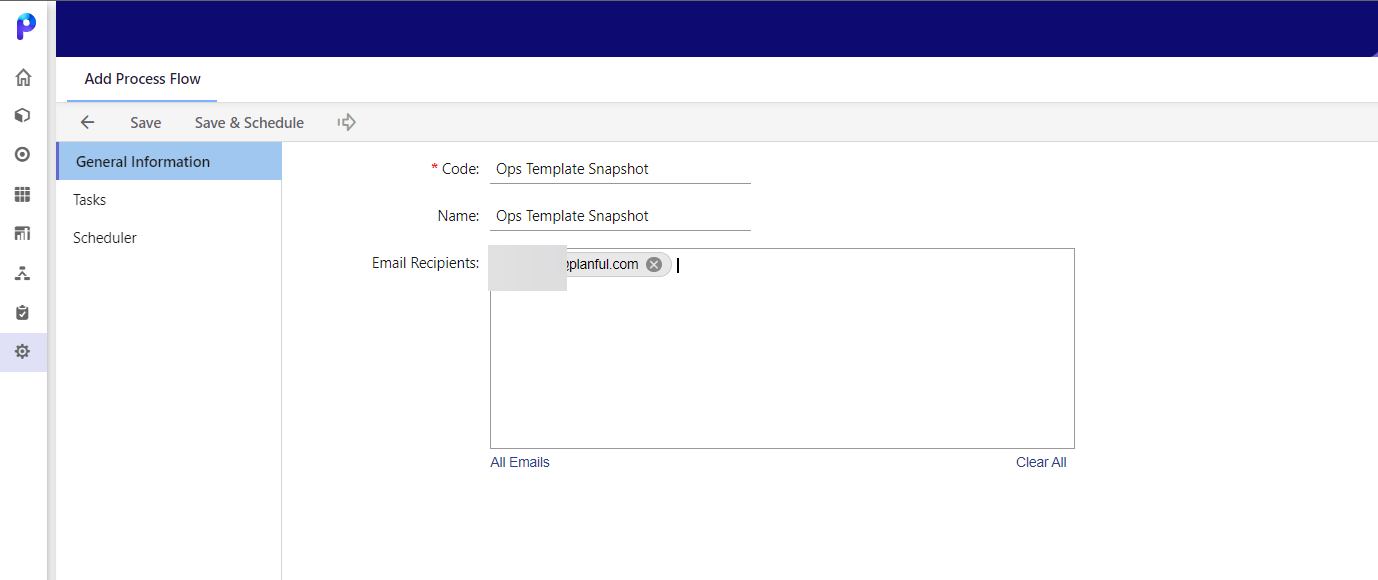
Three tabs are displayed on the Add Process Flow page: General Information, Tasks, and Scheduler.Fill in all the details in the General Information.
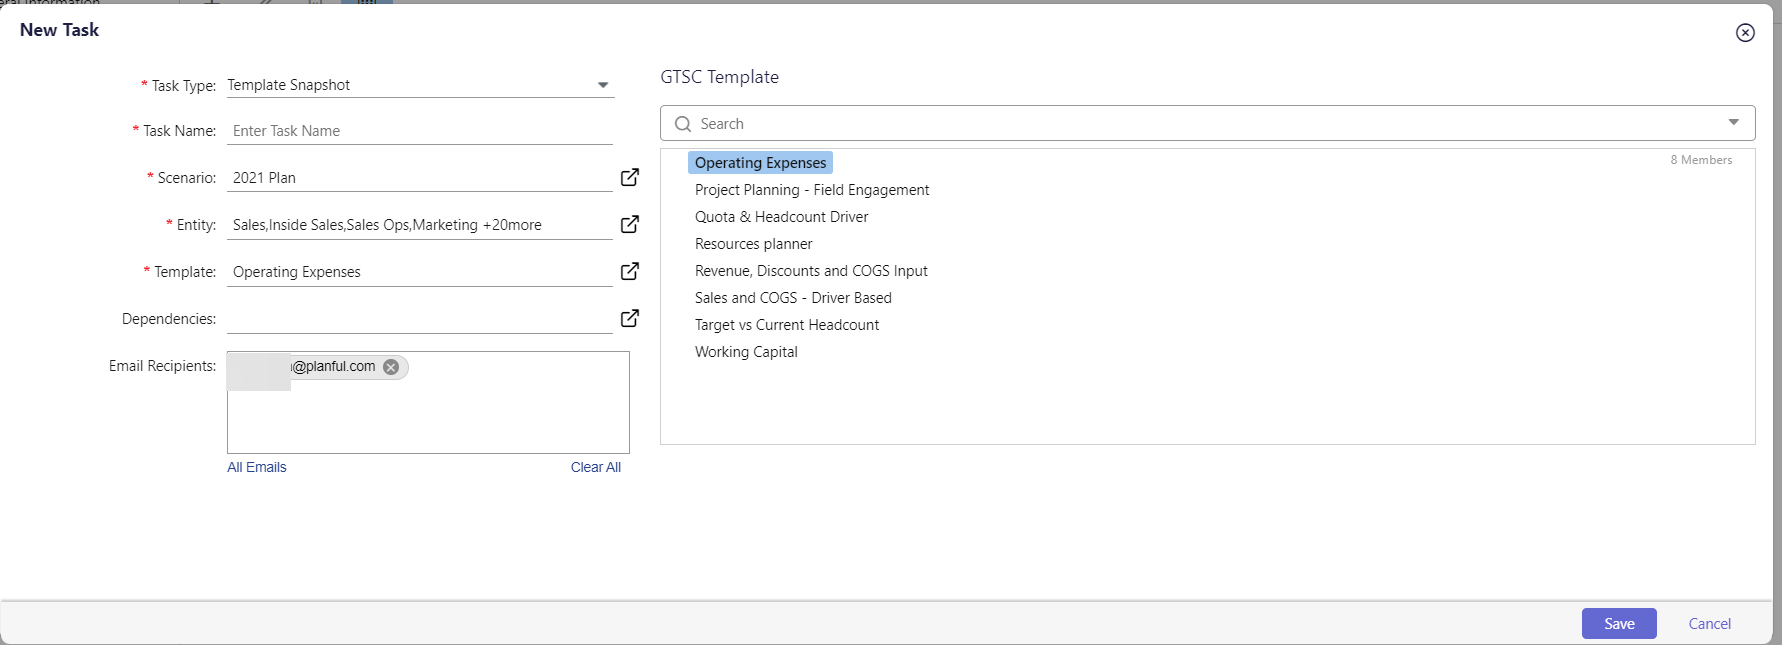
Now, go to Tasks > Add Task, and on the New Task popup, select Template Snapshot from the Task Type.

Enter the Task Name, Scenario, Entity, Template, and Dependencies (this is an optional field) and click Save.
Use the Scheduler tab to run the process flow at a scheduled date, time, or a selected frequency.
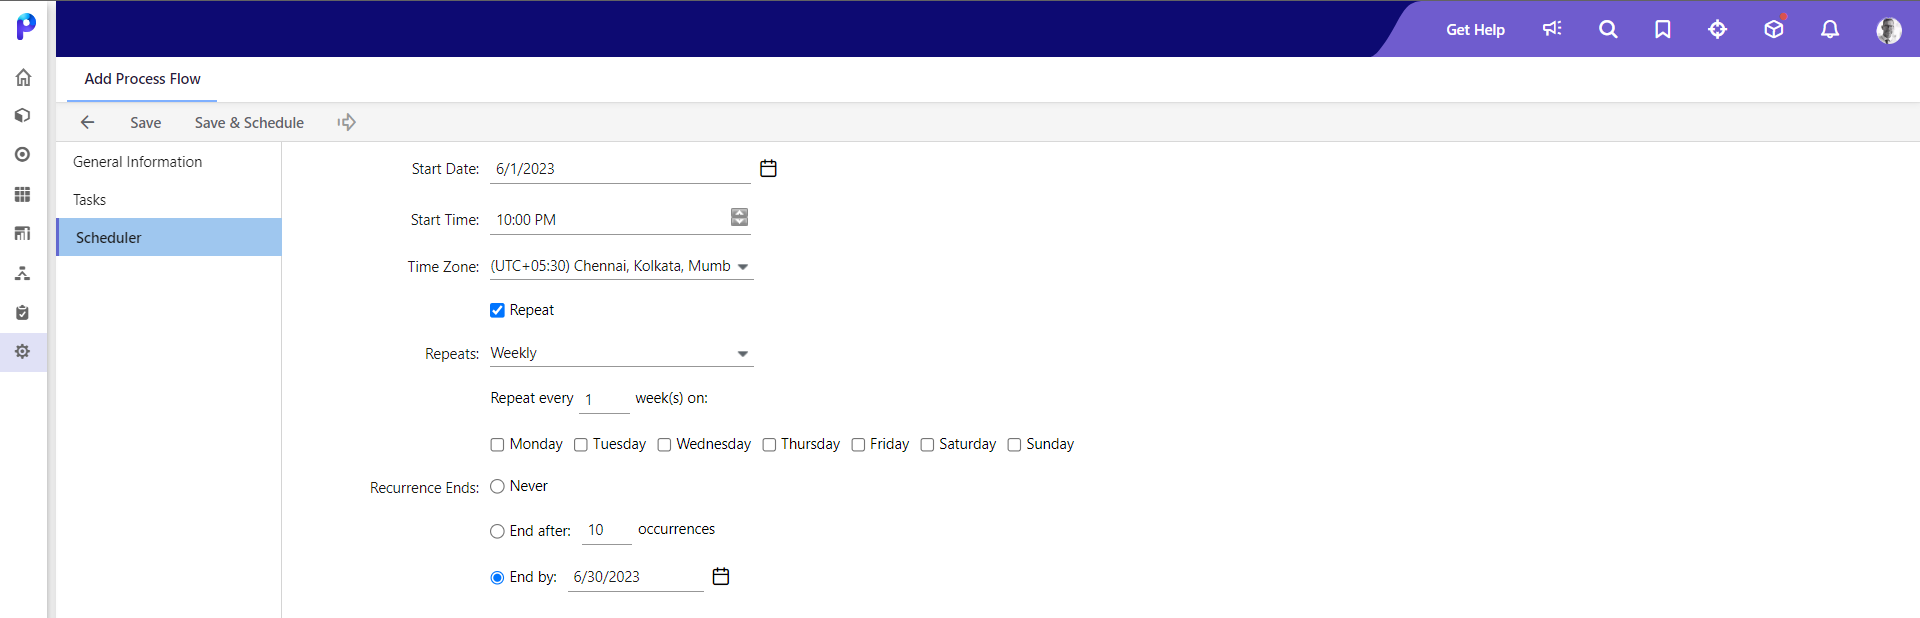
Click Save or Save & Schedule to save the task.
Or click Run to run the scheduler immediately.
Go to the Job Manager to view the completed process and the status of each run.
Was this article helpful?