Reclassifications
- 8 Minutes to read
-
Print
-
DarkLight
-
PDF
Reclassifications
- 8 Minutes to read
-
Print
-
DarkLight
-
PDF
Article summary
Did you find this summary helpful?
Thank you for your feedback
Reclassification Entries are usually used to correct financial information that has been incorrectly posted against an intersection within the database. For example, if $500 dollars was recorded in the wrong GL account, you can move the amount to the correct GL account with a Reclassification Entry.
Add a Reclassification
The steps below walk you through the procedure to add a Reclassification Entry.
In the Consolidation Control Panel, under Processes, click Reclassifications. The Reclassifications grid appears.
.png)
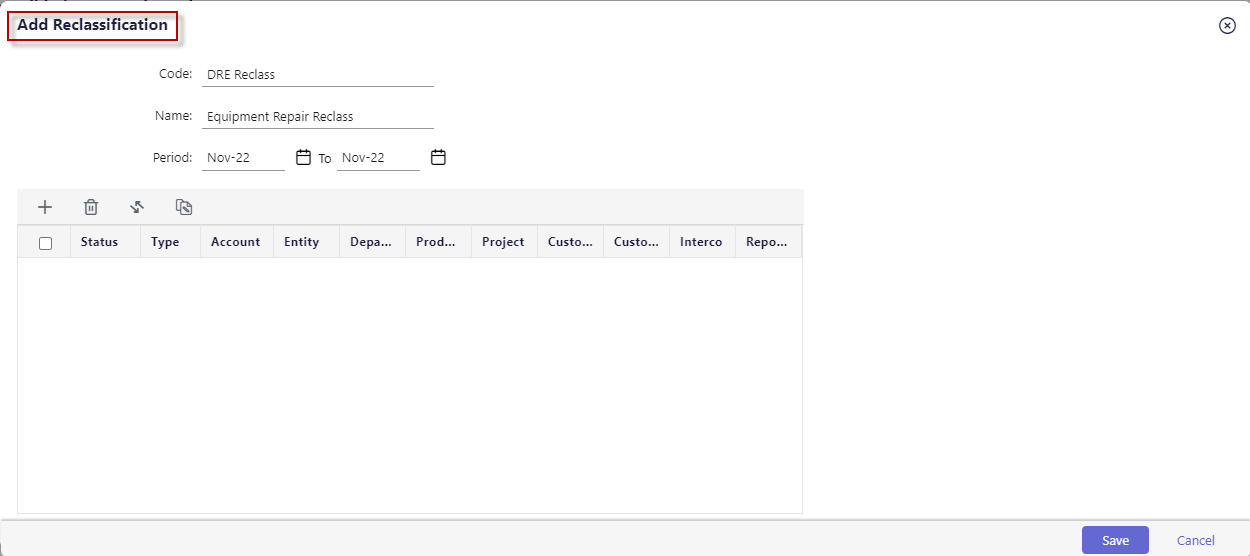
Click Add. The Add Reclassification dialog appears.
Enter a code of your choice in the Code field.
Enter a name in the Name field.
Select the month and year range in the Period field. During the selected time period, the Reclassification is active.
In the grid that displays segment columns based on the application configuration and user's security, set up a Reclassification Entry by performing the following steps:
Click Add Row. A new row is added.
Do one of the following to set up the values for each column:
Complete the values in the UI directly, by either typing the values or selecting the value.
Paste copied line items from an Excel spreadsheet to the journal entry grid. You may copy/paste all values, including description, segments, and debit/credit values. Use shortcut keys (Ctrl+C and Ctrl+V).
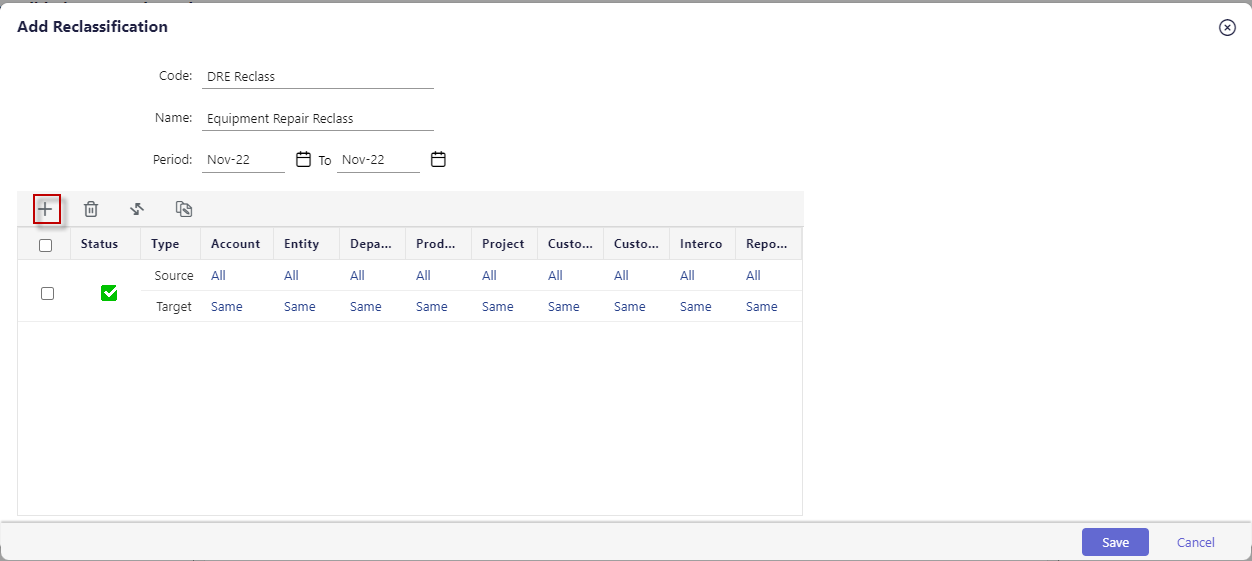
To change the default selections for source and target segment columns, follow the information below:
For a source type line, the default selected value for segment columns is All. To select specific members for a column, click All, clear the checkbox for the column shown on the right, and then select the checkbox for the members from the list that appears. If you select more than one member, Multi is shown in the segment column.
For a target type line, the default selected value for segment columns is Same. To select specific members for a segment column, click Same, clear the Same as Source checkbox shown on the right, and then select the members from the list that appears. Only one member can be selected. For the Reporting dimension, you can use Reclass in the Target. When Reclass is used, the system dynamically determines the posting type: Reclass LC for Local Currency companies and Reclass CC for Common Currency companies
Click Save.
Import Reclassification
The Import functionality for Reclassification journals allows you to import a single reclassification journal with multiple line items in one click.
To import a Reclassification journal, do the following:
Navigate to Consolidation to open the Consolidation Control Panel.
Click Reclassifications under Processes. The Reclassifications grid appears.
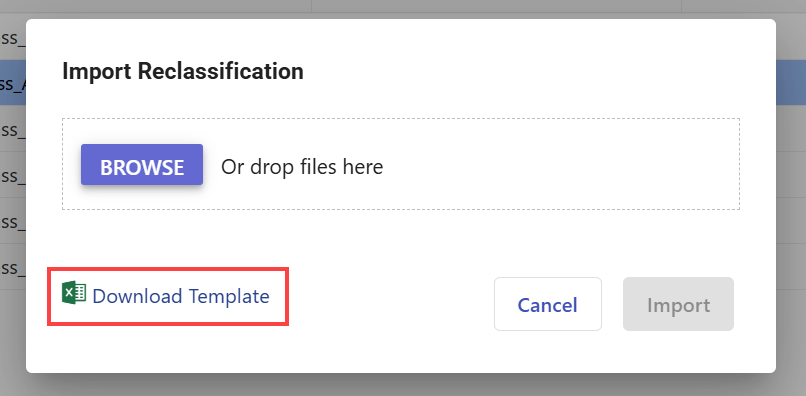
Click on the Import button, and the Import Reclassification pop-up appears.
.png)
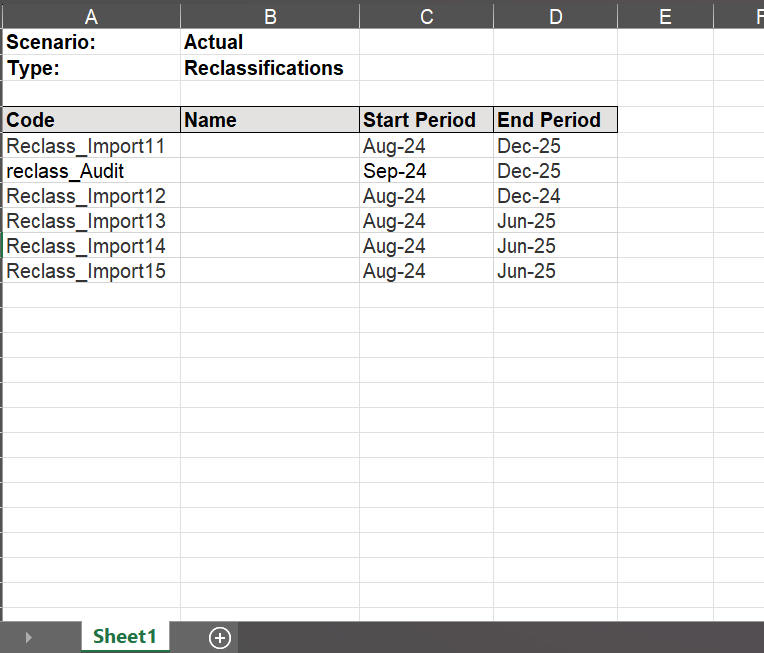
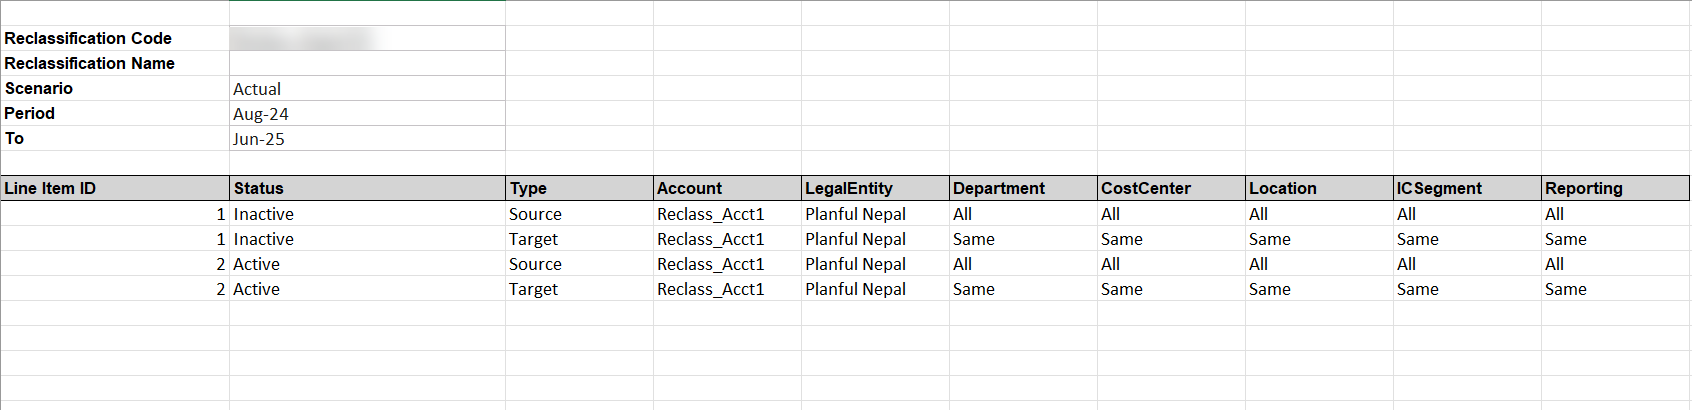
Click Download Template to download the sample template into your system.
Enter all the required details into the template.
Notes:The Reclassification Code must always be unique, and no special characters are supported.
The status for source and target types in line items must be unique.
The Scenario selected in the Consolidation Control Panel for Reclassifications and the Reclassification Import template must be the same.
If there are multiple companies for a line item, separate them using commas.
Enter a valid code from Planful for the Source or Target for each dimension. Use 'All' for all values in the Source and 'Same' to retain the Source value in the Target. For the Reporting dimension, you can use Reclass in the Target. When Reclass is used, the system dynamically determines the posting type: Reclass LC for Local Currency companies and Reclass CC for Corporate Currency companie
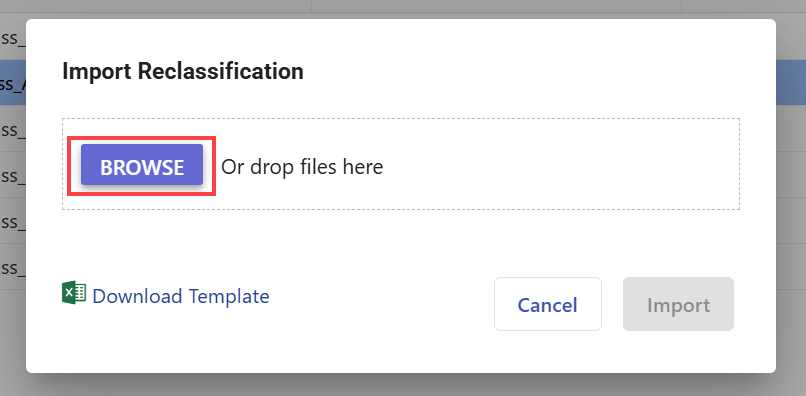
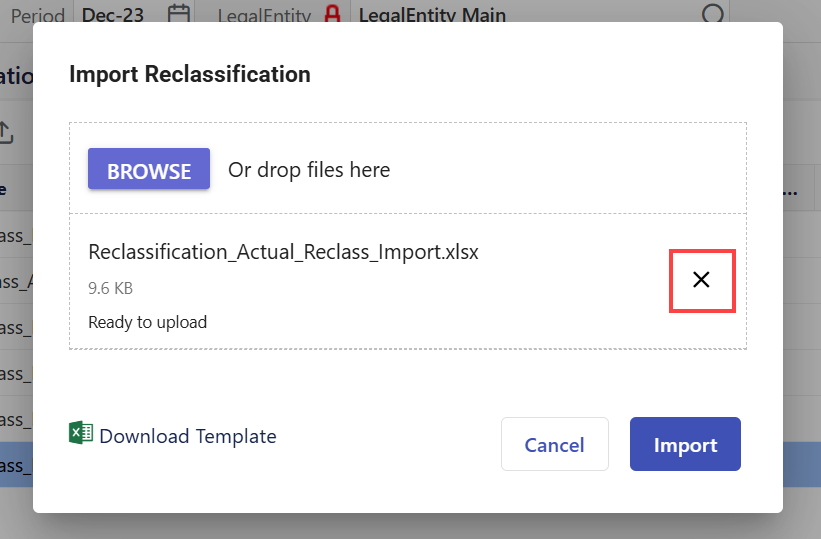
Now, return to the Import Reclassifications pop-up and click the Browse button. You can also drag and drop the file.
 Notes:
You can import only one file at a time.
Only the Excel file type is supported.
You can also delete the uploaded file by clicking on the X button and uploading another file before importing.
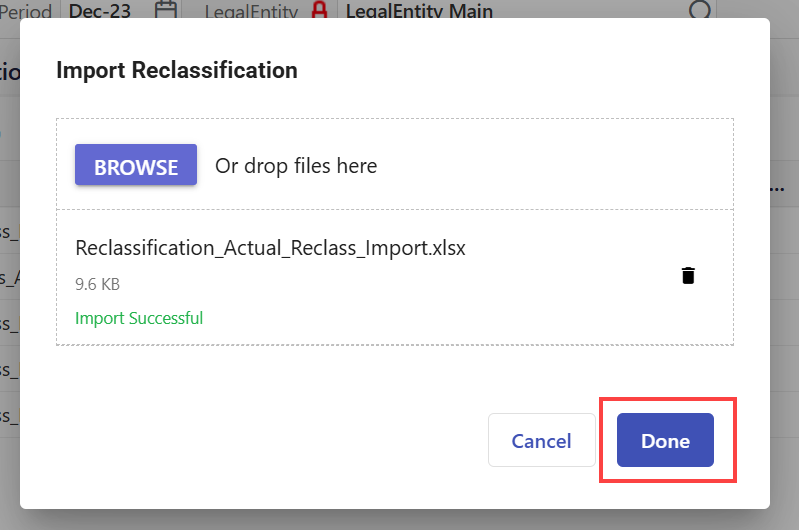
Click the Import button. If the import is successful, click Done.
If the import fails, click the Download Error Report button to understand the errors and upload again.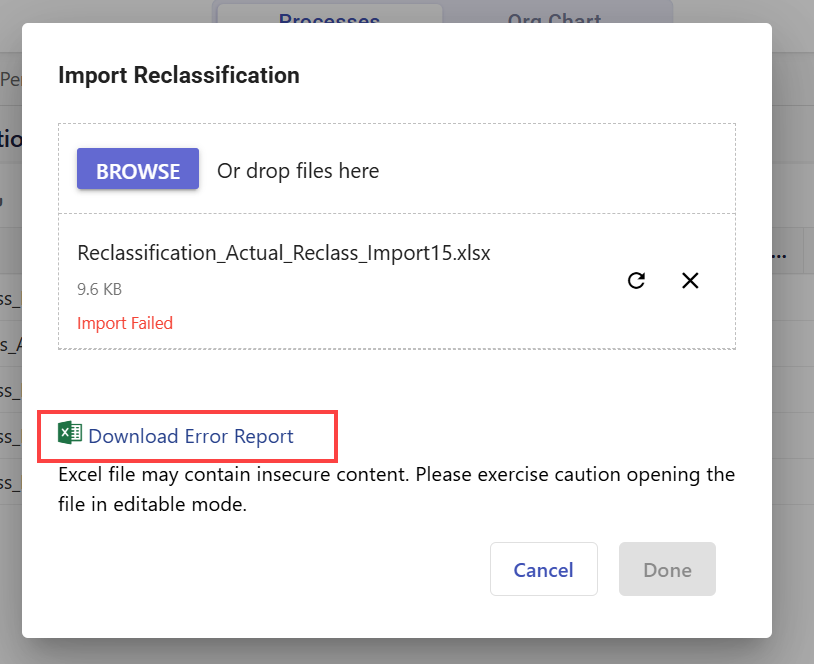
Export Reclassification
The Export button offers two options:
Summary Report: Select this option to export a report that gives an overview of all journals.
Detailed Report: Select this option to export all line items within a selected reclassification journal.
.png)
How to Download Detailed Report and Summary Report?
To download the detailed report and summary report, do the following:
Navigate to Consolidation and open the Consolidation Control Panel.
Click Reclassifications under the Processes section to display the Reclassifications grid.
To export a Summary Report, click the Export > Summary Report. This downloads a summary of all reclassification journals.
To export a Detailed Report, select a reclassification journal from the grid, then click Export > Detailed Report.
Notes:- A reclassification journal must be selected to become active for the Detailed Report option.
- Only one journal can be selected at a time. The detailed report will include all line items for the selected journal.
Copy a Reclassification within the Same Scenario
In the Consolidation Control Panel, under Processes, click Reclassifications. The Reclassifications grid appears.
Select a Reclassification.
Click Copy and select Copy Single. The Copy Reclassification dialog appears.
.png)
Complete all the fields.
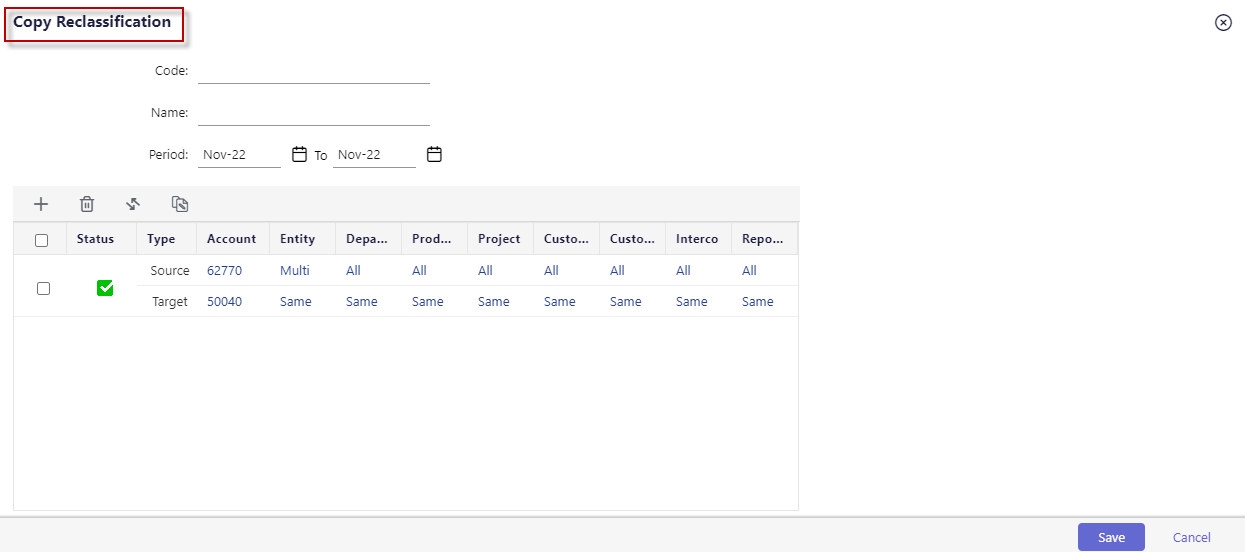
Click Save.
Copy a Reclassification from One Scenario to Another
Access the Consolidation Control Panel.
Select the scenario from which you want to copy the Reclassifications.
Select the Reclassification process and click the checkbox next to the entry you want to copy.
Click the Copy button and select Copy Multiple. The Copy Reclassification page appears.
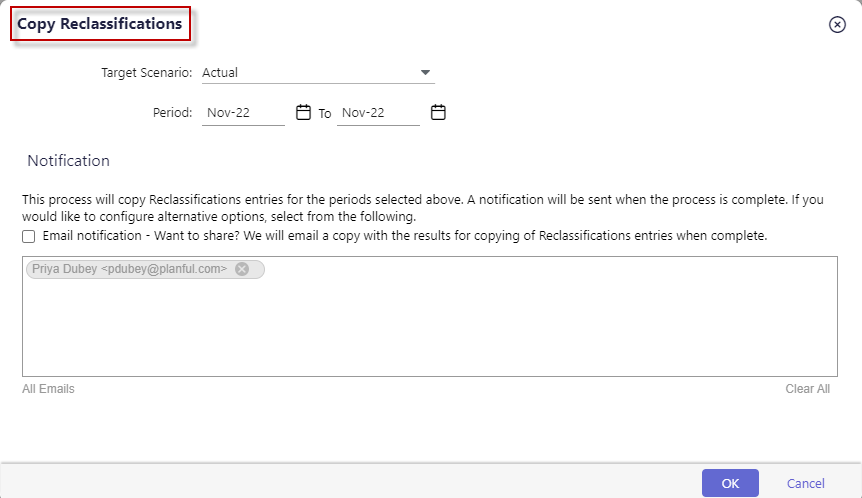
Enter a Code and Name and select period dates.
Select the Target Scenario.
Complete all selections based on the process being copied.
Click Save.
If you select multiple Reclassifications to copy, the Copy Single option will not be available.
Note:
When a copy is performed, the action is logged in the Audit Log.
Edit a Reclassification
In the Consolidation Control Panel, under Processes, click Reclassifications. The Reclassifications grid appears.
Select a Reclassification to enable Edit, Copy, and Delete options.
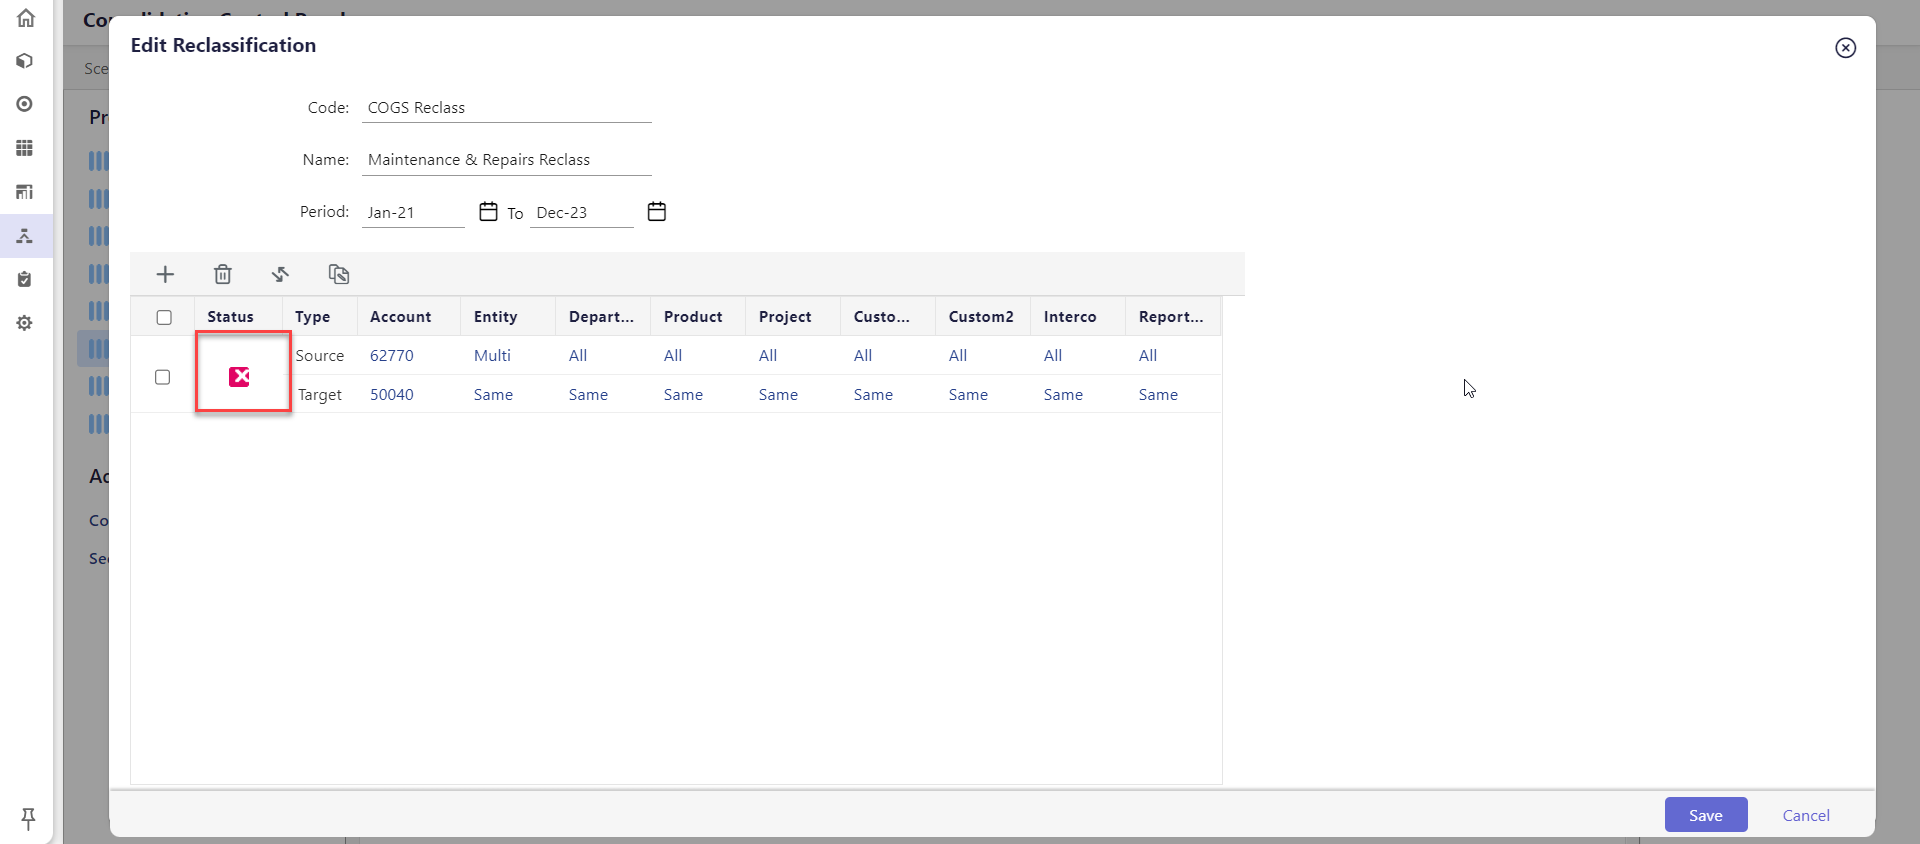
Click Edit. The Edit Reclassification dialog appears.
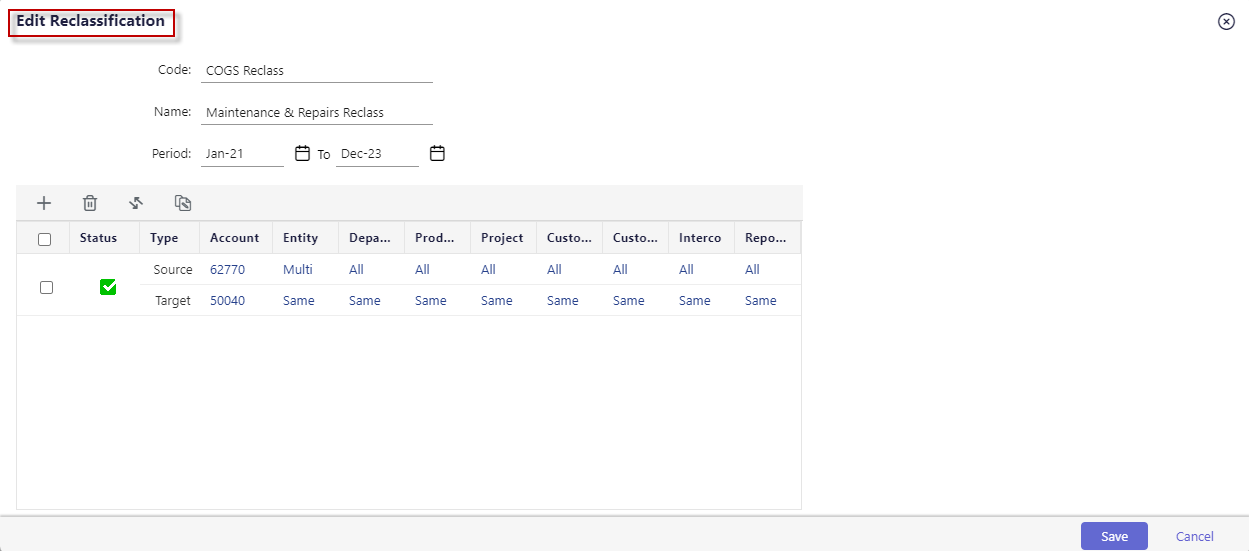
Edit as needed.
Click Save.
Run the Consolidation Process.
Delete a Reclassification
In cases where you need to delete a Reclassification (such as a mistake made when entering and/or posting data), follow the steps below.
In the Consolidation Control Panel, under Processes, click Reclassifications. The Reclassifications grid appears.
Select the checkbox for the Reclassification you want to delete.
Click Delete.
.png)
In the confirmation dialog that appears, click OK. The Reclassification is deleted.
Run the Consolidation Process.
Post a Reclassification
In the Consolidation Control Panel, under Processes, click Reclassifications. The Reclassifications grid appears.
Select the active Reclassification rule.
Under Entry Actions, click Post. The Reclassification Post dialog appears.
The Scenario field is read-only and indicates the scenario that will be used when posting Reclassifications.
Select the fiscal Year by using the calendar icon.
Select the Period by selecting a month range.
Select the Email notification checkbox if you want to send a notification about results when the process is complete, and then enter the email addresses of the recipients you wish to notify.
Click Post. The Reclassification Post dialog is exited. A message appears indicating that the Reclassification is submitted for posting based on the selected periods and includes a link to navigate to the Detail View for status.
Clear Data for Reclassification
To use the Clear Data functionality, users must have appropriate access. This can be configured in the Security window, where a new checkbox labeled Unpost/Clear Data under the Processes tab controls access to this option.
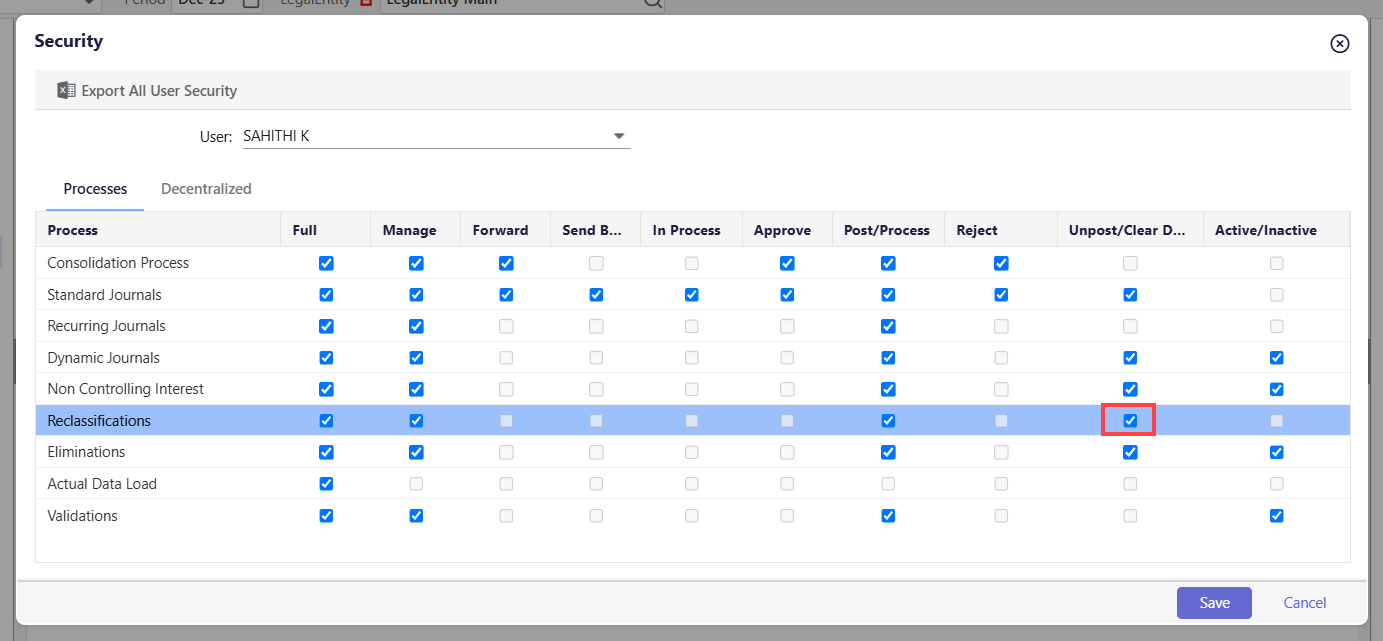
Ensure access is appropriately provided to those managing reclassification journals to perform Clear Data. Click here to learn more about the Security option.
Notes:
Clear Data fails for entries outside the period or within locked periods.
Clear Data works seamlessly regardless of whether Ivy Mode is enabled or disabled.
How to Clear Reclassifications Data?
To clear the data posted in the Reclassification journals, do the following.
Navigate to Consolidation to open the Consolidation Control Panel.
Click Reclassifications under Processes. The Reclassifications grid appears.
Select Reclassification journals and click Clear Data under Entry Actions. The Clear Reclassification dialog appears.
.png)
Complete the following selections:
The Scenario field is read-only and indicates the selected scenario that will be used when posting Reclassification entries.
Select the fiscal Year by using the calendar icon.
Select the Period by selecting a month range from the dropdown.
Select the Email notification checkbox if you want to send a notification about results when the process is complete. Enter the email addresses of the recipients you wish to notify.
.png)
Click Clear Data. The Clear Reclassification Data dialog is closed.
.png)
A message appears indicating that the Reclassification Clear Data request is submitted. After completion of clearing of data it includes a link to navigate to the Detail View for status.
Discontinue a Reclassification
It might be necessary to discontinue a Reclassification mid-year. If so, you must perform an additional step to ensure that the data is accurate for the period after the process is stopped.
For example, you have a Reclassification from Jan through October (assuming the Jan – Dec fiscal year) and you cease the Reclassification in November. Due to the calculation of the YTD/MTD values generated by the Reclassification Entry, this will cause the November values to be off by the reversal of the October entry for the Reclassification Entry. This is because the system assumes that YTD=0 when a zero value is calculated (i.e. Reclassification stops and no value is recorded for November). Therefore, it will calculate MTD based on YTD. When the assumption is YTD=0, MTD will have to reverse the previous month’s entry to get the YTD value to 0 (i.e. Debit of 125,458 in October would then be credited for (125,458) in November to achieve a YTD=0 in November as the Reclassification stopped).
When this situation occurs (stopping reversal mid-year), it may be necessary to perform a “reversing” entry in the month after the process is ended. To use the Reclassification example above where the Reclass is active for Jan – Oct and then becomes Inactive in November, perform the following steps.
Set the End Period to October in the Reclassification Entry. This will stop the execution of the Reclassification in November as November will not be considered as an Active period.
Then due to the reversal of the October Reclassification in November (assuming a Flow type account in Reclassification), book a Standard Journal Entry or Dynamic Journal Entry referencing the November reversal amounts with the opposite signs (if the November entry is a debit then credit, and vice versa). Once posted in November then there are no additional entries required for December as the reversal is a one-time entry only. This will ensure that the data that has been posted is in the correct accounts for reporting purposes.
Note:
The above action will apply for Income Statement (Flow type accounts) only as the Normal Data Input Type is MTD for these accounts. The Balance Sheet (Balance type accounts) will calculate correctly as the Normal Data Input Type is YTD for these types of accounts. This situation is consistent across all the processes (Reclassification, Non Controlling Interest, etc) within the Consolidation Module. If the process is executed for the entire year then there is no issue as the entries that are booked will be reversed in the following month and that will carry all the way to the end of the year with no roll forward from December to January (to use our Jan-Dec fiscal year) as we start the YTD values over again in January.
Clear a Post Reclassification Entry
Select Edit and make each row inactive by selecting the Status checkbox.
Click Save. The Status is updated.
Process the Reclassification Entry again.
Now process the cube again before you run reports.
Was this article helpful?