Consolidation
- 1 Minute to read
- Print
- DarkLight
- PDF
Consolidation
- 1 Minute to read
- Print
- DarkLight
- PDF
Article summary
Did you find this summary helpful?
Thank you for your feedback
Retained Earnings Roll Forward
Click Retained Earnings Roll Forward to display the screen. Select Yes for Enable. Selecting Yes for Enable displays additional options in the Consolidation Setup screen allowing the admin user to setup the segment combination to which the financial entries will be posted. Selecting No for Enable hides the options in the Consolidation Setup screen.
If enabled, when you access the Consolidation Control Panel and click Consolidation Setup there will be Include in the Consolidation Process checkboxes displayed for Income Statement - Retained Earnings Account and Cumulative Retained Earnings sections.
Income Statement Retained Earnings Account
Select Yes for Enable to specify accounts on the Consolidation Setup page. This configuration is optional and is designed to ensure an accurate Trial Balance. If you select No, you will not be able to select accounts on the Consolidation Setup page as the entire section named Income Statement Retained Earnings Account will be hidden from view.
Consolidation Status Setup
Enable the Consolidation Status feature for your application. Once you enable Consolidation Status each consolidation unit will have an inherent life-cycle associated with it. This life-cycle includes several statuses to indicate where the consolidation unit is within the life-cycle. Consolidation Status offers several benefits, such as; providing the necessary information to complete the close process in a timely manner and allows consolidators to view the status by entity and time period they are responsible for.
Click here for detailed information on everything you need to know before enabling this feature.
Note:
This feature is available when the Consolidation Process is selected for the Actual scenario only.
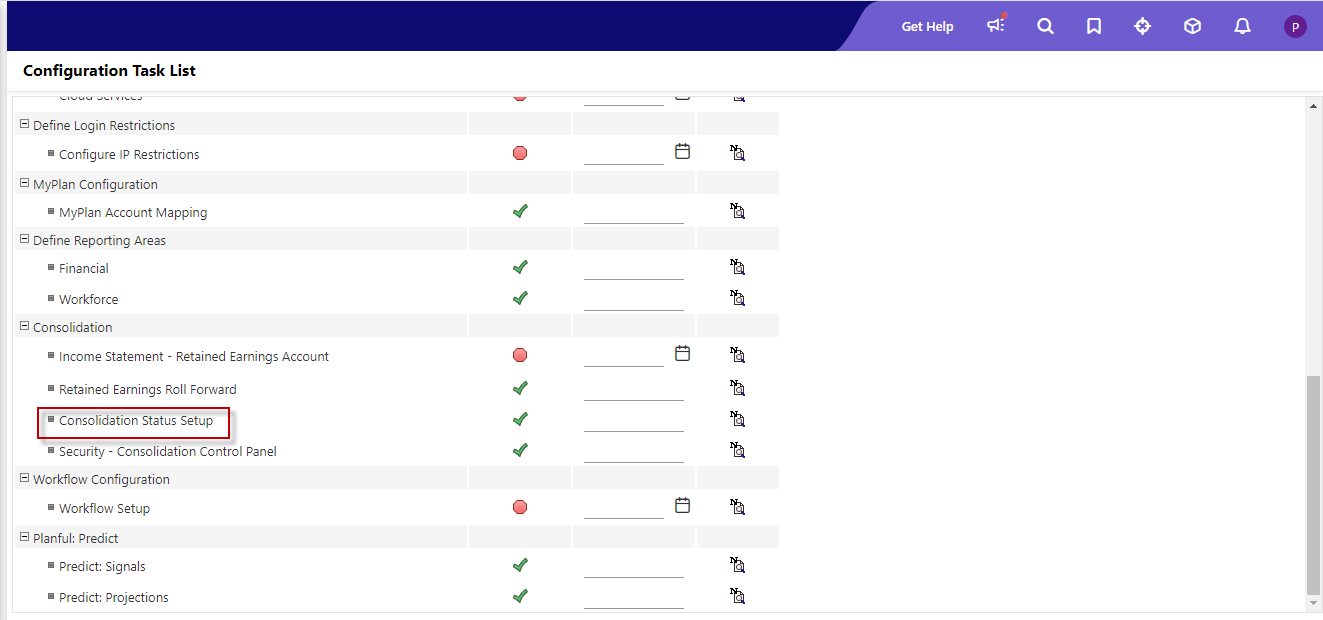
Navigate to Maintenance > Admin > Configuration Tasks.
On the Configuration Tasks page, click the Consolidation Status Setup task shown below to enable this functionality.
The Consolidation Status Setup page is launched. Select the month and year in which you want to start Consolidation workflow and select the Enable Forward and Approve Status for Consolidation Process checkbox as shown below. Then, click Save.
Click Save & Complete. The message below displays. Click Continue.
Was this article helpful?