Workforce Planning UI
- 5 Minutes to read
- Print
- DarkLight
- PDF
Workforce Planning UI
- 5 Minutes to read
- Print
- DarkLight
- PDF
Article Summary
Share feedback
Thanks for sharing your feedback!
We have enhanced the overall user experience of Workforce Planning users with UI enhancements to some major functionality while keeping the workaround the same. This article provides information specific to the Workforce Planning UI.
Enhanced Workforce Planning User Interface
We have enhanced the Employees page to make it more user-friendly. You can see this update Maintenance > Workforce Planning module > Employees tab. The following image illustrates the Roster view of the Employees page. For more details, click here.

Enhanced Scenario Selection
We have added a Scenario Selection List Box to enhance the Scenario selection process on the Employees page. You can use this list to select a scenario directly from the roster view. For more details, click here.

Enhanced Budget Entity Selection
Now, a Budget Entity can be selected quickly with the Budget Entity Selection list box. You can use this list to select one or more budget entities directly. You can also select multiple roll-up entities and leaf entities for single or multiple roll-ups. For more details, click here.

Enhanced Search Functionality
We have introduced an Advanced search option in the Workforce Planning roster screen as a part of the UI. In the Advanced Search option, you can see all entities listed in the grid by default as a search option. You can move the search fields up or down or deselect the fields you no longer wish to include in the Advanced Search pop-up with the settings icon drop-down. You can apply for a search, reset the search or clear the search entirely. For more details, click here.


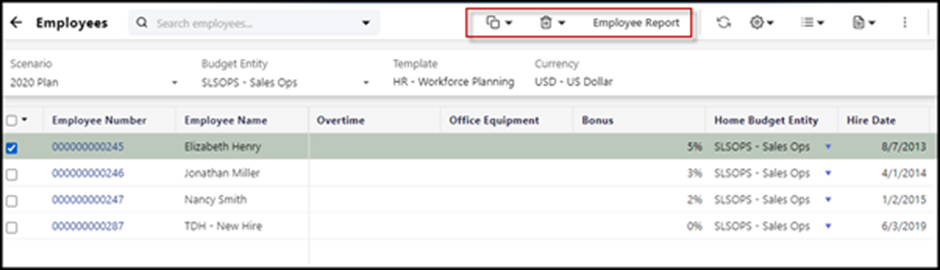
Improved More Menu
We have moved all options from the More menu to a new menu, as shown in the following image. This modification improves the user experience and showcases better visibility on the page.
The following is the list of the enhancements made:
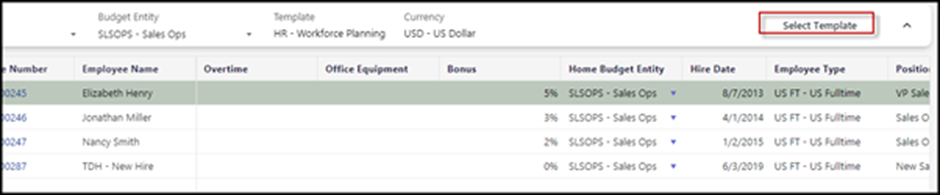
- The Select Template option is repositioned below the toolbar menu.
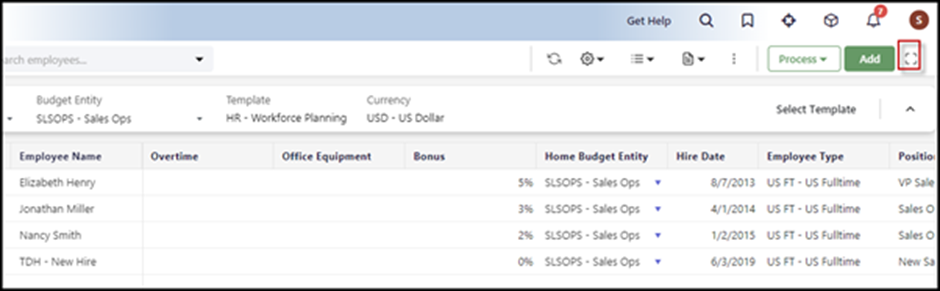
- The Full-screen icon is repositioned to make it uniform across all the windows in the application.
- List view and Card view options are placed together in a drop-down option.
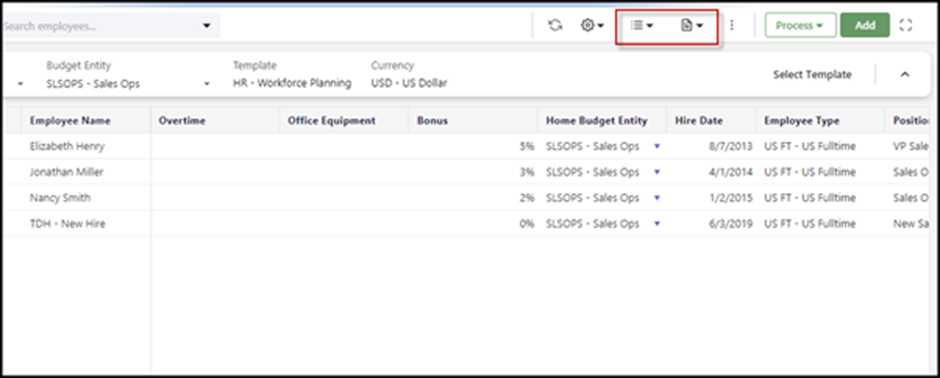
- Reports are now visible in a separate drop-down icon in the toolbar menu beside the view option.

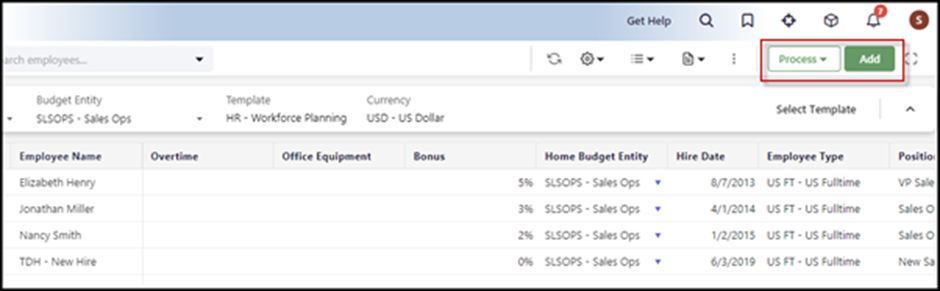
- The Process option is now a button that opens a drop-down menu.
- While editing an employee, you will only see the Save or Cancel action button on the screen.

- When you select an employee, you can now view the Employee Report, Copy and Delete options on the toolbar menu.


Edit Employee Profile
You can now edit an employee's profile by clicking the hyperlink provided to the Employee Number field. The following is an illustration of the same.


Add a New Employee
The Add employee screen has been improved for a seamless user experience. Some of the enhancements are as follows:
- All mandatory fields have been marked with a * symbol next to the field names.
- The initial letter of an employee's first name is displayed on the left pane of the Add Employee window.


Customized Compensation Items Selection
Now you can custom select existing compensation items for an employee on the Compensation tab with our Customize Compensations list box.

Delete Multiple Employee Positions
On the Employees Roster screen, you can delete one or more employees using the following options:
- Delete Employees: It deletes one or more employees selected on the Employee Roster screen.
- Delete Positions: It deletes employees' positions for one or more employees selected on the Employee Roster screen.

Improved Duplicate Functionality
We have improved the employee profile duplication process and overall user experience. Perform the following to replicate the process:
- Select an employee, click the Duplicate icon and specify the number of copies required.
- Select the + and - buttons to increase or decrease the number of employee profile copies you want to create.
- Click Duplicate to create one or more duplicate employee profiles.

Process Multiple Budget Entities
We have improved the employee-processing functionality to process multiple employees across multiple budget entities automatically.
Earlier, you could process only one budget entity at a time. Now, however, you can process multiple budget entities simultaneously.
You can do so by clicking the Process list box > Current Budget Entities section and selecting the All Employees or Unprocessed Employees option.

Introduced Copy Option in Compensation Items Window
Now, a Copy option has been added in the Workforce Planning Setup > Compensation Items window. You can use this option to copy any existing Compensation item and add a new Compensation item.
The following image shows the Copy option in the toolbar of the Compensation Items window.
For more details, click here.
Perform Mass Update of Compensations in Employees' Window
Now, in the Workforce Planning Setup and end-user Employees windows, a Compensation section has been added to the Mass Update window. You can use the Mass Update option to select and update compensation items for selected or all employees in the employee records.
The following image shows the Mass Update option in the toolbar of the Employees window.
For more details, click here.
Introduced Copy Option in Workforce Attributes Window
Now, a Copy option has been added in the Workforce Planning Setup > Workforce Attributes window. You can use this option to copy any existing user-defined attribute and add a new user-defined attribute.
The following image shows the Copy option in the toolbar of the Workforce Attributes window.
For more details, click here.
Introduced Copy Employees Option to Copy Employees from One Scenario to Another
Now, we have added the Copy Employees feature where you can seamlessly copy the employee(s) from one scenario to another. This reduces the hours of manual effort and minimizes manual errors, thus improving accuracy.
The following image shows the Copy Employees option.

You will see the Copy Employees pop-up on the screen.

For more details, click here.
Was this article helpful?