Dynamic Planning How to Download Data from the Structured Planning, Consolidation, and Reporting Applications into Dynamic Planning
- 4 Minutes to read
- Print
- DarkLight
- PDF
Dynamic Planning How to Download Data from the Structured Planning, Consolidation, and Reporting Applications into Dynamic Planning
- 4 Minutes to read
- Print
- DarkLight
- PDF
Article Summary
Share feedback
Thanks for sharing your feedback!
Login to Dynamic Planning and select the application that you want to connect to the Structured Planning, Consolidation, or Reporting application.
Select Manage > Application Administration > Application Settings. Horizon Uri, Soap Uri, and Tenant Code are protected fields. You must call HA Support to change them.
Fill in the Username and Password under Horizon Uri.
Fill in the Horizon Tenant Code.
Fill in the Username and Password under Soap Uri.
Click Save.
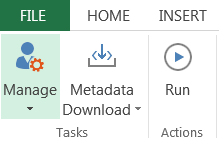
Select Manage > Application Administration > Metadata Download.
Click Run. This command creates and populates a model of type Source called HACPM_Financial.

Select Manage > Application Administration > Application Statistics. Under Source Models, you will see HACPM_Financial, its disk usage, number of records, and dimension information.

Copy the list of dimensions, member count, and hierarchy levels to a separate spreadsheet. Then decide and mark which dimensions will be Key, which will be Value, and which you do not plan to use.
Key: dimensions and members will change; generally more dimension members.
Value: dimensions and members that don’t change much and that are always populated with data; generally fewer dimension members.
You cannot use the AttributeHierarchy and Attribute dimensions.
BudgetEntity is optional.
Multiply the Member Count for all Key dimensions together. This number is your minimum Master Model Keys value.
Multiply the Member Count for all Value dimensions together. This number is your minimum Master Model Value Block Size value.
Go back to Manage > Application Administration > Application Settings and increase the values, if necessary, of Master Model Keys and Master Model Value Block Size to accommodate the capacity that you expect to have in your Target model. Save your changes.
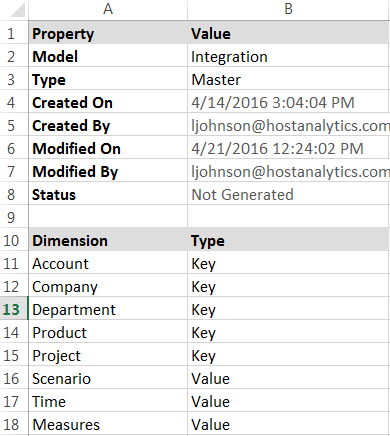
Select Model > Setup. Here you will create the Master/Target model that will contain a subset of data downloaded from Structured Planning, Consolidation, and Reporting applications.
In the Model field, type in a name for this model.
In the Type field, select Master.
In the Dimension area, paste in the names of the dimensions and their types, from the previous step, that you want to use in the model.
Click Save.


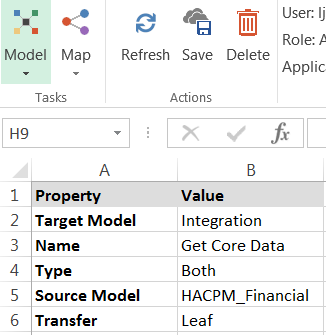
Select Model > Map. Here you will specify which members of the Source dimensions will be copied to the Target/Master.
In the Target Model field, select the name of your Master/Target model, created in the previous step.
In the Name field, type in a name for this map.
In the Type field, select Both.
In the Source Model field, select HACPM_Financial.
In the Transfer field, select Leaf.
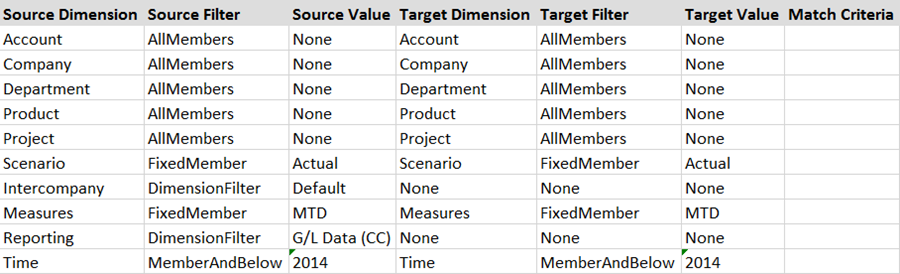
In the Source to Target Map table, list all the dimensions in the Source in the first column (Source Dimension). Omit AttributeHierarchy and Attribute (and optionally BudgetEntity) from the list.
If you want all members from this dimension, select AllMembers in the second column (Source Filter), then in the third column (Source Value), select None.
If you want a subset of members from this dimension, select the appropriate item from the drop-down list, then in the third column, specify a member name (for MemberAndBelow or FixedMember) or level number (for LevelAndAbove).
If you don’t want this dimension in your Target model, select DimensionFilter from the drop-down list, then in the third column, specify one member from that dimension that is associated with the data you are copying from Structured Planning, Consolidation, and Reporting applications.
For the Measures dimension, select FixedMember in the second column, then in the third column, type either YTD or MTD.
In the fourth, fifth, and sixth columns, you will specify the corresponding Target Dimension, Target Filter, and Target Value to go with the first three columns. Specify None for all three columns if the Source Filter is DimensionFilter.
Click Save.


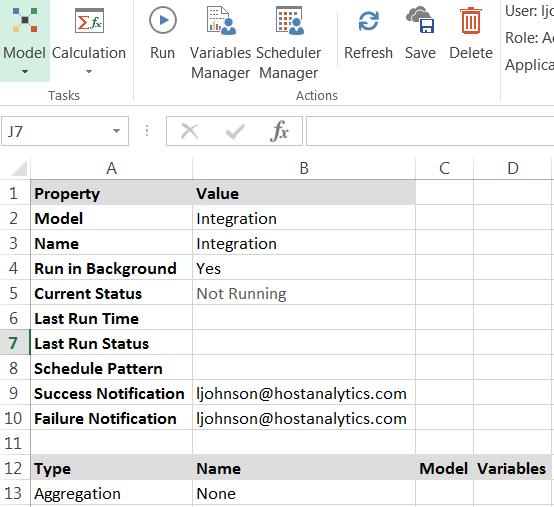
Select Model, Calculation to create a calculation that will download the data. Data Download is a Type option in the Calculation.
In the Model field, select the Master/Target model from the drop-down list.
In the Name field, give the Calculation a name, such as DataDownload Calc.
In the Run in Background field, select Yes.
In the Success Notification and Failure Notification fields, enter your email address.
Under Type, select Download Data.
Under Name, type None.
Click Save.
Click Run.
Click Refresh occasionally until the download is 100% complete and watch the Last Run Status field. You will receive an email when the calculation is complete.
Select Model > Setup.
In the Model field, select the Master/Target model from the drop-down list.
Click Generate Model. This command copies leaf-level data from the Source (HACPM_Financial) to the Master/Target.

Select Model > Calculation to view and run the default calculation.
In the Model field, select the Master/Target model from the drop-down list.
In the Name field, select the name of your model from the drop-down list. (The default calculation has the same name as the model.)
In the Run in Background field, select Yes.
In the Success Notification and Failure Notification fields, enter your email address.
Click Save.
Click Run.
Click Refresh occasionally and watch the Last Run Status field. You will receive an email when the calculation is complete.
Now your Master/Target model is populated with both leaf-level and parent data, and it is ready to use in Views and Reports.

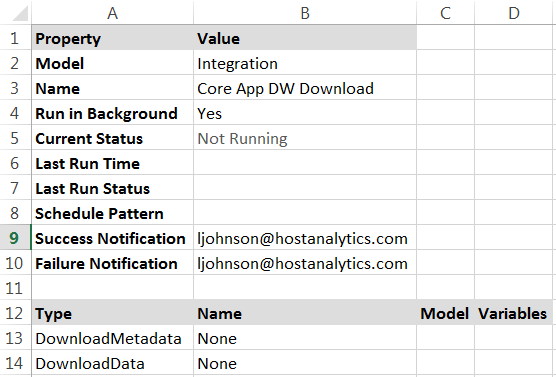
Select Model > Calculation. Now you will create a calculation to run whenever you want to repeat the download steps to download fresh data from the Structured Planning, Consolidation, or Reporting application to your Source model.
In the Model field, select the Master/Target model from the drop-down list.
In the Name field, type a name, such as Core App DW Download.
In the Run in Background field, select Yes.
In the Success Notification and Failure Notification fields, enter your email address.
Under Type, add two commands using the drop-down: DownloadMetadata and DownloadData. Under Name, type None.
Click Save.

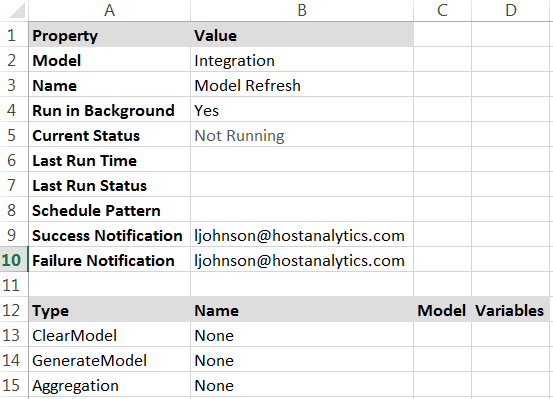
Select Model > Calculation. Now you will create a calculation to run whenever you want to erase what is in your Master/Target model and get fresh data from the Source model.
In the Model field, select the Master/Target model from the drop-down list.
In the Name field, type a name, such as Model Refresh.
In the Run in Background field, select Yes.
In the Success Notification and Failure Notification fields, enter your email address.
Under Type, add three commands using the drop-down: ClearModel, GenerateModel, and Aggregation. Under Name, type None.
Click Save.

Was this article helpful?