Dynamic Planning Model Manager, Creating and Editing Models
- 7 Minutes to read
- Print
- DarkLight
- PDF
Dynamic Planning Model Manager, Creating and Editing Models
- 7 Minutes to read
- Print
- DarkLight
- PDF
Article Summary
Share feedback
Thanks for sharing your feedback!
Creating a Model
Power and Contributor users can create a model from the Grid or List layouts. Reviewer users cannot create a model.

Click the + Circle icon from the Grid or List layouts to create a new model.
A model is a repository of analytic information about your organization. Data in the model is described by its dimensions and dimension members. A model requires a minimum of the following:
Model name
Model type
At least two dimensions, one of type Key and one of type Value
Important:
when creating a new model, you must add all the dimensions in one sitting. Once you save the model, you cannot add or delete dimensions later. You can add or delete the members in the dimensions, just not the dimensions themselves.
In Practice
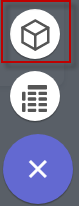
Click the + Circle icon.

Click the cube icon to indicate that you want to create a model. (The tabular icon creates an External Source Model.)
The Create New Model panel appears.
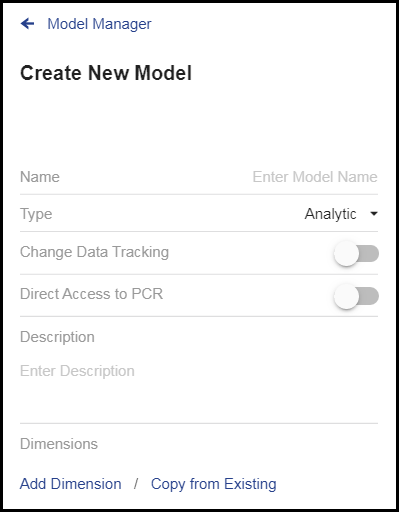
Type the model name.
Select the model type: Analytic or Master. An Analytic model will get all of its data from users. A Master model is populated with data from another data source, such as Structured Planning, Consolidation, and Reporting applications. If you plan to create a model with Direct Access to PCR, select Master.
Specify if you want to turn on Change Data Tracking. By default, it is Off. This option optimizes running full Aggregations. We recommend to turn it on when your model is ready to be populated with data. If you are creating a model with Direct Access to PCR, this option does not apply.
See How to Use Change Data Tracking for details.
Specify if this will be a Direct Access to PCR model. By default, it is Off. This option connects the model to Planful Structured Planning, Consolidation, and Reporting (PCR) applications data and no further setup is needed. If you turn this option On, continue with step 6 then skip to step 11.
See Using Direct Access to PCR Financial Reporting for details.
Optionally enter a description for the model.
Click Add Dimension. Dimensions are categories of data, such as Department, Account, Month, or Scenario.
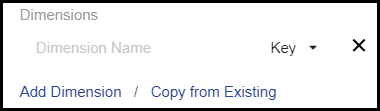
Type the Dimension name.
Select Key or Value from the drop-down. Models must have at least one Key and one Value dimension. Key corresponds to dimensions that will most likely change over time (such as Customer and Account), whereas Value corresponds to dimensions that do not change often (such as Scenario or Year).
Click Add Dimension to enter another dimension, and continue until you have created all the dimensions. If you make a mistake click the X to delete.
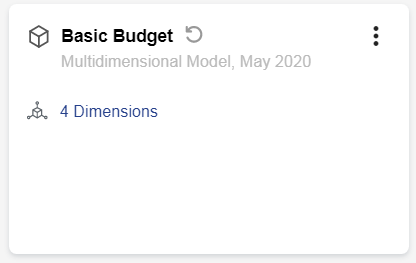
The following example creates a simple 4-dimension Analytic model named Basic Budget.
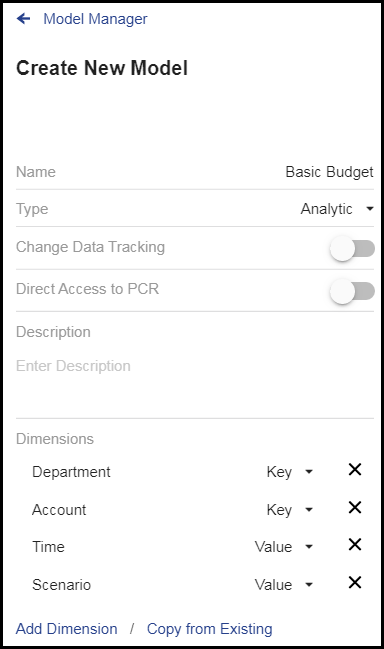
When you are done, scroll down to the Cancel or Save buttons. Click Save.
A notification appears on screen if it was successful and you are returned to Grid or List layout.

Click the Grid or List layouts icons to refresh the screen.
You see the new model listed with an incomplete circle icon, indicating that the model is ungenerated. The model's only artifacts, so far, are its dimensions. Now you can proceed with adding members and hierarchies to the dimensions, adding calculations, and so on. See Using the Dimension Browser and Using the Dimension Attribute Browser.
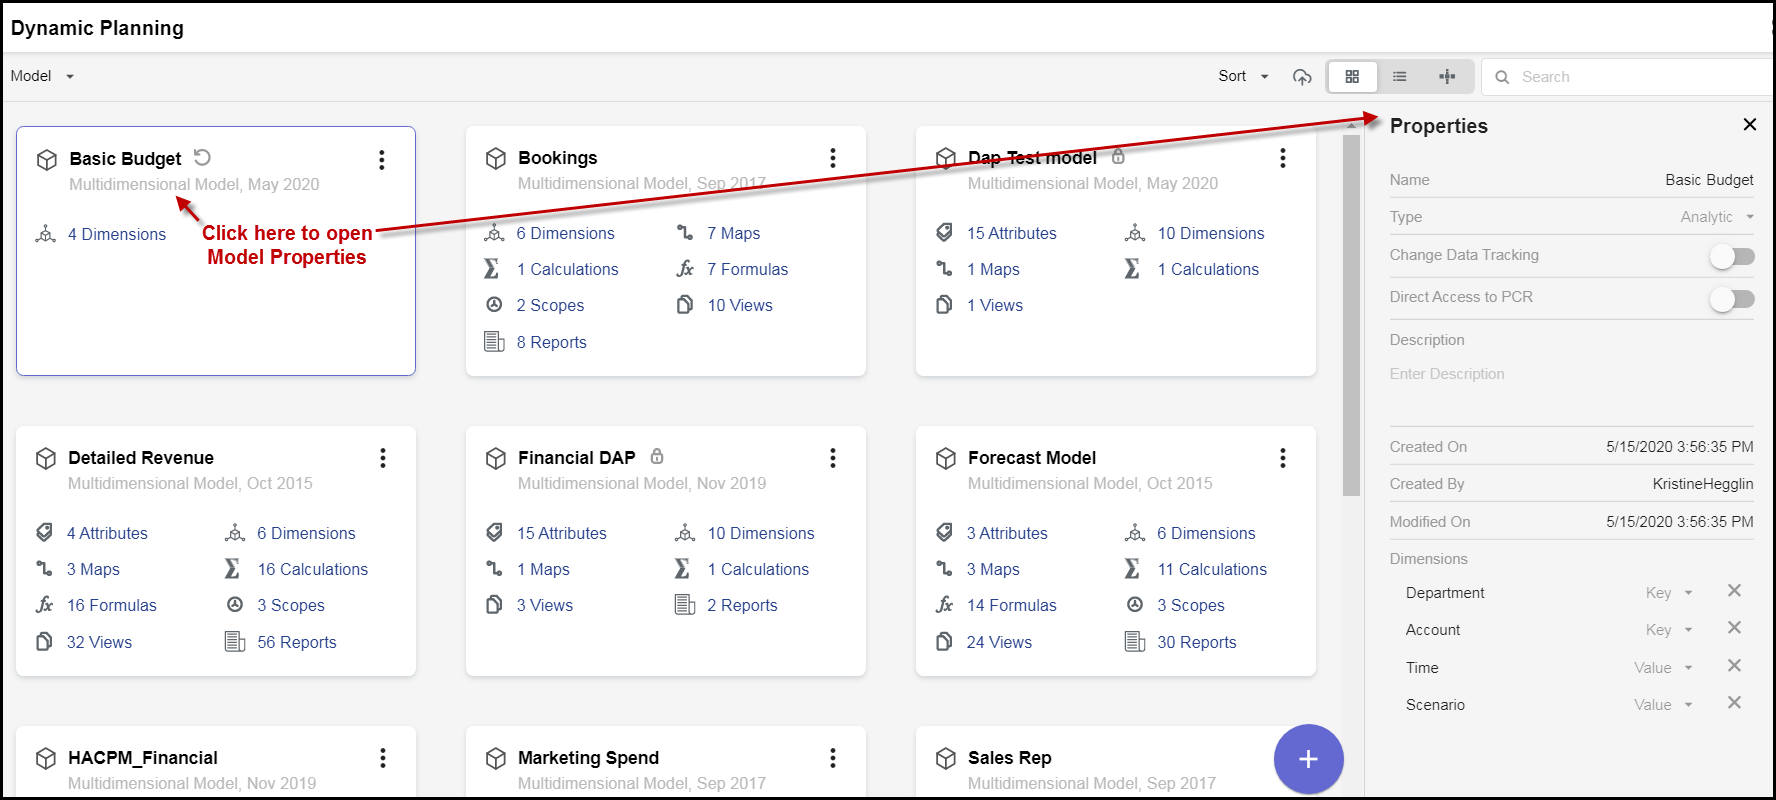
Once a model has been saved, you can edit the model's description or Change Data Tracking option by clicking on the creation date to open the Model Properties Browser.


Creating a Model by Copying from an Existing Model
Power and Contributor users can create a model from the Grid or List layouts. Reviewer users cannot create a model.
A model is a repository of analytic information about your organization. Data in the model is described by its dimensions and dimension members. A model requires a minimum of the following:
Model name
Model type
At least two dimensions, one of type Key and one of type Value
Many models have dimensions that are common or similar to a dimension you want to create. You can copy dimensions from existing models to make it faster to create the new model.
Important:
when creating a new model, you must add all the dimensions in one sitting. Once you save the model, you cannot add or delete dimensions later. You can add or delete the members in the dimensions, just not the dimensions themselves.
In Practice
Click the + Circle icon.

The Create New Model panel appears.

Type the model name.
Select the model type: Analytic or Master. An Analytic model will get all of its data from users. A Master model is populated with data from another data source, such as Structured Planning, Consolidation, and Reporting applications.
Specify if you want to turn on Change Data Tracking. By default, it is Off. This option optimizes running full Aggregations. We recommend to turn it on when your model is ready to be populated with data.
See How to Use Change Data Tracking for details.
Optionally enter a description for the model.
Now you will add the dimensions. You may want to enter some of the simpler ones by clicking Add Dimension while others come from other existing models.
Note:Do not click Save for your model until you are done creating the dimensions. The option to Copy from Existing is only available from the Create New Model panel. Once you click Save, you cannot return to this panel.Click Copy from Existing. This opens the Copy from Existing Browser. The models you can copy from are along the left side, and you can drag and drop dimensions to the work area on the right side.
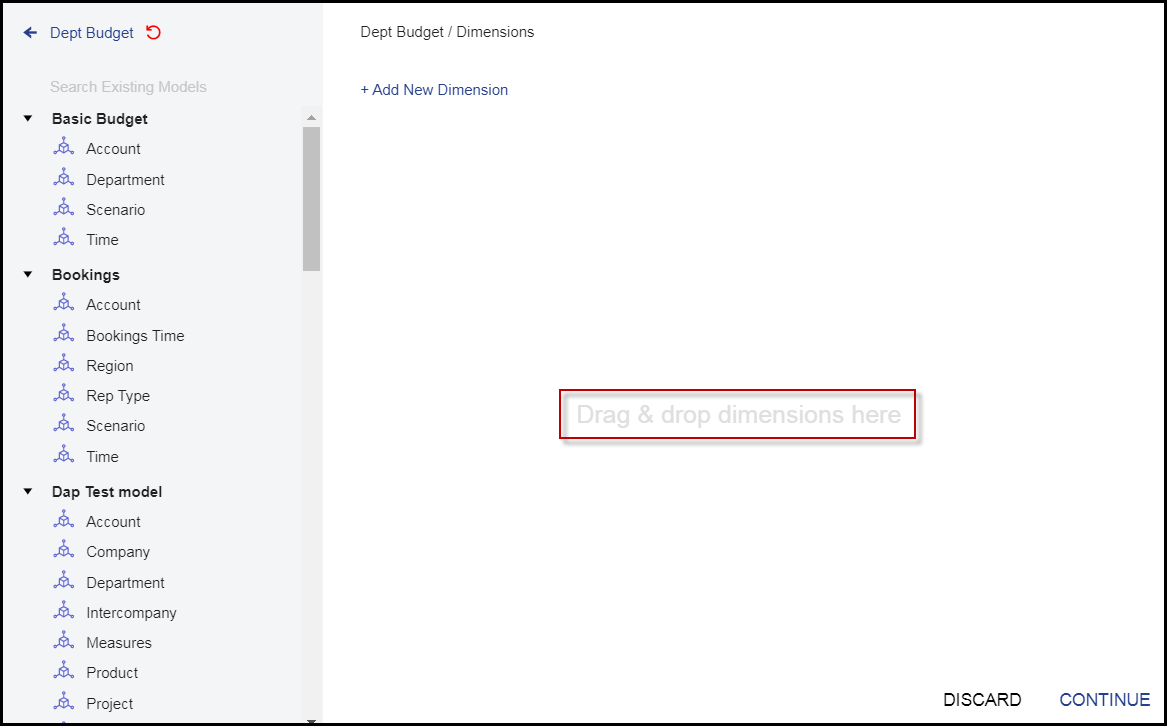
Hover the mouse over the dimension you want to copy. Then click and drag it to the work area.
 Note:You cannot copy Attributes from existing models.
Optionally select the dimension type. Select Key or Value from the drop-down. Models must have at least one Key and one Value dimension. Key corresponds to dimensions that will most likely change over time (such as Customer and Account), whereas Value corresponds to dimensions that do not change often (such as Scenario or Year).
In the work area, click the Account dimension. The work area expands to show the dimension hierarchy and members for the Account dimension that you have copied.
Now you will choose members or hierarchies under Edit Members, and move them to the Selected Members panel. You can copy a single member using Select Fixed Member or a whole hierarchy with Select Member & Below.

Click in the dimension hierarchy, expanding and collapsing as you go, or by entering the member name under Search to find the parent or member that you want to copy.
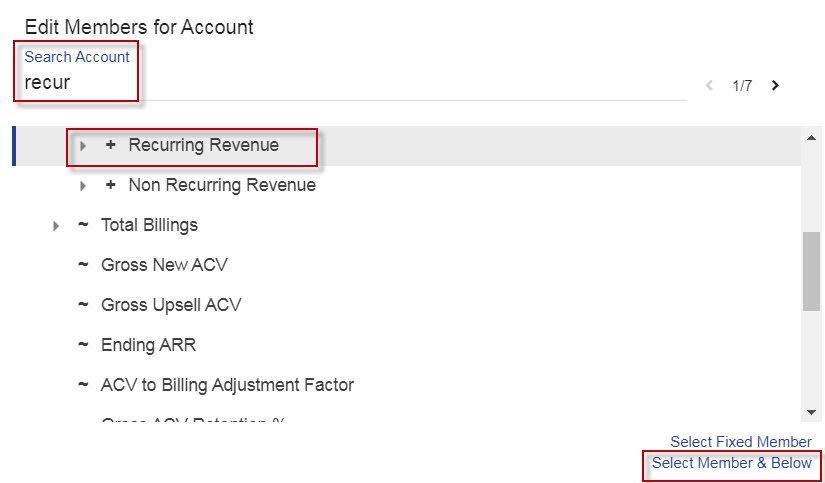
Select the member or parent then click Select Fixed Member or Select Member & Below to move the member to the Selected Members panel. Once the member appears in the Selected Members panel, it is saved as part of the dimension definition.
 Note:If you make a mistake, click the X to remove the member from the Selected Members area. Do not click the Discard button unless you want to start over.
Continue by selecting other dimensions from existing models as needed, dragging them to the work area, and selecting members to include in your dimension.
Simple dimensions can be added by clicking Add New Dimension.
Type the dimension name and select the dimension type. Select Key or Value from the drop-down. Models must have at least one Key and one Value dimension. Key corresponds to dimensions that will most likely change over time (such as Customer and Account), whereas Value corresponds to dimensions that do not change often (such as Scenario or Year).

When your work area correctly reflects the dimensions you want in your model, click Continue. The following example is creating a simple 4-dimension model with 3 dimensions copied from existing and 1 dimension created manually.

After clicking Continue, the Create New Model panel appears and shows you the dimensions you have added.

When you are done, scroll down to the Cancel or Save buttons. Click Save.

A notification appears on screen if it was successful and you are returned to Grid or List layout.

Click the Grid or List layouts icons to refresh the screen.
You see the new model listed with an incomplete circle icon, indicating that the model is ungenerated. The model's only artifacts, so far, are its dimensions.
Now you can fine tune the members and hierarchies in the dimensions, add attributes, and so on. See Using the Dimension Browser and Using the Dimension Attribute Browser.

Once a model has been saved, you can edit the model's description or Change Data Tracking option by clicking on the creation date to open the Model Properties Browser. You cannot enable Direct Access to PCR after the model has already been saved; this option is available only when you are first creating the model.


Creating an External Source Model
Power and Contributor users can create an External Source Model from the Grid or List layouts. Reviewer users cannot create an ESM model.
In Practice
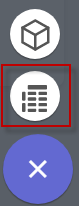
Click the + Circle icon from the Grid or List layouts to create a new model.

Click the tabular icon to indicate that you want to create an External Source Model.
Give the new model a name and an optional description.
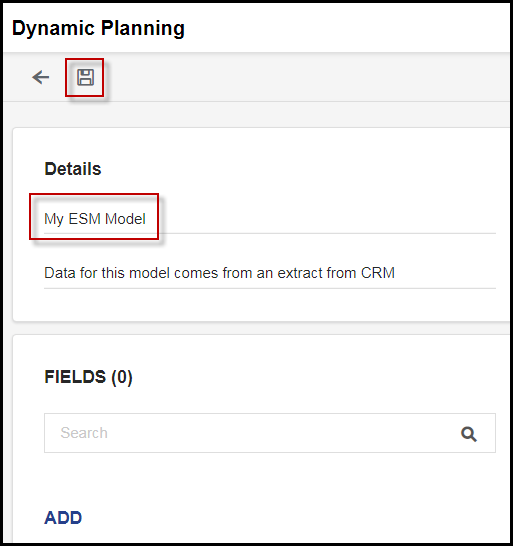
Click the Save button.
Proceed with adding fields. See Creating New ESM Fields Using Model Manager.
Click the Save button again when done.


Was this article helpful?