Completing the Integration Services Configuration Task
- 1 Minute to read
- Print
- DarkLight
- PDF
Completing the Integration Services Configuration Task
- 1 Minute to read
- Print
- DarkLight
- PDF
Article summary
Did you find this summary helpful?
Thank you for your feedback
Setup the parameters for the integration as well as authentication information.
In Practice
Navigate to Maintenance > Admin > Configuration Tasks.
Open the Data Integration Configuration - Cloud Services task.
On the Cloud Services page, click the Integration Service task.
Enter the Account ID provided by Boomi.
Planful supports HTTP (RESTful) APIs that publish data in JSON format. Enter the request in the Rest API URL field.
Enter the username and password to authenticate the Rest API URL call.
Click Submit. The welcome screen appears.
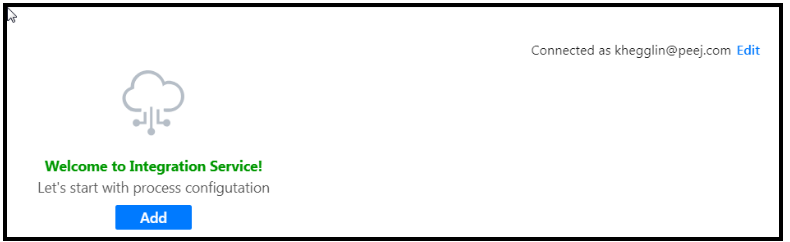
Click Add . The Configure Process screen appears.

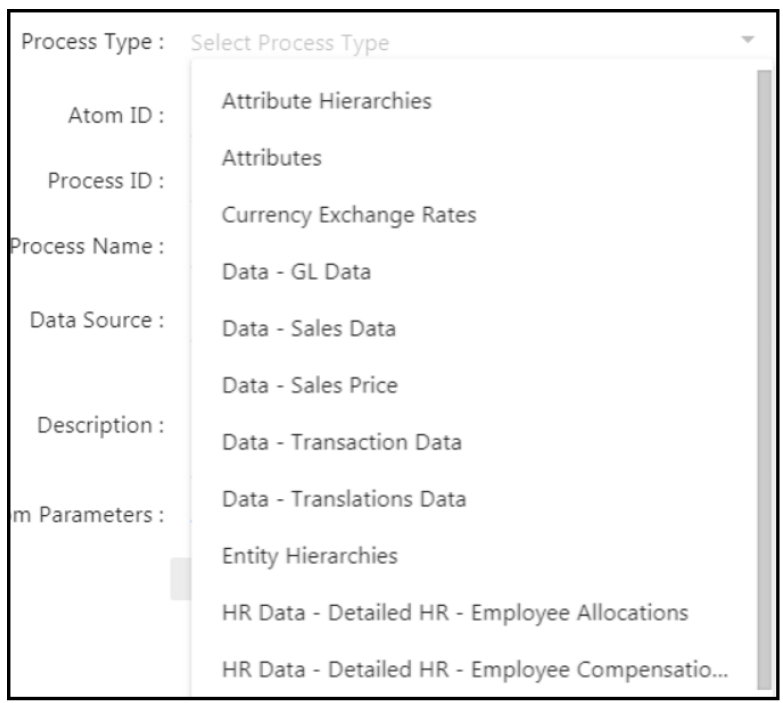
The Rest API URL is populated based on the URL you already entered during step 5. For Process Type , select the type of data you are loading. See examples in the screen below. For this example, Data - GL Data is selected.
Enter an Atom ID provided by Boomi. The Atom contains all the components required to execute your processes from end to end, including connectors, transformation rules, decision handling, and processing logic. This ID is provided by Boomi.
Enter an ID or your choice to identify the process.
Enter a name of your choice to identify the process.
Select the source vender, Boomi, (where your data is stored) for the Data Source field.
Here is an example using SFTP:
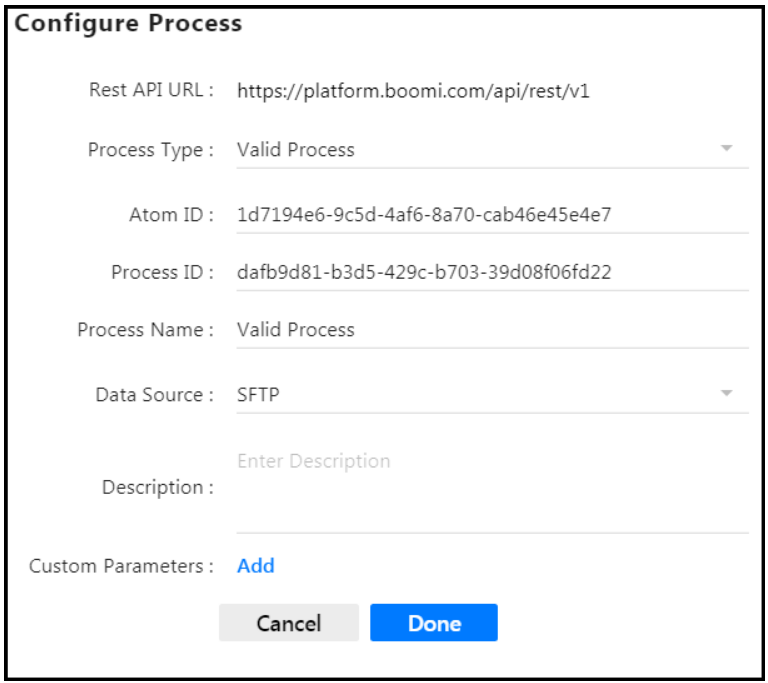
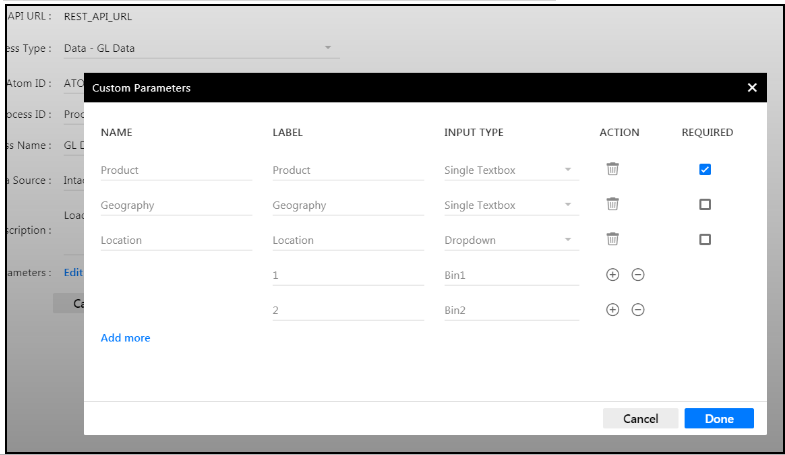
Enter a description of the process and click the Add button (optional) to launch the Custom Parameters page where you can set additional parameters. You might want to set additional parameters when you want to load data from different subsidiaries, for example, and need to identify each (Subsidiary A or B). Enter a name for the custom parameter and provide a label. Note that these two fields can be the same.
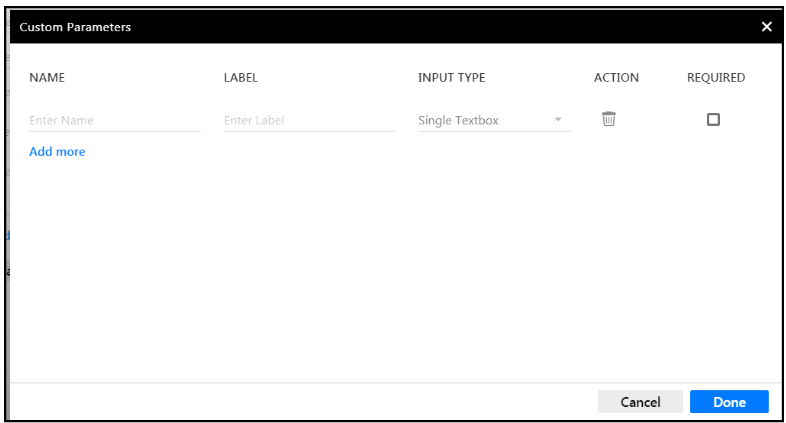
For Input Type , select to present the user with a textbox or a dropdown list box. If you select Dropdown , you will be prompted to enter selectable options. Select the Required checkbox as shown below. By selecting Required , users executing the process will be required to provide an input value for the parameter.
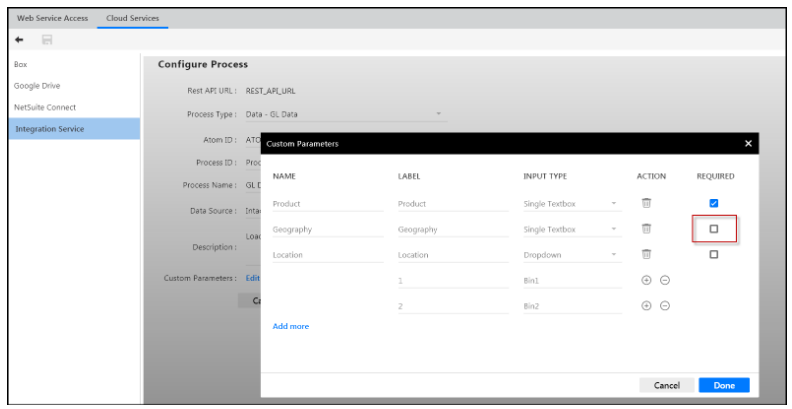
DO NOT select the Required checkbox as shown below. When you do not select Required, users have the option of completing the parameter when executing the process.
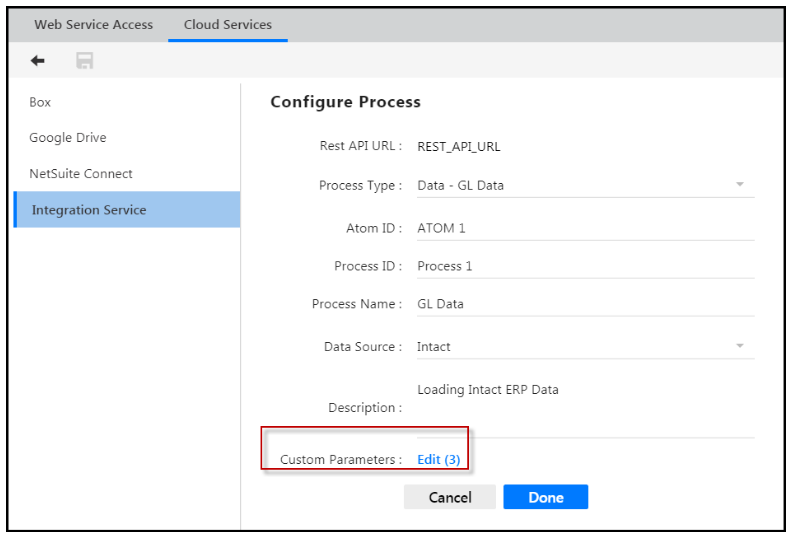
Click Add more to add additional custom parameters or click Done . Once complete, the number of parameters added (required or not) will display on the Configure Process page - Custom Parameters field as shown in the image below.
Was this article helpful?